Table of Contents
Advertisement
Available languages
Available languages
Quick Links
Advertisement
Table of Contents

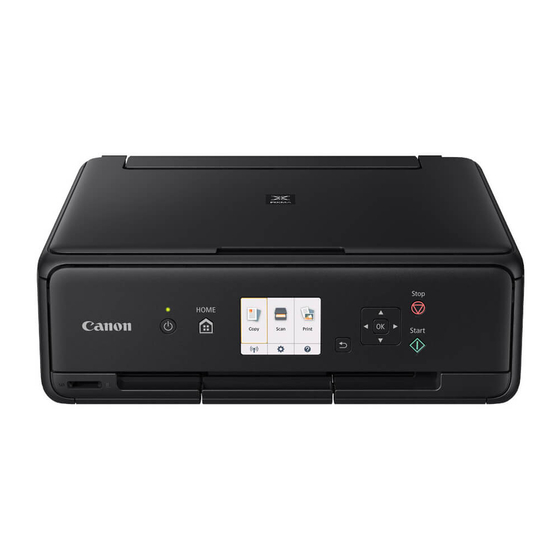
Related Manuals for Canon PIXMA TS5060


Summary of Contents for Canon PIXMA TS5060
- Page 1 Getting Started Guía de inicio...
- Page 2 Installing the Printer ............page1 Instalación de la impresora..........página 1 Connecting with Computer and Smartphone/Tablet ...page5 Conexión con el ordenador y con el teléfono inteligente o la tableta.............página 5...
-
Page 3: Installing The Printer
1. Installing the Printer a C onnect the power cord. b L ift the operation panel. c P ress the ON button. For the procedure with icon, you can watch the video Do not connect a USB cable yet. tutorials for installing the printer by accessing the following URL or scanning the QR codes. -
Page 4: Installing The Ink Tank
Check that all lamps are lit. Installing the Ink Tank You can watch the procedure on a movie by scanning the QR codes. Close the scanning unit / cover. Android Open the scanning unit / cover. Do not touch the print head holder (A) until it stops. - Page 5 When the pattern for print head alignment is a O pen the feed slot cover. printed, select Yes and press the OK button. b S lide the right paper guide to the end. Follow the on-screen instructions to load the a L oad several sheets of plain paper with the pattern on the platen glass.
- Page 6 Selecting a Printer Connection Method The connection method varies depending on how you use the printer. Select a printer connection method according to the table below. In the following description, smartphones and tablet devices are collectively described as smartphone. Using the printer with your computer or smartphone connected Using the printer without connecting any other devices Wireless LAN connection...
-
Page 7: Connecting With Computer
Mac OS. If you use a computer except for Windows or Mac OS such as Chrome OS, access "http://canon.com/ijsetup", and then follow the instructions on the Canon website to set up your computer. Follow the on-screen instructions to proceed Select one of the following steps to start with the setup. - Page 8 • If you have a wireless router, connect your smartphone to the wireless router. * For operations, refer to manuals of your smartphone and the wireless router or contact those manufacturers. Install the application software Canon PRINT Inkjet/SELPHY in your smartphone. : Search "Canon PRINT" in App Store.
-
Page 9: Preparation Of The Printer
Procedures below vary depending on iOS or Android. Select your operating system and proceed to its procedure. a Tap Settings on the HOME screen, and then tap a Tap the installed application software. Canon_ij_XXXX on the Wi-Fi settings. b Follow the on-screen instructions to register the printer. -
Page 10: Loading Photo Paper
Loading Photo Paper Open the rear tray cover and pull out the paper a L oad several sheets of photo paper with the support. print side facing up. b S lide the right paper guide to align it with the side of the paper stack. -
Page 11: Instalación De La Impresora
1. Instalación de la impresora a C onecte el cable de alimentación. b L evante el panel de control. c P ulse el botón ACTIVADO (ON). Para el procedimiento con el ícono , puede ver los No conecte cables USB aún. tutoriales en vídeo para la instalación de la impresora accediendo a la siguiente URL o escaneando los códigos QR. - Page 12 Compruebe que todas las luces estén encendidas. Instalación del depósito de tinta Puede ver el procedimiento en una película escaneando los códigos QR. Cierre la cubierta/unidad de escaneado. Android Abra la cubierta/unidad de escaneado. No toque el soporte del cabezal de impresión (A) hasta que se detenga.
- Page 13 a A bra la cubierta de la ranura de alimentación. Cuando se imprima el modelo de la alineación del cabezal de impresión, seleccione Sí (Yes) y pulse b D eslice la guía del papel derecha hacia el el botón OK. final.
- Page 14 Selección del método de conexión de la impresora El método de conexión varía en función de cómo usará la impresora. Seleccione un método de conexión de la impresora según la tabla a continuación. En la siguiente descripción, los teléfonos inteligentes y las tabletas se describen en conjunto como teléfonos inteligentes.
-
Page 15: Conexión Con El Ordenador
Si usa un ordenador que no utiliza Windows o Mac OS, como Chrome OS, ingrese a "http://canon.com/ijsetup" y siga las instrucciones en el sitio web de Canon para configurar su ordenador. Seleccione uno de los siguientes pasos, Siga las instrucciones en pantalla para para iniciar el archivo de instalación. - Page 16 * Por cuestiones del funcionamiento, consulte los manuales de su teléfono inteligente y del router inalámbrico o póngase en contacto con los fabricantes. Instale el software de la aplicación Canon PRINT Inkjet/SELPHY en su teléfono inteligente. : Busque "Canon PRINT" en App Store.
-
Page 17: Preparación De La Impresora
Los procedimientos a continuación varían en función de iOS o Android. Seleccione su sistema operativo y continúe con el procedimiento correspondiente. a Puntee Ajustes (Settings) en la pantalla INICIO y luego a Puntee el software de la aplicación instalado. puntee Canon_ij_XXXX en los ajustes de Wi-Fi. b Siga las instrucciones en pantalla para registrar la impresora. - Page 18 Carga de papel fotográfico Abra la cubierta de la bandeja posterior y retire a C argue varias hojas de papel fotográfico el soporte del papel. con el lado de impresión hacia arriba. b D eslice la guía del papel derecha para alinearla con el lado de la pila de papel.
- Page 19 How-To Video Library Videoteca sobre procedimientos RMC (Regulatory Model Code): K10445...
- Page 20 Visit the Website Acceda al sitio web Read Online Manual Leer el Manual en línea Frequently Asked Questions Preguntas más frecuentes QT6-1476-V01 XXXXXXXX © CANON INC. 2016 PRINTED IN XXXXXXXX...