Table of Contents
Advertisement
Quick Links
Advertisement
Table of Contents

Related Manuals for Bosch DII31RU60


Summary of Contents for Bosch DII31RU60
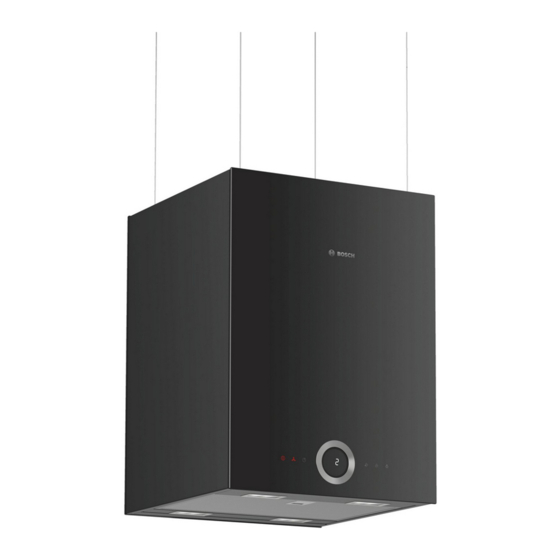
- Page 1 Extractor hood [en] Instructions for installation and use...
-
Page 2: Table Of Contents
2000 metres above sea replacement parts and services can be found at level. www.bosch-home.com and in the online shop This appliance may be used by children over www.bosch-eshop.com the age of 8 years old and by persons with... -
Page 3: Important Safety Information
Important safety information en Warning (Important safety Risk of injury! information Components inside the appliance may have ■ sharp edges. Wear protective gloves. Items placed on the appliance may fall Warning Risk of injury! ■ I m p o r t a n t s a f e t y i n f o r m a t i o n down. -
Page 4: Environmental Protection
Environmental protection Causes of damage 7Environmental protection Caution! Risk of damage due to corrosion. Always Y our new appliance is particularly energy-efficient. E n v i r o n m e n t a l p r o t e c t i o n Here you can find tips on how to save even more switch on the appliance while cooking to avoid energy when using the appliance, and how to dispose... -
Page 5: Operating The Appliance
Operating the appliance en 1Operating the appliance T hese instructions apply to several appliance variants. O p e r a t i n g t h e a p p l i a n c e It is possible that individual features are described which do not apply to your appliance. -
Page 6: Cleaning And Maintenance
Cleaning and maintenance Lighting 2Cleaning and maintenance The lighting can be switched on and off independently of the fan. Warning C l e a n i n g a n d m a i n t e n a n c e Touch the symbol. - Page 7 Cleaning and maintenance en Cleaning agents Removing metal grease filter To ensure that the different surfaces are not damaged Open the lock and swing down the metal grease by using the wrong cleaning product, follow the filter. When you do this, take hold of the metal instructions in the table.
- Page 8 Cleaning and maintenance Cleaning the metal mesh grease filters Installing the metal mesh grease filter These instructions apply to several appliance variants. It Warning is possible that individual features are described which Risk of injury! do not apply to your appliance. Components inside the appliance may have sharp edges.
-
Page 9: Trouble Shooting
Trouble shooting en Replacing the activated charcoal filter 3Trouble shooting To bind odours in circulating-air mode, you must Note: install an activated carbon filter. The different options for M alfunctions often have simple explanations. Please operating the appliance in circulating-air mode can be T r o u b l e s h o o t i n g read the following notes before calling the after-sales found in the brochure. -
Page 10: Customer Service
Customer service 4Customer service W hen calling us, please quote the product number (E C u s t o m e r s e r v i c e no.) and the production number (FD no.) so that we can provide you with the correct advice. -
Page 11: Installation Instructions
Installation instructions en INSTALLATION INSTRUCTIONS (Important safety I n s t a l l a t i o n i n s t r u c t i o n s I nstallation instructions information R ead these instructions carefully. Only then I m p o r t a n t s a f e t y i n f o r m a t i o n will you be able to operate your appliance safely and correctly. -
Page 12: General Information
General information Warning KGeneral information Risk of injury! Components inside the appliance may have ■ P reparing the ceiling sharp edges. Wear protective gloves. G e n e r a l i n f o r m a t i o n The appliance may fall down if it has not Risk of injury! The ceiling must be flat, horizontal and have... -
Page 13: Installation
Installation en Fitting the frame 5Installation Screw in the two bolts, leaving them protruding out of the ceiling by 5 - 9 mm P reparing for installation ¨ I n s t a l l a t i o n Make sure that the bolts , frame , frame... - Page 14 Installation Insert the two bolts on the ceiling through the Establishing a connection to the mains openings provided in the frame ¨ . Move the frame to allow the bolts to be screwed into the keyhole Warning openings © Risk of electric shock! It must always be possible to disconnect the appliance from the power supply.
- Page 15 Installation en Fitting the frame cover Attaching and aligning the appliance Manually open the cable tensioners until the cable Slide the frame cover up. can be inserted in it. Do not use any tools. Thread the mains power cable through the Note: Do not open the cable tensioners fully.
- Page 16 Robert Bosch Hausgeräte GmbH Carl-Wery-Straße 34 81739 München Germany www.bosch-home.com *9001195953* 971101 9001195953...