Table of Contents
Advertisement
Quick Links
Advertisement
Table of Contents

Related Manuals for AEG HG755521


Summary of Contents for AEG HG755521
- Page 1 HG755521 User Manual USER MANUAL...
-
Page 2: Table Of Contents
10. ENERGY EFFICIENCY..................... 18 FOR PERFECT RESULTS Thank you for choosing this AEG product. We have created it to give you impeccable performance for many years, with innovative technologies that help make life simpler features you might not find on ordinary appliances. Please spend a few minutes reading to get the very best from it. - Page 3 ENGLISH usage. Always keep the instructions in a safe and accessible location for future reference. 1.1 Children and vulnerable people safety This appliance can be used by children aged from 8 • years and above and persons with reduced physical, sensory or mental capabilities or lack of experience and knowledge if they have been given supervision or instruction concerning the use of the appliance in a...
-
Page 4: Safety Instructions
CAUTION: The cooking process has to be supervised. • A short term cooking process has to be supervised continuously. WARNING: Danger of fire: Do not store items on the • cooking surfaces. Metallic objects such as knives, forks, spoons and lids •... - Page 5 ENGLISH • Keep the minimum distance from the • Use the correct electricity mains other appliances and units. cable. • Always take care when moving the • Do not let the electricity mains cable appliance as it is heavy. Always use tangle.
- Page 6 • The information about the gas supply WARNING! is on the rating plate. Risk of damage to the • This appliance is not connected to a appliance. device, which evacuates the products of combustion. Make sure to connect • Do not keep hot cookware on the the appliance according to current control panel.
-
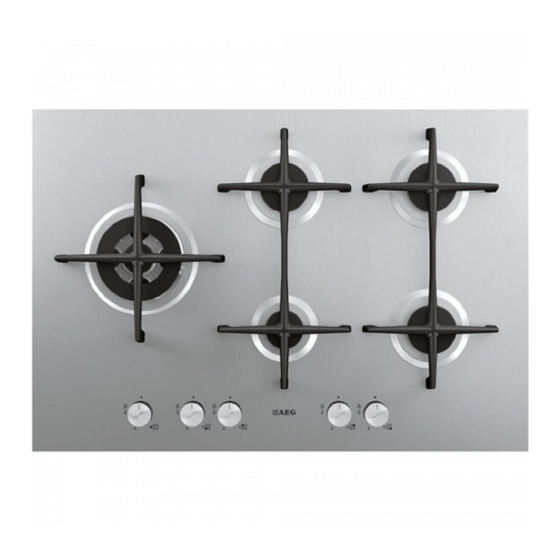
Page 7: Product Description
ENGLISH 2.5 Care and cleaning • Do not clean the burners in the dishwasher. WARNING! 2.6 Disposal Do not remove the buttons, knobs or gaskets from the WARNING! control panel. Water may Risk of injury or suffocation. get inside the appliance and cause damage. - Page 8 4.1 Burner overview WARNING! Be very careful when you use open fire in the kitchen environment. The manufacturer declines any responsibility in case of the flame misuse. 1. Push the control knob down and turn it counterclockwise to the maximum gas supply position ( 2.
-
Page 9: Hints And Tips
ENGLISH The spark generator can WARNING! start automatically when you Always turn the flame down switch on the mains, after or switch it off before you installation or a power cut. It remove the pans from the is normal. burner. 4.3 Turning the burner off To put the flame out, turn the knob to the off position... -
Page 10: Troubleshooting
• To remove burn food, fat and supports are aligned with the centre stubborn stains, let them soak for a of the burner. few minutes in a small amount of mild 6.3 Cleaning the hob detergent before cleaning. • Use cleaning products designed •... - Page 11 ENGLISH Problem Possible cause Remedy The fuse is blown. Make sure that the fuse is the cause of the malfunction. If the fuse is blown again and again, contact a quali- fied electrician. Burner cap and crown are Place the burner cap and placed incorrectly.
-
Page 12: Installation
7.3 Labels supplied with the accessories bag Stick the adhesive labels as indicated below: MOD. MOD. MOD. TYPE PROD.NO. IP20 PROD.NO. PROD.NO. SER.NO. 0049 SER.NO SER.NO 03 IT DATA DATA MADE IN ITALY A. Stick it on Guarantee Card and send C. - Page 13 ENGLISH However, if the room has a door which opens directly to the outside no air vent is required even if the volume is between 5 m³ and 11 m³. If there are other fuel burning appliances in the same room, B.S. 5440 Part 2 Current Edition, should be consulted to determine the requisite air vent requirements.
- Page 14 8.4 Injectors replacement WARNING! Make sure the flame does 1. Remove the pan supports. not go out when you quickly 2. Remove the caps and crowns of the turn the knob from the burner. maximum position to the 3. With a socket spanner 7 remove the minimum position.
- Page 15 ENGLISH 8.7 Replacement of the 2. The supply system is equipped with an efficient earth connection in connection cable compliance with the current standards and regulations The replacement of electric 3. The outlet or omnipolar switch used cable must be carried out for connection is easily accessible exclusively by the service with the appliance installed.
- Page 16 8.8 Assembly If a furniture unit is installed at a distance of 400 mm above the hob, there must be a minimum safety distance of 50 mm to the left or right from the edge of the hob. min. 600 mm min.
-
Page 17: Technical Data
ENGLISH CAUTION! min 30 mm Install the appliance only on a worktop with flat surface. 8.9 Possibilities for insertion min 5 mm (max 150 mm) The panel installed below the hob must 60 mm be easy to remove and let an easy access in case a technical assistance A. -
Page 18: Energy Efficiency
Appliance category: II2H3+ Gas connection: R 1/2" Appliance class: 9.4 Gas burners for NATURAL GAS G20 20 mbar BURNER NORMAL POWER kW MINIMUM POWER INJECTOR MARK Triple Crown Semi-rapid 0,45 Auxiliary 0,33 9.5 Gas burners for LPG G30/G31 28-30/37 mbar... - Page 19 ENGLISH 10.2 Energy saving • Before use, make sure that the burners and pan supports are assembled correctly. • Use cookware with diameters applicable to the size of burners. • Center the pot on the burner. • When you heat up water, use only the amount you need. •...
- Page 20 www.aeg.com/shop...