Table of Contents
Advertisement
Quick Links
Advertisement
Table of Contents

Related Manuals for LG DP461A


Summary of Contents for LG DP461A
- Page 1 ENGLISH DP461A / DP461D P/NO. : MFL62512601...
- Page 2 If you need to replace the battery, take it to the with bared wires is hazardous if inserted in a mains nearest authorized LG Electronics service point or CAUTION: Do not block any ventilation openings. socket. Do not connect either wire to the earth pin,...
-
Page 3: Table Of Contents
About the Symbol Display Types of Playable Discs ................3 Rechargeable battery ................. 3 “ ” may appear on your TV display during operation and indicates that the Main Unit ....................4 function explained in this ownerʼs manual is not available on that disc. Remote Control .................. -
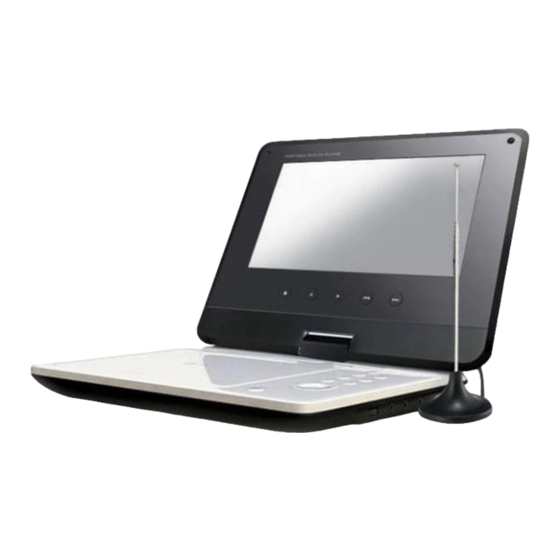
Page 4: Main Unit
Main Unit a LCD screen b Playback Control Buttons • x (Stop): Stops playback. • X (PAUSE/STEP): Pauses playback temporarily/ press repeatedly for frame-by-frame playback. • N (Play): Starts playback. • . (Skip): Search backward* or returns to the beginning of current chapter or track or go to the previous chapter or track. -
Page 5: Remote Control
Remote Control SKIP/SEARCH (. / >): Search* backward / Put the battery into the Remote Control forward. Go to next or previous chapter/track. Pinch the battery holder clip together then pull the * Press and hold button for about two seconds. tab to remove the battery holder. -
Page 6: Power Connections
Right side of unit Power connections Connecting the Power Cable Connect the supplied power cable from the unit to a power socket. Attach the power plug to the body of the AC adapter. (The actual set may differ from the drawing.) Plug into the carʼs Right side of the unit cigarette lighter... -
Page 7: Hooking Up The Unit
Hooking up the unit Revolving the LCD panel You can revolve the LCD panel of the unit clockwise a maximum of 180 Audio and Video Connection degrees for use. You can also operate the unit after revolving the LCD panel Connect the AV OUT jack on the unit to the corresponding input jacks on your 180 degrees and folding it back down. -
Page 8: Adjust The Settings
Adjust the display settings Adjust the settings TV Aspect – Select which screen aspect to use based on the shape of your TV screen. BUTTON [4:3]: Select when a standard 4:3 TV is connected. Display setup menu: SETUP [16:9]: Select when a 16:9 wide TV is connected. Select a desired option on the first level: Display Mode –... -
Page 9: Displaying Disc Information
Adjust the others settings Displaying Disc Information DivX(R) VOD – We provide you with the DivX® VOD (Video On Demand) regis- tration code that allows you to rent and purchase videos using the DivX® VOD BUTTON service. For more information, visit www.divx.com/vod. Press ENTER when [Select] icon is highlighted and you can view the registra- Press DISPLAY during playback: DISPLAY... -
Page 10: Playing A Disc
Pause a playback Playing a Disc Press PAUSE/STEP (X) to pause playback. Press PLAY ( ) to continue playback. BUTTON DivX Frame-by-Frame playback Open the disc lid: OPEN (Z) Press PAUSE/STEP (X) repeatedly to play Frame-by-Frame playback. Insert a Disc: Close the disc lid: Playing repeatedly N PLAY... -
Page 11: Playing A Divx Movie File
DVD DivX Mixed disc or USB Flash Drive – DivX, MP3/WMA and JPEG Watching an enlarged video image When playing a disc or USB Flash Drive contained with DivX, MP3/WMA and During playback or pause mode, press ZOOM repeatedly to select zoom mode. -
Page 12: Listening To Music Disc Or Files
Listening to Music Disc or files Viewing photo files BUTTON BUTTON Open the disc lid: OPEN (Z) Open the disc lid: OPEN (Z) Insert a disc: Insert a disc: Close the disc lid: Close the disc lid: v V, MENU Select a photo file on the menu: Select a music from the menu: v V, MENU... -
Page 13: Using An Usb Flash Drive
Using a USB Flash Drive You can play MP3/WMA/JPEG/DivX files in the USB Flash Drive with version 1.1. BUTTON Connect an USB Flash Drive to the USB port on the unit: Display the menu to select the USB MODE operation mode: b B, ENTER Select [USB]: v V, MENU... -
Page 14: Watching The Tv Program
Watching the TV program Antenna Connection Connect the TV antenna to the TV AVT jack on the unit after selecting one between A and B as shown below. A: Connect an indoor antenna cable using supplied RF cable hub. B: Connect a supplied external antenna. RF antenna cable hub External antenna Cable... -
Page 15: Auto Channel Memory
3. Select [CHANNELS] option then press B. 4. Use v /V to select a menu and use b/B to select a value of the item to Auto Channel Memory be set. Automatically finds all channels available and stores all the active channels •... -
Page 16: Language Codes
Language Codes Use this list to input your desired language for the following initial settings: Disc Audio, Disc Subtitle, Disc Menu. Language Code Language Code Language Code Language Code Language Code Language Code Afar 6565 Croatian 7282 Hausa 7265 Lingala 7678 Quechua 8185... -
Page 17: Troubleshooting
Troubleshooting Specifications Symptom Cause Correction General Power requirements DC 12V No power. The power cord is disconnected. Plug the power cord into the wall Power consumption outlet securely. External Dimensions 207 x 39 x 168 mm (W x H x D) The battery is discharged. -
Page 18: Enjoying In A Car With The Headrest Mounting Bracket(Dp461D Only)
Enjoying in a car with the Headrest Mounting Bracket Installation a Separate the head- Headrest Mounting Bracket rest. (Refer to your (DP461D Only) carʼs user guide.) You can enjoy video in the back seat attaching the unit to the back of the front seat. Warnings •...