Canon AE-1 Manual
Hide thumbs
Also See for AE-1:
- Instructions manual (88 pages) ,
- Manual (72 pages) ,
- Service manual (62 pages)
Table of Contents
Advertisement
Quick Links
Advertisement
Table of Contents

Related Manuals for Canon AE-1


Summary of Contents for Canon AE-1
-
Page 2: Table Of Contents
Table of Contents Table of Contents ..........................ii Introduction to using a Canon-AE-1 ....................iii Diagram of the Canon AE-1 ......................1 Basic Controls ..........................2 Shutter Button ..........................2 Lens Mount ..........................2 Shutter Speed Control ......................... 2 ISO Speed Control ........................2 Battery Door .......................... -
Page 3: Introduction To Using A Canon-Ae-1
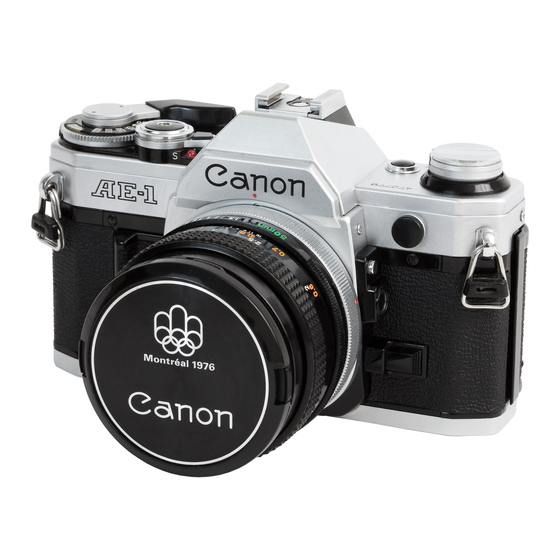
Introduction to using a Canon-AE-1 The Canon AE-1 is the first high end consumer camera produced by Canon. Its metal plated plastic body is extremely durable. The Canon AE-1 is still popular since its production in 1976.The Canon’s wide variety of lens choices and dual flash mounting... -
Page 4: Diagram Of The Canon Ae-1
Diagram of the Canon AE-1... -
Page 5: Basic Controls
Basic Controls Shutter Button The shutter button will expose the film when depressed. Lens Mount The lens mount is a ring that will properly orient and attach the lens to the camera. Shutter Speed Control Shutter speed control is a circle mounted to the film advance lever that controls the speed of the shutter. -
Page 6: How To Hold The Camera
How to hold the Camera Steady yourself or lean against a wall if possible Support the camera lens with your left hand Wrap your right hand around the right side of the camera with your index finger over the shutter button ... -
Page 7: How To Load The Film
How to load the Film Pull up on the film rewind lever to open the back of the camera Insert the film cartridge into the left side of the camera Pull the film leader across the camera to the right side as shown... - Page 8 Insert the film leader into any slot on the take-up spool Close the back of the camera Advance the film until the film counter reaches “1” (the dot following the zero)
-
Page 9: How To Set The Iso
How to set the ISO The ISO rating of the film is the level of sensitivity the film has to light. You must choose the correct ISO setting for proper film exposure. The box the film came in and the cartridge list the ISO speed of the film. -
Page 10: How To Wind The Film
How to wind the film After you have exposed your entire roll of film, you will need to rewind the film from the take-up spool back to the film cartridge. To do this, press the small black button on the underside of the camera. -
Page 11: How To Use The Self-Timer
How to use the self-timer 1. Advance the film to the next frame 2. Push the self-lever forward to uncover the self-timer light 3. Depress the shutter button and the shutter will activate after a ten second delay Note: To stop the self-timer before taking a picture, press the battery check button. -
Page 12: Pre-Shooting Checklist
Pre-shooting checklist 1. Make sure the battery’s charge is above f/5.6 2. Load the film 3. Set the ISO correctly 4. Make sure the lens is properly attached 5. Hold the camera properly and make sure the lens is clean 6.