
Related Manuals for Samsung DG68-00297A


Summary of Contents for Samsung DG68-00297A
-
Page 1: User Manual
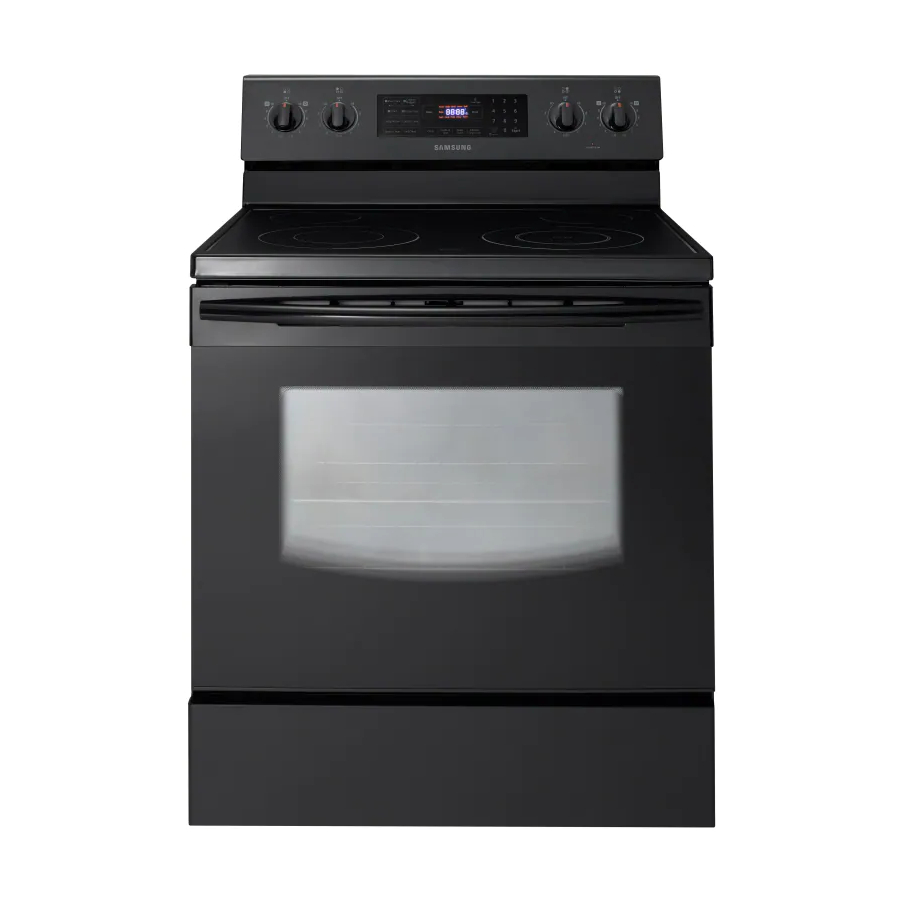
Electric Range user manual imagine the possibilities Thank you for purchasing this Samsung product. To receive more complete service, please register your product at www.samsung.com/global/register FE-R400SX FE-R400SW FE-R400SB... - Page 2 • Bigger is better With a capacity of 5.9 cubic feet, your new range is equipped with more space than any of its competitors in the U.S. market. This means greater convenience for you when cooking for the holidays or when entertaining.
-
Page 3: Important Safety Instructions
Read and follow all instructions before using your oven to prevent the risk of fire, electric shock, personal injury, or damage when using the range. This guide does not cover all possible conditions that may occur. Always contact your service agent or manufacturer about problems that you do not understand. -
Page 4: For Your Safety
If it is not, there is a possible risk of the range tipping over and causing injury if you or a child stand, sit or lean on an open door. - Page 5 Do not let the potholder touch hot heating elements. Do not use a towel or other bulky cloth. Teach children not to play with the controls or any other part of the range. Important safety instructions _5...
-
Page 6: Surface Cooking Units
Glazed cooking utensils. Only certain types of glass, glass/ceramic, ceramic,earthenware, or other glazed utensils are suitable for range-top service without breaking due to the sudden change in temperature. Utensil handles should be turned inward and not extend over adjacent surface units. - Page 7 oVen DO NOT TOUCH HEATING ELEMENTS OR INTERIOR SURFACES OF THE OVEN. Heating elements may be hot even though they are dark in color. Interior surfaces of an oven become hot enough to cause burns. During and after use, do not touch or let clothing or other flammable materials contact heating elements or interior surfaces of oven until they have had sufficient time to cool.
-
Page 8: Before You Begin
Self-cleAninG oVenS Do not clean the door gasket. The door gasket is essential for a good seal. Care should be taken not to rub, damage, or move the gasket. Never keep pet birds in the kitchen. The health of birds is extremely sensitive to the fumes released during an oven self-clean cycle. - Page 9 SeVere WArninG SiGnS for inStAllAtion WARNING The installation of this appliance must be performed by a qualified technician or service company. - Failing to do so may result in electric shock, fire, an explosion, problems with the product, or injury. Unpack the oven, remove all packaging material and examine the oven for any damages such as dents on the interior or exterior of the oven, broken door latches, cracks in the door, or a door that is not lined up correctly.
- Page 10 SeVere WArninG SiGnS for uSinG CAUTION If the appliance is flooded please contact your nearest service center : Failing to do so may result in electric shock or fire. If the appliance generates a strange noise, a burning smell or smoke, unplug the power plug immediately and contact your nearest service center.
- Page 11 Do not let children or any person with reduced physical, sensory or mental capabilities use this appliance unsupervised. Make sure that the appliance is out of the reach of children. - Failing to do so may result in electric shock, burns or injury. Do not touch the inside of the appliance immediately after cooking, because the inside of the appliance is hot after being heated for a long time or heating a small amount of food.
- Page 12 cAution SiGnS for uSinG CAUTION When the surface is cracked, turn the power switch of the appliance off. - Failing to do so may result in electric shock. Dishes and containers can become hot. Handle with care. Hot foods and steam can cause burns. Carefully remove container coverings, directing steam away from hands and face.
-
Page 13: Appliance Outlets
Damage to the portable appliance could result if the cooktop is hot. Appliance outlet circuit breakers: The circuit breakers for the appliance outlets on your range are located on top of the control console.They are rated for 15 amps, that may trip if the appliance plugged into it exceeds 15 amps. -
Page 14: Table Of Contents
SURFACE COOKING OPERATING THE OVEN MAINTAINING yOUR APPLIANCE TROUBLESHOOTING 14_ Contents Overview What’s included with your range About surface cooking How to set the appliance for surface cooking Using the proper cookware Choosing the proper cookware Protecting the smoothtop surface... -
Page 15: Introducing Your New Range
See page 17 for more information Oven control panel See page 21 for more information Automatic oven light switch Oven light Self/steam clean latch Gasket Shelf position WhAt’S included With your rAnGe Wire racks Glass surface Oven door Introducing your new range _15... -
Page 16: Surface Cooking
Do not place aluminum foil or plastic items such as salt and pepper shakers, spoon holders, or plastic wrappings on the range when it is in use. The hot air from the vent could melt plastics or ignite flammable items. -
Page 17: Hot Surface Indicator
Glows until the unit is cooled to approximately 150°F. Cooking areas • The cooking areas on your range are identified by permanent circles on the glass cooking surface. For the most efficient cooking, fit the pan size to the element size. •... -
Page 18: Using The Warming Center
Using the warming center The warming center, located in the back center of the glass surface, will keep hot, cooked food at serving temperature. • The surface warmer will not glow red like the cooking elements. • Do not warm food on the warming center for more than two hours. CAUTION •... -
Page 19: How To Set The Appliance For Surface Cooking
hoW to Set the APPliAnce for SurfAce cookinG • The surface elements may be hot and burns may occur. Do not touch surface elements until they have cooled down sufficiently. CAUTION • At high or medium-high settings, never leave food unattended. Boilovers cause smoking and greasy spillovers may catch on fire. -
Page 20: Choosing The Proper Cookware
chooSinG the ProPer cookWAre What your cookware is made of determines how evenly and quickly heat is transferred from the surface element to the pan bottom. • ALUMINUM - Excellent heat conductor. Some types of food will cause the aluminum to darken. (Anodized aluminum cookware resists staining &... -
Page 21: Operating The Oven
operating the oven the oVen control PAnel READ THE INSTRUCTIONS CAREFULLy BEFORE USING THE OVEN. For satisfactory use of your oven, become familiar with the various features and functions of the oven as described below. Detailed instructions for each feature and function follow later in this user manual. 1. -
Page 22: Setting The Clock
SettinG the clock The clock must be set to the correct time of day for the automatic oven timing functions to work properly. • The time of day cannot be changed during a timed cooking, a delay-timed cooking or a self- cleaning cycle. -
Page 23: Minimum And Maximum Settings
MiniMuM And MAxiMuM SettinGS All of the features listed have minimum and maximum time or temperature settings. A beep will sound each time a pad on the control panel is pressed and the entry is accepted. An error tone will sound in the form of a long beep if the entered temperature or time is below the minimum or above the maximum setting for the feature. -
Page 24: Baking
BAkinG The oven can be programmed to bake at any temperature from 150°F to 550°F. How to set the thermostat 1. Start the set up. Press the BAKE pad. The default temperature is 350°F. 2. Enter the temperature you want on the number pad, eg. 3, 7, 5. 3. -
Page 25: Delay Timed Cooking
5. Press the SET/START pad to begin cooking operation. The oven will continue to cook until the set amount of time has elapsed. If you want to show temperature display, press the bake pad. 6. You can cancel a timed cooking at any time by pressing the CLEAR/OFF pad. -
Page 26: Broiling
• Do not use the pan without the insert. • Do not cover the insert with foil; the exposed grease could ignite. These are not supplied with the range. Shelf First side Second side position time (min.) time (min.) -
Page 27: Slow Cook
uSinG the eASy cook feAture Slow Cook The Slow Cook feature may be used to cook food more slowly at lower oven temperatures. The extended cooking times allow better distribution of flavors in many recipes. This feature is ideal for roasting beef, pork &... -
Page 28: Using The Custom Cook Feature
uSinG the cuStoM cook feAture By using the custom cook feature, you can record up to 3 different recipe settings. The feature may be used for baking. It will not work with any other function, including the delay start feature. How to record a recipe setting 1. -
Page 29: Extra Features
extrA feAtureS 12 hour energy saving With this feature, should you forget and leave the oven on, the control will automatically turn off the oven after 12 hours during baking functions or after 3 hours during a broil function. How to turn 12 hour energy saving feature on or off 1. -
Page 30: Control Lockout
Sound on/off By using this feature, you can set the oven controls to operate silently. How to turn the sound on or off 1. Press Oven Light and 0 on the number pad at the same time for 3 seconds. The display will show Snd On (sound on) or Snd OFF (sound off). -
Page 31: Setting The Sabbath
Setting the Sabbath (For use on the Jewish Sabbath & Holidays) The Sabbath feature can be used with baking only. The oven temperature may be set higher or lower after setting the Sabbath feature (the oven temperature adjustment feature should be used only during Jewish holidays). -
Page 32: Maintaining Your Appliance
• During the self-cleaning cycle, the outside of the range can become very hot to touch. Do not leave small children unattended near the appliance. CAUTION •... - Page 33 How to set the oven for self-cleaning 1. Select the length of time for the self-cleaning operation, eg. 3 hours. Press the SELF CLEAN pad once for a 3 hour clean time, twice for a 4 hour clean time, or 3 times for a 2 hour clean time. The default setting is 3 hours.
-
Page 34: Steam-Cleaning
SteAM-cleAninG How to set the oven for steam-cleaning Steam-cleaning saves time and energy for light cleaning. For heavier-duty cleaning of debris and grease, use the self-cleaning function. 1. Remove all accessories from the oven. 2. Pour approximately 10 oz. (300 ml) of water onto the bottom of the empty oven and close the oven door. -
Page 35: Care And Cleaning Of The Oven
Both the broil pan and insert may be cleaned with a commercial oven cleaner and are dishwasher-safe. • Do not store a soiled broil pan and insert anywhere in the range. These are not supplied with the range. • The oven vent is located above the right rear surface unit. -
Page 36: Care And Cleaning Of The Glass Cooktop
Oven racks • If the racks are left in the oven during a self-cleaning cycle, their color will turn slightly blue and the finish will be dull. After the self-cleaning cycle is complete and the oven has cooled, rub the sides of the racks with wax paper or a clothing containing a small amount of cooking oil. - Page 37 Removing heavy, burned-on residue 1. Allow the cooktop to cool. 2. Use the single-edge razor-blade scraper at approximately a 45° angle against the glass surface and scrape the soil. It will be necessary to apply pressure in order to remove the residue. 3.
-
Page 38: Removing And Replacing The Oven Door
reMoVinG And rePlAcinG the oVen door How to remove the door • The door is very heavy. Be careful when removing and lifting the door. Do not lift the door by the handle. CAUTION • Turn the power OFF before removing the door. 1. -
Page 39: Changing The Oven Light
5. Replace the light bulb and glass bulb cover by turning them clockwise. 6. Plug in the range or reconnect power. Before changing your oven light bulb, disconnect the electrical power to the range at the main fuse or circuit breaker panel. Make sure the oven and the bulb are cool. -
Page 40: Troubleshooting
Samsung works hard to ensure that you don’t have problems with your new electric range. If you run into unexpected trouble, look first for a solution in the table below. If, after trying the suggested solution, you’re still having trouble, call Samsung at 1-800-SAMSUNG (1-800-726-7864). - Page 41 The surface unit This is normal. frequently cycles on and off. The oven will not The range is not completely turn on. plugged into the electrical outlet. A fuse in your home may be blown or the circuit breaker tripped.
- Page 42 36. • Remove using a ceramic-glass cooktop cleaning cream. • Use cookware with clean, dry bottoms. • Allow the range to cool and reset the controls. • See the section on self-cleaning on page • This is normal. •...
- Page 43 PROBLEM POSSIBLE CAUSE Oven not clean after The oven controls were not set a self-cleaning cycle correctly. The oven was heavily soiled. Steam from the vent When using the convection feature, it is normal to see steam coming out of the oven vent. As the number of racks or amount of food being cooked increases, the amount of visible steam will...
- Page 44 SAMSUNG for problem determination and service procedures. Warranty service can only be performed by a SAMSUNG authorized service center. The original dated bill of sale must be presented upon request as proof of purchase to SAMSUNG or SAMSUNG’s authorized service center. Samsung will provide in-home service during the one (1) year warranty period at no charge subject to availability within Canada.
- Page 46 QUESTIONS OR COMMENTS? COUNTRy IN THE US IN CANADA CALL 1-800-SAMSUNG(726-7864) 1-800-SAMSUNG(726-7864) OR VISIT US ONLINE AT www.samsung.com/us www.samsung.com/ca DG68-00297A_EN...