Advertisement
Quick Links
Advertisement

Related Manuals for Jegs 90093

Summary of Contents for Jegs 90093
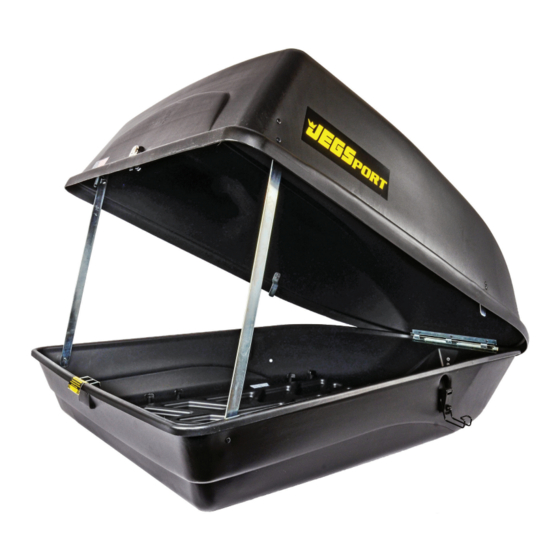
- Page 1 User Guide for 90093 Cargo Carrier 18 Cu.Ft. (510 cm...
-
Page 2: Table Of Contents
Table of Contents Parts List..............02 Read Before Installation........03 Caution..............03 Installation............04-07 Warning.............08 Safety..............08... -
Page 3: Parts List
Parts List (1) Rooftop Carrier [18 cu-ft] (4) Mounting Brackets (1) Caution Sticker (4) Clip Hooks (8) Threaded Knobs (2) Keys (4) Mounting Back Plates... -
Page 4: Read Before Installation
Caution Read Before Installation Thank you for your purchase of this JEGSPORT • Prior to assembly and installing the cargo 18 cu-ft Cargo Carrier. carrier carefully read and follow all instructions. Assembly and installation is your responsibility. Before installation, please be sure to verify that all of The manufacturer’s warranty is exclusively limit- the kit components have been received. -
Page 5: Installation
Installation Step 1 Step 2 Front of Base Front of Carrier 3 Tabs Place the lid onto the base at approximately a 30° angle. Move top lid in an up and down motion until THREE hinge tabs engage with slots. Back of Base Place the base on the ground. - Page 6 Installation Cont. Step 3 Step 4 Front of Carrier 22 in. Spacing Set cross rails at 22” on center. (See Note) Close the cargo carrier. Pull up on the lid at the front of the carrier to be sure the hinge tabs are engaged. Bale Latch Carefully place the assembled cargo carrier on the Clip Hook...
- Page 7 Installation Cont. Step 5 Step 6 Mounting Bracket Place the mounting bracket (#5) through the pre- drilled holes from below the vehicle cross rails as shown above. Lift the back of the cargo carrier lid to approximately 30° as shown above. Mounting Plate Then slide the mounting plate (#4) over the threaded posts inside the cargo carrier.
- Page 8 Installation Cont. Step 7 Step 7 Correct Load cargo carrier paying careful attention to distribute the weight evenly and not exceed the maximum allowed weight of the box or cross rails. Incorrect Be sure cargo carrier is fully closed. When this occurs, the yellow warning label will no longer be visible.
-
Page 9: Warning
Warning Check that all three bale latches are closed and secured with three clip hooks. Be sure a fourth clip hook is placed on center hinge tab on the inside front of cargo carrier. Lid will not lift up when pulled. Side alignment brackets must not be visible.