Advertisement
Quick Links
®
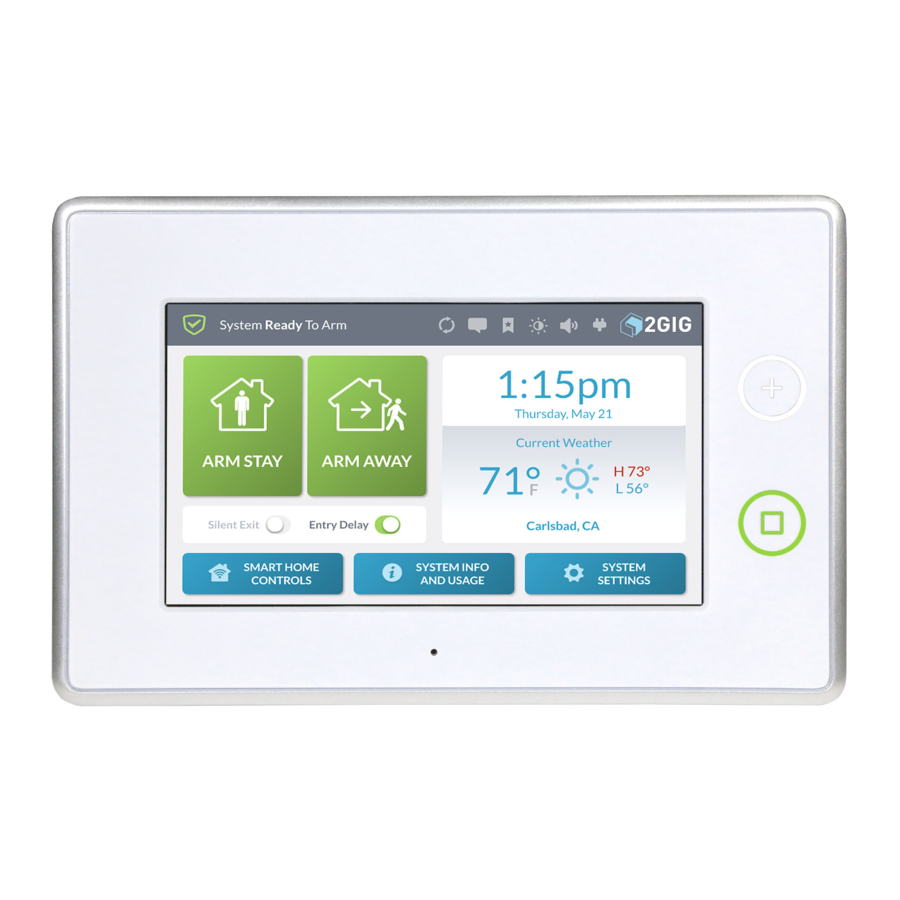
2GIG
GC3 Security & Automation System
2GIG-LTEV-A-GC3 | LTE Cellular Radio Module
10015237 B | Proprietary & Confi dential
Installing the GC3 LTE Cellular Radio Module
The 2GIG GC3 LTE Cellular Radio Module is a snap-in unit providing the GC3
Security & Automation System with communication to the Central Station for
alarm signaling and delivering (Over-the-Air) OTA fi rmware updates to the GC3
Panel. It also provides connectivity to the Remote Service Provider and 2-way
voice communication.
The module includes a built-in antenna to provide a consistently strong
communications signal. An optional external antenna Model 2GIG-ANT5XL-GC3
is also available.
Box Contents
Verify that the package includes the following:
»
—GC3 LTE Cellular Radio Module
Figure 1 GC3 LTE Cellular Radio Module
Install/Replace the Cellular Radio Module
To install/replace the Cellular Radio Module into a system that is completely
powered OFF:
1.
Open and remove the hinged door from the GC3 Control Panel.
Figure 2 Cellular Radio Module—Hinged Door
2.
If you are replacing a module, pull the tab to remove the Cellular Radio
Module. Otherwise, skip this step.
3.
Insert the new GC3 Cellular Radio Module until it clicks in place.
Figure 3 Inserting GC3 Cellular Radio Module
4.
Replace the hinged door.
5.
(Optional) Install the lock on the Cellular Radio Module bay door. See
"(Optional) Lock/Unlock the Cellular Radio Module Door."
6.
Power up the system and wait 30 to 40 seconds for the Control Panel
to recognize the Cell Radio Module.
7.
After installing the Cellular Radio Module, go to the Installer Toolbox
> System Confi guration > Radio Test. Then tap Start Radio Test.
8.
When the test reads "Success", tap Done.
PRINTER'S INSTRUCTIONS:
INSTR,INSTL, 2GIG-LTEV-A-GC3 - P/N: 10015237 B - INK: BLACK - MATERIAL: 20 LB MEAD BOND
SIZE: 8.500" X 11.000" - TOLERANCE: ± .125" - SCALE: 1-1 - SIDE 1 OF 2
Nortek Security & Control | 1950 Camino Vida Roble, Suite 150 | Carlsbad, CA 92008-6517 | USA | 800-421-1587 | www.nortekcontrol.com
To install/replace the Cellular Radio Module into a system that is powered ON:
1.
From the Home screen, go to System Settings > Cell Radio Swap.
2.
Tap Begin.
3.
Open and remove the hinged door from the GC3 Control Panel.
4.
If you are replacing a module, pull the tab to remove the Cellular Radio
Module. Otherwise, skip this step.
5.
Insert the new CG3 Cellular Radio Module until it clicks into place.
6.
Replace the hinged door.
7.
(Optional) Install the lock on the Cellular Radio Module bay door. See
"(Optional) Lock/Unlock the Cellular Radio Module Door".
8.
Tap Done.
9.
Tap Radio Test and then tap Start Radio Test.
10. When the test reads "Success", tap Done.
(Optional) Lock/Unlock the Cellular Radio Module Door
The Cellular Radio Module fi ts into the bay on the side of the GC3 Panel and
features a built-in door lock under the faceplate. The Control Panel ships with
the door-lock screw in the UNLOCK position. To limit the possibility of someone
removing the door, installers have the option of moving the screw to the LOCK
position.
To lock and unlock the Cellular Radio Module door:
1.
Use your fi ngertips or carefully insert a screwdriver at the edge of the
faceplate. Then gently pry the faceplate from the chassis.
Figure 4 GC3 Panel—Removing Faceplate
2.
Remove the door locking screw from the UNLOCK position on the right.
Figure 5 GC3 Panel—UNLOCK position
3.
Install the door locking screw into the LOCK position on the left. This
locks the hinged door on the GC3 Control Panel.
Figure 6 GC3 Panel—LOCK position
4.
Snap the faceplate back on the GC3 Control Panel.
Copyright © 2017 Nortek Security & Control LLC
Advertisement

Related Manuals for 2gig Technologies GC3


Summary of Contents for 2gig Technologies GC3
- Page 1 10. When the test reads “Success”, tap Done. (Optional) Lock/Unlock the Cellular Radio Module Door The Cellular Radio Module fi ts into the bay on the side of the GC3 Panel and features a built-in door lock under the faceplate. The Control Panel ships with the door-lock screw in the UNLOCK position.
- Page 2 PRINTER’S INSTRUCTIONS: INSTR,INSTL, 2GIG-LTEV-A-GC3 - P/N: 10015237 B - INK: BLACK - MATERIAL: 20 LB MEAD BOND SIZE: 8.500” X 11.000” - TOLERANCE: ± .125” - SCALE: 1-1 - SIDE 2 OF 2 ® 2GIG GC3 Security & Automation System 2GIG-LTEV-A-GC3 | LTE Cellular Radio Module 10015237 B | Proprietary &...