Advertisement
2 SLICE TOASTER
Model Number:
169210
UPC: 681131692106
Customer Assistance
1 877 207 0923 (US)
1 877 556 0973 (Canada)
Thank you for purchasing a small GE appliance.
In keeping with the GE ecomagination initiative, please consider the option to recycle
the packaging material and donate the appliance you are no longer using.
To read more about GE's ecomagination commitment, visit:
ge.ecomagination.com
Advertisement
Table of Contents

Related Manuals for GE 681131692106


Summary of Contents for GE 681131692106
- Page 1 1 877 556 0973 (Canada) Thank you for purchasing a small GE appliance. In keeping with the GE ecomagination initiative, please consider the option to recycle the packaging material and donate the appliance you are no longer using. To read more about GE's ecomagination commitment, visit:...
-
Page 2: Important Safeguards
• Do not use outdoors. • Do not let cord hang over edge of table or counter, or touch hot surfaces. • Do not place on or near a hot gas or electric burner, or in a heated oven. • To disconnect, turn every control to “off”, then remove plug from the wall outlet. • Do not use this appliance for anything other than its intended use. • Oversized foods, metal foil packages, or utensils must not be inserted in the toaster as they may cause a risk of fire or electric shock. • A fire may occur if the toaster is covered or touching flammable material, including curtains, draperies, walls, etc., when in operation. • Do not attempt to dislodge food when toaster is plugged in. • Do not operate toaster unattended. • Risk of fire if the crumb tray is not cleaned regularly. • Do not use metal scouring pads for cleaning. Pieces can get broken, and there is a risk of electric shock if the pad comes in contact with electrical parts. -
Page 3: Additional Safeguards
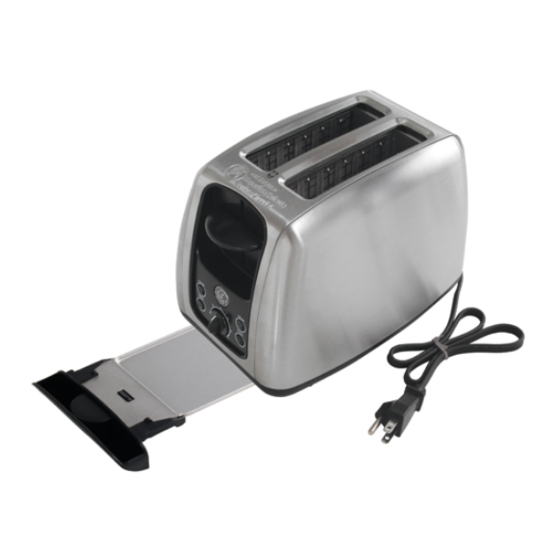
ADDITIONAL SAFEGUARDS This appliance is for HOUSEHOLD USE ONLY. DO NOT OPERATE APPLIANCE IF THE LINE CORD SHOWS ANY DAMAGE, OR IF APPLIANCE WORKS INTERMITTENTLY OR STOPS WORKING ENTIRELY. Extension cord use A short power-supply cord is to be provided to reduce the risk resulting from becoming entangled in or tripping over a longer cord. - Page 4 Slots with self-centering guides Toast lift Power cord with power plug Cord storage reheat button PARTS frozen button Crumb tray Electronic browning control knob (browning levels: 1 to 7) bagel button cancel button...
- Page 5 ILLUSTRATIONS...
-
Page 6: Operation
NOTE: Due to the manufacturing process, the toaster may emit a slight burning odor. Let the toaster complete a few toasting cycles without food, until no odor or smoke is present. Note: use the toaster in a well ventilated area and select 7 as the highest setting. - Page 7 (1). Pull the toast lift (2) upwards to lift the toast food higher for ease of removal (ill. i ). • Always unplug the toaster from the wall outlet when not in use. NOTE: The toast lift (2) will not stay in the down position unless the toaster is connected to an energized wall outlet. Reheat •...
-
Page 8: Combining Programs
Do not use a fork or other metallic utensils to remove lodged food as this may result in electric shock or fire (ill. k ). • Use a soft cloth or a damp sponge and a mild detergent to clean the outside of the toaster and the cord (3). Do not use any abrasive cleaning agents, metallic utensils, metal scouring pads, etc. To clean the crumb tray (7), pull it out completely and throw crumbs away. •... -
Page 9: Troubleshooting
Solution Check power connection. The plug (3) should be inserted properly in the outlet. Unplug the toaster and let cool. Carefully remove the slice(s) from the toaster. The selected browning setting is too high or too low. The selected browning setting is too high for the type of food which is being toasted. -
Page 10: Customer Assistance
Two years. What will we do? • Provide you with a new one. • For those items still under warranty but no longer available, WAL-MART reserves the right to replace with a similar GE branded product of equal or greater value. How do you make a warranty claim? • Save your receipt. • Properly pack your unit. We recommend using the original carton and packing materials.