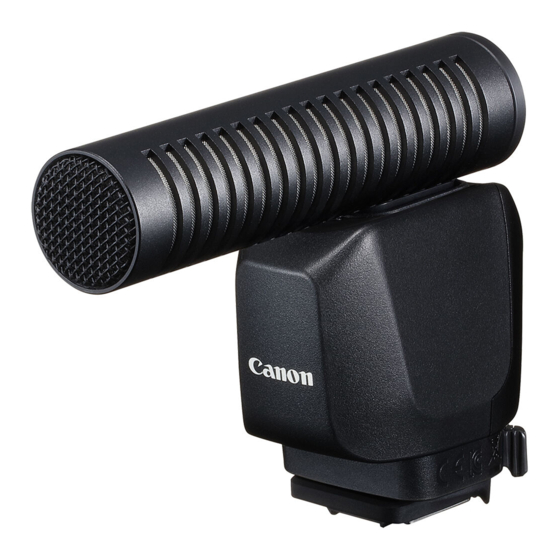
Summary of Contents for Canon DM-E1D
- Page 1 Multi-Function Shoe Directional Stereo Microphone Advanced User Guide CT2-D162-A © CANON INC. 2022...
-
Page 2: Table Of Contents
Contents Introduction..........3 Instruction Manual. -
Page 3: Introduction
Introduction The Multi-Function Shoe Directional Stereo Microphone DM-E1D is an external microphone for video shooting that can be mounted on cameras equipped with a Multi-Function Shoe. Read before use To avoid shooting problems and accidents, first read the Safety Instructions. Also read this Advanced User Guide carefully to ensure correct use. -
Page 4: Instruction Manual
Instruction Manual The "Instructions" provided with the product explain the basics of the product. Advanced User Guide Complete instructions are provided in this Advanced User Guide. For the latest Advanced User Guide, refer to the following website. https://cam.start.canon/A007/... -
Page 5: About This Guide
About This Guide Icons in This Guide Basic Assumptions Icons in This Guide Links to pages with related topics. Warning to prevent shooting problems. Supplemental information. Basic Assumptions These explanations assume that the camera's power is turned on. It is assumed that all the menu settings, Custom Functions, etc., are set to their defaults. -
Page 6: Safety Instructions
Safety Instructions Be sure to read these instructions in order to operate the product safely. Follow these instructions to prevent injury or harm to the operator of the product or others. WARNING Denotes the risk of serious injury or death. Keep the product out of the reach of young children. -
Page 7: Names Of Parts
Names of Parts < > Menu button Mounting foot lock lever Lock-release button Cover Wind screen... -
Page 8: Attaching And Removing
Attaching and Removing Attaching the Microphone to the Camera Attaching the Wind Screen to the Microphone Removing the Microphone from the Camera Attaching the Microphone to the Camera Turn off the camera's power Remove the shoe cover from the accessory shoe on the camera Remove the cover from the microphone... - Page 9 Attach the microphone to the accessory shoe on the camera Insert the mounting foot of the microphone until it clicks into the accessory shoe on the camera. Secure the microphone Slide the mounting foot lock lever. Lock it so it clicks. Caution Make sure the microphone is securely attached.
- Page 10 Attaching the Wind Screen to the Microphone This has the effect of reducing noise from wind, etc. Caution Do not pull on or wash the wind screen, as fibers can easily come out due to the material it is made from. A loss of fibers causes a reduction in the noise reduction effect of the wind screen.
- Page 11 Removing the Microphone from the Camera Turn off the camera's power Release the lock While pressing the lock-release button, slide the lock lever. Remove the microphone from the camera Put the cover on the microphone's contacts to protect the contacts.
-
Page 12: Settings
Settings Operate the camera's menus to set up the microphone. Attach the microphone to the camera ( Turn on the camera's power Caution If a transmission error appears on the camera's monitor, turn off the camera's power, and then reattach the microphone. Arrange the camera to shoot video Press the <... - Page 13 Check the settings Auto The sound-recording level is adjusted automatically. Sound recording/ Manual Rec. level You can adjust the sound-recording level as needed. Disable Sound will not be recorded. Set to [Enable] to reduce wind noise when there is wind outdoors. Wind filter When the wind filter function takes effect, part of the low bass sounds will also be reduced.
- Page 14 Caution The functions that can be set and the initial values vary depending on the camera being used. Be sure to check the settings before use. Do not apply excessive force to the microphone installation part of the camera. Doing so may cause it to break. Do not hold the camera by the microphone when the microphone is attached to the camera.
-
Page 15: Specifications
Operating humidity:85% or less Dimensions:Approx. 41.3 × 87.4 × 108.6 mm/1.63 × 3.44 × 4.28 in. Weight:Approx. 136 g/4.80 oz. (main body only) All this data is based on Canon’s testing standards. The product specifications and exterior are subject to change without notice.
