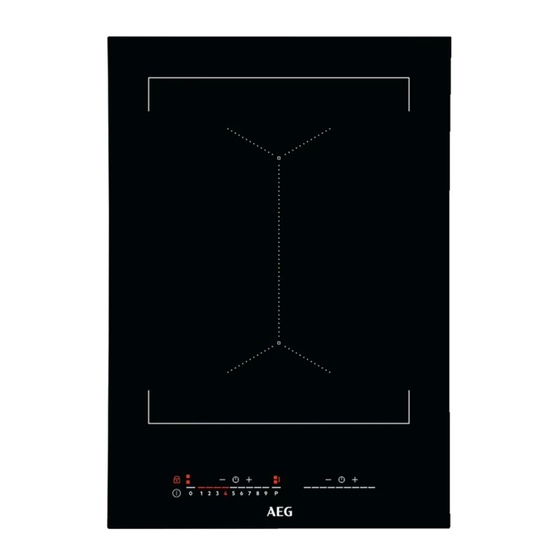
AEG IKE42640KB User Manual
Hide thumbs
Also See for IKE42640KB:
- User manual (408 pages) ,
- User manual (64 pages) ,
- User manual (40 pages)
Table of Contents
Advertisement
Quick Links
Advertisement
Table of Contents

Summary of Contents for AEG IKE42640KB
- Page 1 IKE42640KB User Manual USER MANUAL...
-
Page 2: Table Of Contents
FOR PERFECT RESULTS Thank you for choosing this AEG product. We have created it to give you impeccable performance for many years, with innovative technologies that help make life simpler – features you might not find on ordinary appliances. Please spend a few minutes reading to get the very best from it. - Page 3 installation or usage. Always keep the instructions in a safe and accessible location for future reference. 1.1 Children and vulnerable people safety This appliance can be used by children aged from 8 years • and above and persons with reduced physical, sensory or mental capabilities or lack of experience and knowledge if they have been given supervision or instruction concerning the use of the appliance in a safe way and understand the...
-
Page 4: Safety Instructions
CAUTION: The cooking process has to be supervised. A • short term cooking process has to be supervised continuously. WARNING: Danger of fire: Do not store items on the • cooking surfaces. Metallic objects such as knives, forks, spoons and lids •... - Page 5 • Seal the cut surfaces with a sealant to • Make sure not to cause damage to the prevent moisture from causing swelling. mains plug (if applicable) or to the mains • Protect the bottom of the appliance from cable. Contact our Authorised Service steam and moisture.
- Page 6 2.4 Care and cleaning from the power supply. This to prevent an electrical shock. • Clean the appliance regularly to prevent • Users with a pacemaker must keep a the deterioration of the surface material. distance of minimum 30 cm from the •...
-
Page 7: Installation
3. INSTALLATION 3.5 Assembly WARNING! Refer to Safety chapters. 3.1 Before the installation Before you install the hob, write down the information below from the rating plate. The rating plate is on the bottom of the hob. min. 500mm Serial number ......min. - Page 8 min. 2 mm min. 12 mm min. 2 mm > 20 mm min. 500 mm 12 mm 57 mm 28 mm 41 mm 38 mm 31 mm 3.6 Installation of more than one min. 2 mm Use only a special heat-resistant silicone.
- Page 9 • Insert the next appliance into the worktop cutout. Make sure that the front edges of 360 mm 360 mm 20 mm 700 mm the appliances are on the same level. Assembly • Calculate correct cutout dimensions. • Prepare the worktop cutout. •...
-
Page 10: Product Description
4. PRODUCT DESCRIPTION 4.1 Cooking surface layout Induction cooking surface Control panel 4.2 Control panel layout Use the sensor fields to operate the appliance. The displays, indicators and sounds tell which functions operate. Sensor field Comment To activate and deactivate the hob. To activate and deactivate Lock or Child Safety Device. -
Page 11: Daily Use
Sensor field Comment To activate and deactivate Pause. To activate PowerBoost. To set a heat setting: 0 - 9. 5. DAILY USE WARNING! Heat setting The hob deactivates Refer to Safety chapters. after 5.1 Activating and deactivating 6 - 9 1.5 hours Touch for 1 second to activate or... - Page 12 control bar and indicates the position of the • when the hob is deactivated but the pot. cooking zone is still hot. Each square on the control panel represents The indicator disappears when the cooking one cooking zone on the induction cooking zone has cooled down.
- Page 13 the heat level to 0. As a result, a signal For maximum duration values, sounds and the timer is cancelled. refer to "Technical data". CountUp Timer 5.8 Pause You can use this function to monitor how When the function is active, long a cooking zone operates.
-
Page 14: Hints And Tips
Touch to activate the function. 1. Touch for 3 seconds to activate the The symbol turns red and blinks. function. The display comes on and goes out. To deactivate the function, touch . The symbol turns white. 2. Touch for 3 seconds. comes on. - Page 15 6.1 Cookware cooking session. This might impact the functioning of the control panel or accidentally activate hob functions. For induction cooking zones a strong electro-magnetic field Refer to "Technical data". creates the heat in the cookware very quickly. 6.2 The noises during operation Use the induction cooking zones with suitable cookware.
-
Page 16: Care And Cleaning
Heat setting Use to: Time Hints (min) 1 - 2 Solidify: fluffy omelettes, baked eggs. 10 - 40 Cook with a lid on. 2 - 3 Simmer rice and milkbased dishes, 25 - 50 Add at least twice as much liquid as heat up ready-cooked meals. - Page 17 8.1 What to do if... Problem Possible cause Remedy You cannot activate or operate The hob is not connected to an elec‐ Check if the hob is correctly connected the hob. trical supply or it is connected incor‐ to the electrical supply. rectly.
-
Page 18: Technical Data
Make sure, you operated the hob correctly. If not the 9. TECHNICAL DATA 9.1 Rating plate Model IKE42640KB PNC 949 597 883 00 Typ 61 A2A 00 AD 220 - 240 V 50 - 60 Hz Induction 3.65 kW... -
Page 19: Environmental Concerns
BS EN 60350-2 - Household electric cooking • If it is possible, always put the lids on the appliances - Part 2: Hobs - Methods for cookware. measuring performance. • Before you activate the cooking zone put the cookware on it. The energy measurements referring to the •... - Page 20 www.aeg.com/shop...


