Table of Contents
Advertisement
Quick Links
CH3 & KENWOOD RADIO
PRODUCTS REQUIRED
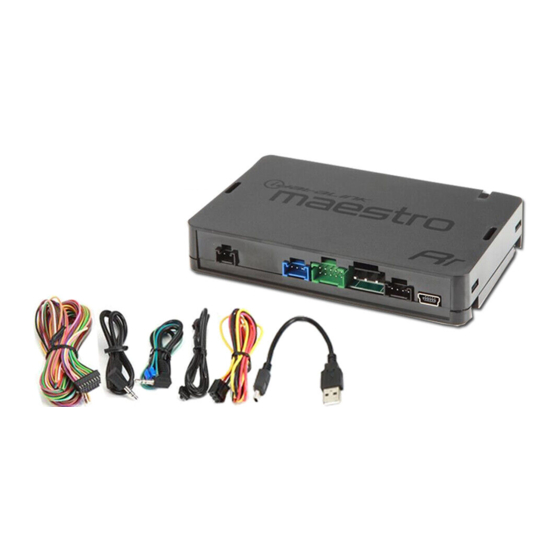
•iDatalink Maestro RR Radio Replacement Interface
•CH3 Installation Harness
NOTICE: Automotive Data Solutions Inc. (ADS) recommends having this installation performed by a certified technician. Logos and trademarks used here
in are the properties of their respective owners.
OWNER'S GUIDE
RETAINS STEERING WHEEL CONTROLS,
FACTORY SETTINGS AND MORE!
OPTIONAL ACCESSORIES
•ADS-SP1
PROGRAMMED FIRMWARE
ADS-RR(SR)-CHR03-DS
Advertisement
Table of Contents

Summary of Contents for Maestro iDatalink Maestro RR
- Page 1 PROGRAMMED FIRMWARE •ADS-SP1 ADS-RR(SR)-CHR03-DS •iDatalink Maestro RR Radio Replacement Interface •CH3 Installation Harness NOTICE: Automotive Data Solutions Inc. (ADS) recommends having this installation performed by a certified technician. Logos and trademarks used here in are the properties of their respective owners.
-
Page 2: Table Of Contents
USING YOUR STEERING WHEEL CONTROLS See Your Quick Reference Card USING MAESTRO FEATURE Congratulations on the purchase of your iDatalink Maestro RR Radio VEHICLE INFO replacement solution. You are Access and Display Vehicle Info Screen now a few simple steps away from... -
Page 3: Using Your Steering Wheel Controls
A quick reference card showing your steering wheel confi guration can be printed on the Maestro website during the fl ashing process. If you had your product installed professionally, ask your installer to print this card for you during installation. -
Page 4: Using Maestro Feature
5 mph or 8 km/h. •TPMS Alert Enables the Vehicle Info screen to be displayed automatically when a TPMS fault is detected (only if TPMS is available in the vehicle and supported by Maestro). Automotive Data Solutions Inc. © 2015 KEN-RR(SR)-CHR03-DS-OG-EN... -
Page 5: Gauges
During the installation, the default gauge choices will be displayed. When the Maestro RR module is installed, the vehicle is queried and the gauges that can be supported are enabled. -
Page 6: Fuel Economy
USING MAESTRO FEATURES - GAUGES USING MAESTRO •Fuel Economy For accurate fuel economy information, the fuel tank capacity must be entered in this FEATURES - section of the settings menu. GAUGES •Validate PIDs (Parameter Identifi ers) Accesses the factory system to determine which gauges can be supported. This is done automatically when the module powers up. -
Page 7: Climate
USING MAESTRO FEATURES - CLIMATE USING MAESTRO CLIMATE FEATURES - Access And Display Climate Screen In the My Car submenu, press on Climate to CLIMATE display information about the climate controls. Depending on the OEM climate system, the status of the climate controls is able to be shown or controlled in some vehicles. -
Page 8: Parking Assist
Access And Display Parking Assist Screen In the My Car submenu, press on Parking PARKING Assist to see the visual parking assist screen. This option will only be available if the Maestro ASSIST detects that your vehicle is equipped a compatible factory parking sensor system. -
Page 9: Changing Other Settings
Weblink Updater. The Gain setting will change the gain of the factory amplifi er. The Amplifi er Retention setting is used to tell the Maestro module if you are using (retaining) the factory amplifi er or if you have bypassed it.
