Advertisement
Quick Links
This product works with the following operating
Windows XP, Windows
system software:
2000, Windows Me, Windows 98SE
Before You Begin
You must have at least the following:
•
You will need a computer with an available USB port to connect the
DWL-120 Wireless USB adapter.
•
At least a 300 MHz processor and 32 MB of memory
•
An 802.11b Access Point (for Infrastructure Mode) or another 802.11b wireless
adapter (for Ad-Hoc; Peer-to-Peer networking mode.)
Check Your Package Contents
These are the items included with your DWL-120 purchase:
If any of the above items are missing, please contact your reseller.
© 2003 D-Link Systems, Inc. All rights reserved. Trademarks or registered trademarks are the property of their respective holders. Software and
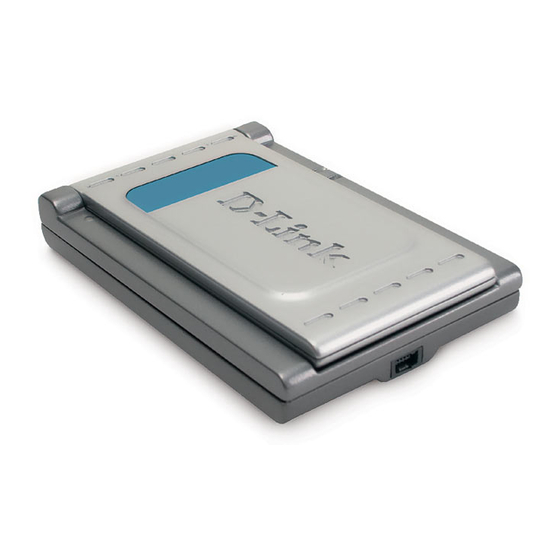
DWL-120 Wireless USB Adapter
CD-ROM (containing Drivers, Manual and Warranty)
USB Cable
specifications subject to change without notice. DWL-120 10242003
DWL-120
2.4GHz USB
Wireless Adapter
Advertisement

Summary of Contents for D-Link DWL-120
- Page 1 If any of the above items are missing, please contact your reseller. © 2003 D-Link Systems, Inc. All rights reserved. Trademarks or registered trademarks are the property of their respective holders. Software and specifications subject to change without notice. DWL-120 10242003...
- Page 2 DWL-120 Overview Antenna Used to wirelessly connect to 802.11b networks. Link/Activity LED Link - Indicates that the DWL-120 is properly installed in the computer. Activity - blinks when data is being transmitted through the wireless connection. Mini-USB Port Used to connect the DWL-120 to your computer.
- Page 3 If the CD Autorun function does not automatically start on your computer , type “D:\Driver\Setup.exe” If it does start, proceed to the next screen. Type “D:\Driver\Setup.exe.” The letter “D” represents the letter of the CD-ROM drive. Your CD-ROM drive may be a different drive letter.
- Page 4 Click Finish Shut down your computer Installing the DWL-120 Wireless USB Adapter to Your Laptop Computer Make sure to turn off your computer. Install the DWL-120, firmly Firmly insert the other end of insert one end of the USB...
-
Page 5: Restart Your Computer
Restart Your Computer When you restart your computer this Found New Hardware Wizard (Windows XP) screen will appear: Select Install the software automatically (Recommended) Click Next Windows XP will automatically load the driver files. Click Continue Anyway Click Finish... - Page 6 Your Installation is Complete! After you’ ve continued in Windows XP (or after the computer restarts in the other Windows operating systems), the D-Link Air DWL-120 Configuration Utility will automatically start and the utility icon will appear in the bottom right hand corner of the desktop screen (systray).
- Page 7 120 will automati- strength between pending on the cally adjust channel the access point distance from the depending on the and the DWL-120. access point. Access Point. The percentage coincides with the graphical bar. Packet Count: Graphically displays the statistics of data...
- Page 8 Appendix Using the Configuration Utility (cont.) SSID: The Service Set Identifier is the name as- Wireless Mode: signed to the wireless Data Encryption: The factory setting is network. The factory SSID default setting is set to set to Infrastructure. setting is set to default. Make Disabled.
-
Page 9: Ip Address Configuration
IP Address Configuration To connect to a network, make sure the proper network settings are configured for DWL-120. Microsoft Windows XP: Go to Start > right click on My Network Places > select Properties > Double-click on the Network Connection associated with the DWL-120. - Page 10 Go to Start > Settings > Network and Dial-up Connections > Double-click on Local Area Connection associated with the DWL-120 > select Properties Click Internet Protocol (TCP/IP) Click Properties Dynamic IP address setup Used when a DHCP server is available on the local network.
- Page 11 Go to Start > Settings > Control Panel > Double- click on the Local Area Connection associated with the DWL-120 > select Properties Click Internet Protocol (TCP/IP) Click Properties Dynamic IP address setup Used when a DHCP server is available on the local network.
-
Page 12: Technical Support
Technical Support You can find the most recent software and user documentation on the D-Link website. D-Link provides free technical support for customers within the United States for the duration of the warranty period on this product. U.S. customers can contact D-Link technical support through our web site or by phone.


