Table of Contents
Advertisement
Quick Links
Advertisement
Table of Contents

Related Manuals for AEG 88840


Summary of Contents for AEG 88840
- Page 1 LAVATHERM 88840 User manual ProSteam condenser dryer...
-
Page 2: Table Of Contents
Contents Thank you for choosing one of our high-quality products. To ensure optimal and regular performance of your appliance please read this instruction manual carefully. It will enable you to navigate all processes perfectly and most efficiently. To refer to this manual any time you need to, we recommend you to keep it in a safe place. -
Page 3: Operating Instructions
Operating Instructions Important safety information Only operate the ProSteam programmes with distilled water! Mains water causes damage to the appliance. In the interest of your safety and to ensure the correct use, before installing and first using the appliance, read this user manual carefully, including its hints and warnings. - Page 4 Important safety information • When removing from the socket, never pull the mains plug by the cable, instead take a hold of the plug. • The height adjustable screw feet must never be removed. • The plug must be accessible after installing the machine •...
-
Page 5: Environment
• Do not dry unwashed items in the tumble dryer. • Do not overload the appliance. See the relevant section in the user manual. • Clothes which are dripping wet should not be placed in the dryer. • Garments which have been in contact with volatile petroleum products should not be machine dried. -
Page 6: Environmental Tips
Environment your local council, your household waste disposal service or the shop where you purchased the product. Environmental tips • In the dryer, laundry becomes fluffy and soft. Fabric softeners are not therefore needed when washing. • Filtered condensed water can be used for ProSteam programmes. •... -
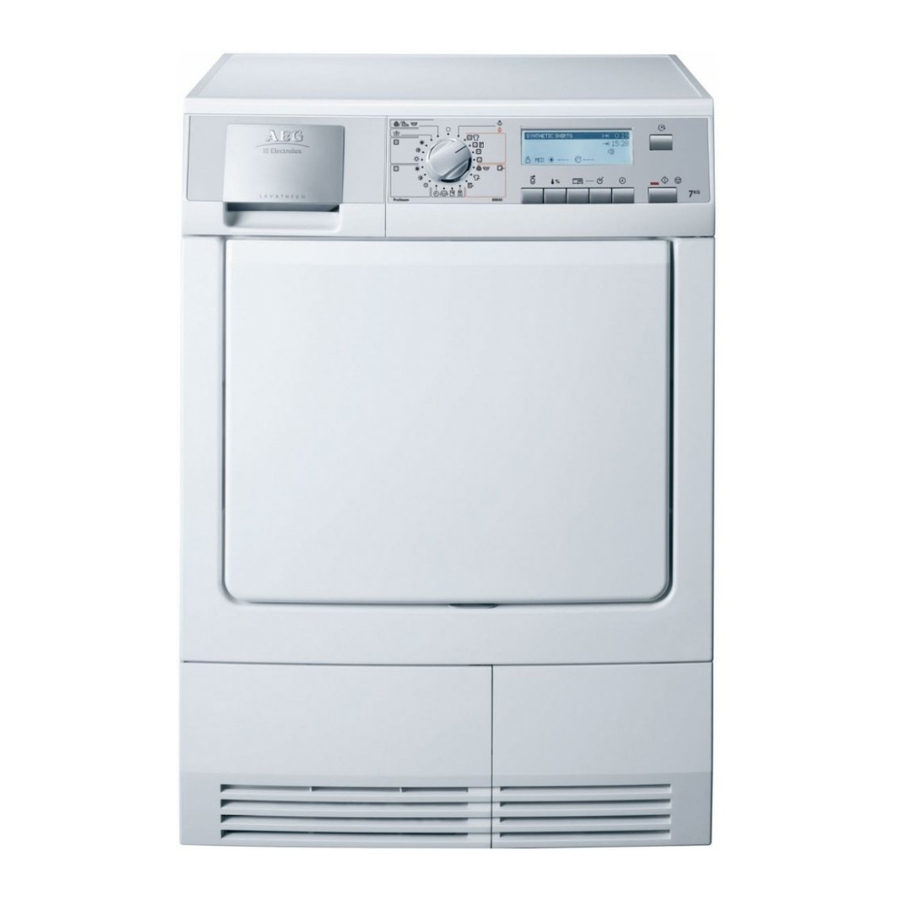
Page 7: Product Description
Product description Control panel Water recirculation valve/filter Filler neck for steam water tank Water reservoir Fine fluff filters Drum light Drying rack Loading door (reversible) / course fluff filters Fluff filters Rating plate Button for opening door in plinth Heat exchanger Ventilation grille Heat exchanger door Adjustable feet... -
Page 8: Control Panel
Control panel Control panel Programme knob and OFF switch Function buttons START PAUSE button DELAY START button Status LED Display Display The display can show the following basic messag- Currently set ProSteam or drying programme name and cycle duration. Expected time of cycle end. Option icon after option selection. -
Page 9: First Start-Up
DRYNESS not selecta- SPIN SPEED not select- able BUZZER CHILD LOCK The DELICATEand SENSITIVE options cannot be selected together First start-up Switching machine on / switching light on Turn the programme selector to any programme or turn it to DRUM LIGHT. The machine has been switched on. -
Page 10: Setting The Time
First start-up 1. Press the OPTION button repeatedly, until the desired language appears in the dis- play. 2. To confirm the choice press the OK button. After this a text appears asking you again to confirm the set language. This step is added to ensure that you did not set a language by mistake. -
Page 11: Sorting And Preparing Laundry
Sorting and preparing laundry Sorting laundry • Sort by fabric type: – Cotton/linen for programmes in COTTONS pogramme group. – Mixtures and synthetics for programmes in SYNTHETICS programme group. • Sorting by care label. The care labels mean: Drying in the tumble dryer possible in prin- ciple Do not place in the appliance any wet laundry which is not specified on the care label as... -
Page 12: Laundry Weights
ProSteam system Laundry weights Type of laundry Bathrobe Napkin Quilt cover Sheet Pillow case Tablecloth Towelling towel Tea cloth Night dress Ladies' briefs Man's work shirt Man's work shirt Man's pyjamas Blouse Men's underpants Opening loading door / loading laundry 1. -
Page 13: Water Recirculation System
fill up the steam water tank with distilled water. Otherwise, you will not be able to start any ProSteam programme. Pull drawer containing condensed water contain- er out a little 1, then pull the water tank’s filler neck 2 Important! Only fill the water tank with dis- tilled or fully desalinated water. - Page 14 ProSteam system 2. Turn the valve to the ON position. Water will be supplied by the water circuit di- rectly to the steam water tank filling it automatically during the next drying cy- cle. The steam water tank is empty. Please fill it and then press START If valve is closed (OFF position) - recirculation system does not work.
-
Page 15: Overview Of Prosteam Programmes
Overview of ProSteam programmes Programmes COTTON SHIRTS SYNTHETIC SHIRTS COTTONS EASY CARE WOOL REFRESH (rack) CASUAL REFRESH BUSINESS REFRESH 1) only with drying rack installed 2) SPIN SPEED not selectable 3) LONG ANTI-CREASE not selectable 4) for more details refer to Textile Guide leaflet. All information on applications is for guidance only. - Page 16 ProSteam system Programme STEAM LEVEL COTTON SHIRTS SYNTHETIC SHIRTS COTTONS EASY CARE WOOL REFRESH (rack) CASUAL REFRESH BUSINESS REFRESH 1) exact programme times appear in the display once the machine has performed wet/dry recognition (approx. 2 min.) All information provided on selecting the steam level and corresponding load are suggestions only.
-
Page 17: Selecting The Programme
Selecting the programme Use the programme selector to set the programme you require. The estimated programme duration (in hours and minutes) appears in the multi-dis- play as well as cycle finish time. Select STEAM LEVEL To achieve the best results, different steam levels are required for different volumes of laundry. -
Page 18: Setting Delay Function
ProSteam system LONG ANTICREASE A 90 minute anti-crease phase is set. The display now shows the long anti-crease icon. If this additional option is selected, the anti-crease phase (30 min.) at the end of the ProS- team cycle is lengthened by 60 minutes. The laundry can be removed at any time during the anti-crease phase. -
Page 19: Starting The Prosteam Programme
1. Select the programme and additional functions/options if necessary. 2. Press the DELAY button as many times as necessary. During selection, END TIME of the cycle increases in the display and delay icon If you reach 20 hours of start delay and you press the button again, the time delay is cancelled and delay icon disappears. -
Page 20: Putting In Extra Items Or Taking Items Out Before End Of Programme
ProSteam system Putting in extra items or taking items out before end of programme 1. Open loading door. WARNING! Laundry and drum can become hot. Risk of burns! 2. Load or remove laundry items. 3. Close loading securely. Lock must audibly lock. 4. -
Page 21: Drying
Drying Drying programmes overview Programme EXTRA DRY 7 kg CUPBOARD 7 kg DAMP 7 kg EXTRA DRY 3 kg CUPBOARD 3 kg DAMP 3 kg For thin fabrics which are also to be ironed, e.g. knitwear, shirts. TIMED PRO- 7 kg GRAMME SPORTS LIGHT 2 kg For sportswear, thin fabrics, polyester, which are not ironed. -
Page 22: Selecting The Programme
Drying Programme SILK 1 kg For drying silk using warm air and gentle movement. WOOL / SHOE 1 kg RACK 1) select DELICATE 2) DRYNESS not selectable 3) SPIN SPEED not selectable 4) SENSITIVE not selectable 5) DELICATE set as default 6) LONG ANTI-CREASE not selectable Option DELICATE and SENSITIVE cannot be selected together Selecting the programme... -
Page 23: Selecting Additional Options
CAUTION! Make sure that by selecting the DRYNESS function, you do not over-dry your wool or silk. Selecting additional options The additional options available for the drying programmes are DELICATE, SENSITIVE, LONG ANTICREASE, BUZZER, SPIN SPEED 1. By turning the knob choose a drying programme. 2. -
Page 24: Selecting Time
Drying – Before programme is started: appliance cannot be used – After programme is started: programme in operation cannot be changed The child lock icon appears in the display to indicate that the child lock is activated. The child lock is not deactivated once the programme comes to an end. If you want to set a new programme, you must first deactivate the child lock. -
Page 25: Changing A Programme
Changing a programme To change a programme which has been selected by mistake once the programme has started, first turn the programme selector to OFF and then reset the programme. The programme can no longer be changed directly once the programme has started. If you nevertheless attempt to change the programme with the programme knob the following message is shown: Please turn programme selector to the last used position. - Page 26 Drying rack Sports shoes cannot be dried without the rack, they can damage the drum due to their weight. For first unpacking of the rack please refer to the installation chapter. WARNING! Before installing the rack check the dryer drum. It must be empty! 1.
-
Page 27: Care And Cleaning
4. Select the required programme run time, selectable with an interval of 10 min, from 30 min. up to 180 minutes. Press the TIME button as many times as necessary until the required programme running time is shown in the display. 5. - Page 28 Care and cleaning Push down unlock button on large mesh filter. Large mesh filter jumps up. Take out fine strainer. Remove fluff from fine strainer. It is best to use a damp hand for this purpose. Clean the entire filter area The strainer area does not have to be cleaned after every drying cycle, but should be checked regularly and cleaned...
-
Page 29: Cleaning The Door Seal
If the fine strainer is not fitted, the large mesh filter will not snap into place and the loading door cannot be closed. Cleaning the door seal Wipe the door seal with a damp cloth immediately after the drying cycle has finished. Emptying the condensate tank Empty condensed water container after every drying cycle. -
Page 30: Cleaning Heat Exchanger
Care and cleaning The condensate tank has a volume of approx. 4 litres. This is sufficient for around 7 kg of laundry which has previously been spun at 1000 revolutions/ minute. 4. The condensed water can be used as dis- tilled water, e.g. -
Page 31: Cleaning The Water Recirculation Valve/Filter
5. Use the handle to pull the heat exchanger out of the base and carry it horizontally to prevent any remaining water from spilling. 6. To empty the heat exchanger, hold verti- cally over a washing-up bowl. CAUTION! Do not use sharp objects to clean. The heat exchanger could develop leaks. -
Page 32: Clean Operating Screen And Housing
What to do if ... Clean operating screen and housing CAUTION! Do not use furniture cleaners or aggressive cleaning agents to clean the machine. Use a damp cloth to wipe down the operating screen and housing. What to do if ... Troubleshooting by yourself If, during operation, the warning message appears on the LCD follow strictly guides included in the message on the display. - Page 33 Drying results unsatisfactory. Loading door does not close. Message on the display: Please check if the door is closed prop- erly and then press START. When a button is pressed - no reaction of the machine. Drum light does not work. Displayed programme time changes erratically or stays un- changed for a long time.
-
Page 34: Changing The Bulb For Interior Lighting
What to do if ... Drying cycle lasts an unusually long time. Note: After around 5 hours the drying cycle ends au- tomatically (see „Drying cycle complete ”). Discolouration Changing the bulb for interior lighting Only use a special bulb which is designed specially for dryers. The special bulb can be obtained from your local service centre. -
Page 35: Settings
SETTINGS The special options that can be set under SETTINGS remain permanently stored independent of each drying cycle – even after the appliance has been switched off or the mains plug has been removed from the socket. To enter the settings: 1. - Page 36 SETTINGS WATER HARDNESS Water contains, a variable quantity of limestone and mineral salts of which quantities vary according to geographical locations thus varying its conductivity values. Relevant variations of the conductivity of the water compared to those prefixed by the factory could slightly influence the residual humidity of the laundry at the end of the cycle.
-
Page 37: Technical Data
Technical data This appliance conforms with the following EU Directives: – 2006/95/EC dated 12.12.2006 Low Voltage Directive – 89/336/EEC dated 03.05.1989 EMC Directive inclusive of Amending Directive 92/31/EEC – 93/68/EEC dated 22.07.1993 CE Marking Directive Height x width x depth Drum volume Depth with loading door open Height can be adjusted by... -
Page 38: Installation
Installation • Energy consumption (corrected with final humidity) during the cupboard dry cotton cycle with half load. • Final humidity (during cupboard dry cotton, iron dry cotton and cupboard dry easy care) • Condensation efficiency (corrected with final humidity) during cupboard dry cotton cycle with nominal and half load (with valve/filter of the water recirculation system in OFF position). -
Page 39: Removing Transport Safety Packaging
Removing transport safety packaging CAUTION! Before use all parts of the transport packaging must be removed. 1. Open loading door 2. Pull off adhesive strips from inside machine on top of drum. 3. Remove foil hose and polystyrene pad- ding from the machine. Drying rack unpacking CAUTION! Before use all packaging parts and rack must be removed from the drum... -
Page 40: Electrical Connection
Installation 3. Pull slightly rack handle (not to the end). Grasp at it harder and lift it up. For easiest unpacking turn the rack upside down 4. Take it carefully out of the drum. 5. Remove from the drum rest of packing elements. -
Page 41: Door Reversal
WARNING! The power supply cable must be accessible after installing the machine. Permanent connection In the case of permanent connection it is necessary that you install a double pole switch between the appliance and the electricity supply (mains), with a minimum gap of 3 mm between the switch contacts and of a type suitable for the required load in compliance with the current electrical regulations. -
Page 42: Guarantee Conditions
Guarantee/Customer Service – Model description – Product number (PNC) – Serial number (S No.) (for numbers, see rating plate) – Type of fault – Any error messages displayed by the appliance So that you have the necessary reference numbers from your appliance at hand, we rec- ommend that you write them in here: Model description: PNC:... -
Page 43: European Guarantee
Customer Care Department, Electrolux Major Appliances Addington Way, Luton Bedfordshire, LU4 9QQ Electrolux AEG-Electrolux Zanussi-Electrolux 1) Calls may be recorded for training purposes For Customer Service in The Republic of Ireland please contact us at the address below: Electrolux Group (Irl) Ltd... -
Page 44: Www.electrolux.com
www.electrolux.com • The appliance guarantee is for the same period and to the same extent for labour and parts as exists in your new country of residence for this particular model or range of appliances. • The appliance guarantee is personal to the original purchaser of the appliance and cannot be transferred to another user. - Page 45 Luxembourg Magyarország Nederland Norge Österreich Polska Portugal Romania Schweiz - Suisse - Svizzera Slovenija Slovensko Suomi Sverige Türkiye Россия Україна +352 42 431 301 +36 1 252 1773 +31 17 24 68 300 +47 81 5 30 222 +43 18 66 400 +48 22 43 47 300 +35 12 14 40 39 39 +40 21 451 20 30...
- Page 48 To buy accessories, consumables and spare parts at our online shop please visit: www.aeg-electrolux.co.uk...