Epson Stylus Photo RX620 Start Here Manual
Epson stylus photo rx620: quick start
Hide thumbs
Also See for Stylus Photo RX620:
- Quick manual (90 pages) ,
- Basic operation manual (45 pages) ,
- Product information manual (19 pages)
Table of Contents
Advertisement
Quick Links
Star t Here
Epson Stylus
1
Unpack and Assemble
1
Make sure you have all the parts shown here. If any parts are missing,
contact Epson
Paper support
2
Remove all the blue packing tape from the Stylus Photo RX620.
Caution: Do not remove the yellow stickers until instructed.
3
Insert the paper support.
4
Connect the cable.
®
as described on the back of this sheet.
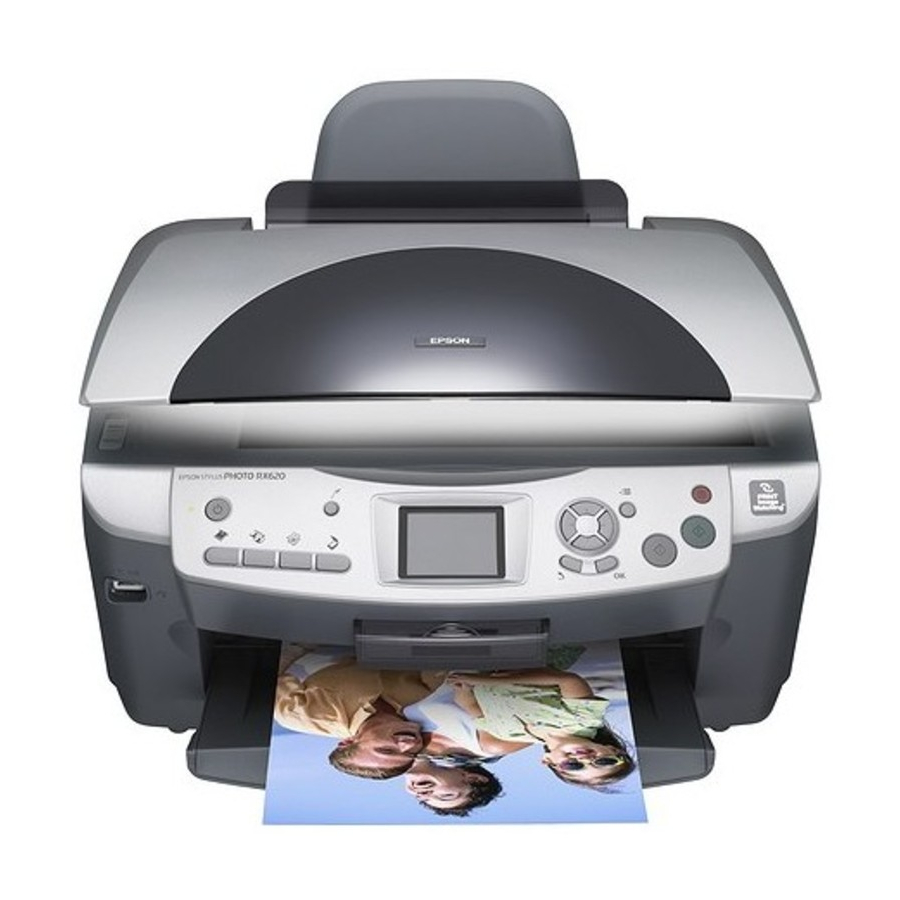
Epson Stylus Photo RX620
Photo RX620
®
Software
CD-ROM
Ink cartridges
(6 total)
CPD-18568
Printed in XXXXXX XX-XX.XX XXX
Quick Guide
Film and slide holder
Advertisement
Table of Contents

Related Manuals for Epson Stylus Photo RX620


Summary of Contents for Epson Stylus Photo RX620
- Page 1 Make sure you have all the parts shown here. If any parts are missing, contact Epson Epson Stylus Photo RX620 Paper support Remove all the blue packing tape from the Stylus Photo RX620. Caution: Do not remove the yellow stickers until instructed. Insert the paper support. Connect the cable.
-
Page 2: Connect The Cable
Unlock Open the scanner lid and remove the yellow sticker. Then unlock the scanner as shown. Note: You can store the film holder in the scanner lid behind the white document mat. Lift open the scanner section to access the printer area. Remove the orange print head lock and store it as shown. -
Page 3: Install Ink Cartridges
Route the cable in the channel along the side of the RX620, as shown. Install Ink Cartridges Plug your Stylus Photo RX620 into an electrical outlet, then press the O n button. The green light comes on and the ink cartridge holder moves to the left. -
Page 4: Load Paper
Press the O K button to start ink charging. Wait about 2 minutes until charging completes. OK button Load Paper Open the output tray. Flip the feeder guard forward and slide the edge guide to the left. Edge guide Place a stack of paper against the right side of the sheet feeder. Slide the edge guide lightly against the left side of the paper. -
Page 5: Connect To Your Computer
Windows XP: click Start > My Computer. Then double-click the Epson CD-ROM icon. Windows 98/Me/2000: double-click Then double-click the Epson CD-ROM icon. Read the license agreement, then click Agree. Several messages display on your screen. When you see this screen, plug the flat end of the USB cable into any available USB port on your computer. - Page 6 Note: If the RX620 doesn’t appear, make sure it is turned on and securely connected to your Macintosh. Click the Add button. You see the Stylus Photo RX620 in the Printer List. Quit Print Center or the Printer Setup Utility. Now you’re ready to copy, scan, and print.
-
Page 7: Any Problems
Explains how to use your RX620 with a computer. Double-click the Reference Guide icon on your desktop to view the guide. On-screen help for EPSON Smart Panel ™ , ArcSoft PhotoImpression™ , and EPSON Scan Click the Help button or question mark that appears on the screen when you’re using any of these programs. - Page 8 Epson and Epson Stylus are registered trademarks and EPSON Smart Panel is a trademark of Seiko Epson Corporation. Epson Store and SoundAdvice are service marks of Epson America, Inc. General Notice: Other product names used herein are for identification purposes only and may be trademarks of their respective owners.