Advertisement
Quick Links
Register for DSR-6100 delivery at http://www.irdrollout.com or
by calling 1-800-308-6272. For further product details, please
refer to the DSR-6100 Operator Guide.
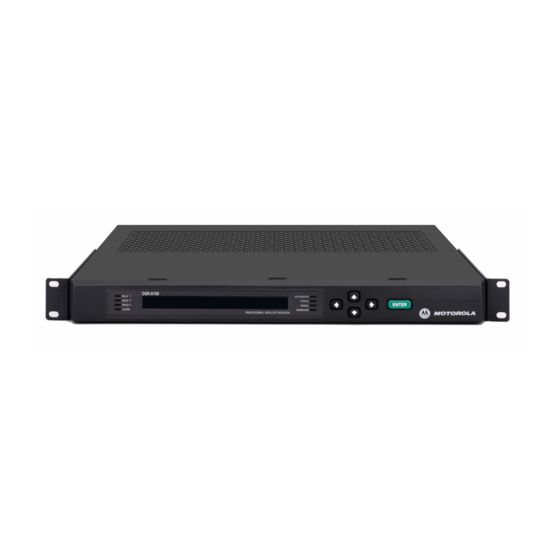
Installation Guide
DSR-6100 for ESPN Networks
Starting December 2010:
ESPN Television Networks Dual-Transponder Rollout
HIGHLIGHTS
Technical Information
Firmware Upgrade Notice
Input and Output Connections
Front Panel Configuration
Confirm Firmware Version
Authorization
New ESPN HD PID Assignments
NOTICE OF IMMEDIATE FIRMWARE UPGRADE
during initial boot up
Units with the above-shown version values will receive an upgrade via satellite upon signal lock.
Automatic upgrade takes up to 30 minutes. See page 5 for more information.
"High" version 1E6 can acquire the signal and receive the 1EA firmware code download.
"High" version 1EA (or greater) is required for authorization and HD service output.
Satellite: Galaxy 14 C-Band @ 125° West Long.
125° W.L. Orbital Slot Satellite Name History
Polarization: Horizontal & Vertical G14 LNB signals
Modulation: DVB S2 @ 30.00 Msps
Transponder:
L-Band Frequency: 1270.00 MHz
Transponder: 14 (V)
L-Band Frequency: 1170.00 MHz
VCT: 639
Networks:
DSR-6100 menu → Install → FIRMWARE → High (read only)
v2.2
:
Galaxy 5 (G5) (1992-2005)
9 (H)
ESPN, ESPN2, ESPNEWS and ESPNU
Advertisement

Related Manuals for Motorola DSR-6100


Summary of Contents for Motorola DSR-6100
- Page 1 NOTICE OF IMMEDIATE FIRMWARE UPGRADE during initial boot up DSR-6100 menu → Install → FIRMWARE → High (read only) Units with the above-shown version values will receive an upgrade via satellite upon signal lock. Automatic upgrade takes up to 30 minutes. See page 5 for more information.
- Page 2 Rack It, Connect It and Plug It In To AC Power Required Input Connections (2) and Output Options Galaxy 14 Galaxy 14 C-Band C-Band Vertical Horizontal It is critical to make BOTH input signal connections to ports 3 and 4 during this installation. Local Video Monitor MPEG 2 MPEG 2...
- Page 3 Main/DSR-6100 menu screen: Front Panel Step 1: Display and Record the U/A Number. Starting on this main “DSR-6100” menu, use the ◄ ► arrow buttons to navigate to “Diag” and press ENTER. →...
- Page 4 Front Panel Step 2: Program the DSR-6100. If not there already, move the cursor to the upper left hand corner of any menu and press ENTER to revert to the main “DSR-6100” menu: Use ◄ ► buttons to move the cursor to “Install” and press ENTER.
- Page 5 Place the cursor in the upper-left corner of any menu screen and press ENTER. The front panel display will revert to the main “DSR-6100” menu. Use ◄ ► arrow buttons to select “Channel” and press ENTER. This menu will be displayed: Press the ►...
- Page 6 During the ~30 minute download, you can leave the front panel menu display on any menu except the main/DSR-6100 menu. Once the unit reboots to utilize 1EA code, it will revert to this main/DSR-6100 menu, easily showing us exactly when it is ready to be authorized. See page 5 for more details on confirming required firmware.