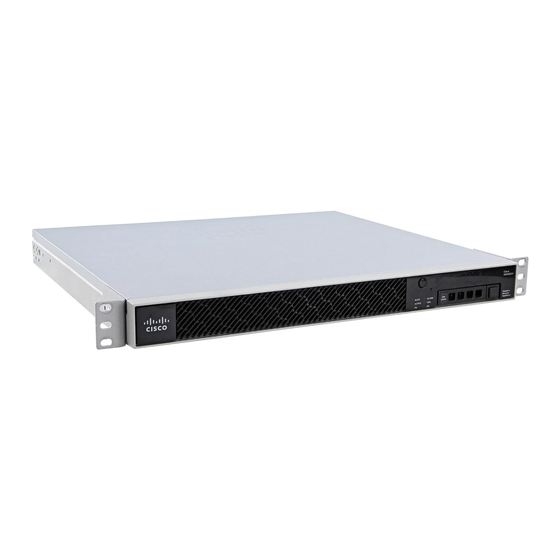
Cisco ASA 5506-X Mount The Chassis
Hide thumbs
Also See for ASA 5506-X:
- Configuration manual (422 pages) ,
- Installation manual (46 pages) ,
- Hardware installation manual (26 pages)
Advertisement
Quick Links
Mount the Chassis
Note
Do not remove the rubber feet included with the ASA because they are needed for proper cooling for all
mounting orientations.
•
•
•
•
Desktop-Mount the Chassis
You can mount the chassis on a desktop by placing it on a desk in a horizontal position. Make sure there are
no blockages or obstructions within one inch of the top of the chassis or within .5 inch of the sides and back,
so that nothing interferes with cooling. Do not remove the rubber feet included with the chassis. They are also
needed for proper cooling.
Caution
Do not stack the chassis on top of another chassis. If you stack the units, they will overheat, which causes the
units to power cycle.
Desktop-Mount the Chassis, on page 1
Wall-Mount the Chassis, on page 2
Rack-Mount the Chassis, on page 3
Install the ASA 5506H-X in a DIN Rail, on page 8
Mount the Chassis
1
Advertisement

Summary of Contents for Cisco ASA 5506-X
- Page 1 Mount the Chassis Note Do not remove the rubber feet included with the ASA because they are needed for proper cooling for all mounting orientations. • Desktop-Mount the Chassis, on page 1 • Wall-Mount the Chassis, on page 2 • Rack-Mount the Chassis, on page 3 •...
- Page 2 Choose a location on the wall for the chassis. Step 2 Use the two Cisco-provided screws and anchors from the optional wall-mount kit. If you are mounting the chassis onto something other than drywall, such as wood or sheet metal, anchors may not be required.
-
Page 3: Rack-Mount The Chassis
Mount the Chassis Rack-Mount the Chassis You can only mount the chassis with the front panel oriented toward either the ceiling or the floor. Wall mounting in other orientation is not supported. What to do next Install the cables as described in Quick Start Guide for your default software configuration. - Page 4 Mount the Chassis Rack-Mount the Chassis Figure 2: Attach Cable Guides to Sliding-Rack Tray Flange Two cable guides (part number 700-122664-01) Left cable guide rack tray cutouts Right cable guide rack tray cutouts Six Phillips M3 x 0.5 x 10 mm screws (part number 48-0796-01) a) Align the cable guides with the cutouts on the sliding-rack tray flange (see figure above).
- Page 5 Mount the Chassis Rack-Mount the Chassis Figure 3: Install the Rack Shelf on the Chassis Three short black screws M3 x 6 mm (part number 48-0384-01) Step 4 Adjust the position of the chassis and the rack shelf until the three mounting holes in the dimples in the bottom of the shelf are aligned with the mounting holes in the bottom of the chassis.
- Page 6 Mount the Chassis Rack-Mount the Chassis Figure 4: Install the Power Supply in the Rack Shelf Velcro straps for power supply Velcro straps for power supply Power supply stop Power supply stop Rear sliding stop and screw (one of two screws on the —...
- Page 7 Mount the Chassis Rack-Mount the Chassis Figure 5: Tighten the Velcro Straps Velcro straps tightened over power supply Step 8 Slide the rack shelf into the sliding-rack tray. Figure 6: Slide the Rack Shelf into the Sliding-Rack Tray Step 9 The chassis is now installed in the rack shelf, which is installed in the sliding-rack tray.
- Page 8 Install the sliding-rack tray into your rack using the correct screws (12-24 x 0.75 inch or 10-32 x 0.75 inch) from the rack-mount kit that fit your rack type. What to do next Install the cables according to your default software configuration as described in the Cisco ASA 5506-X Series Quick Start Guide. Install the ASA 5506H-X in a DIN Rail You can use the 7.5 mm thick 45 mm wide top hat DIN rail for the ASA 5506H-X.
- Page 9 Mount the Chassis Install the ASA 5506H-X in a DIN Rail Figure 8: Attach the DIN Rail Bracket to the ASA 5506H-X Step 2 Locate the plastic tab on the end of the DIN rail bracket that extends past the chassis. Press the tab in and slide the plastic latch piece out while the tab is pressed down to put it into the locked position.
- Page 10 Install the ASA 5506H-X in a DIN Rail Figure 9: ASA 5506H-X Installed with the DIN Rail The chassis is now installed in the DIN rail. What to do next Install the cables as described in the Cisco ASA 5506-X Series Quick Start Guide. Mount the Chassis...


