Advertisement
Quick Links
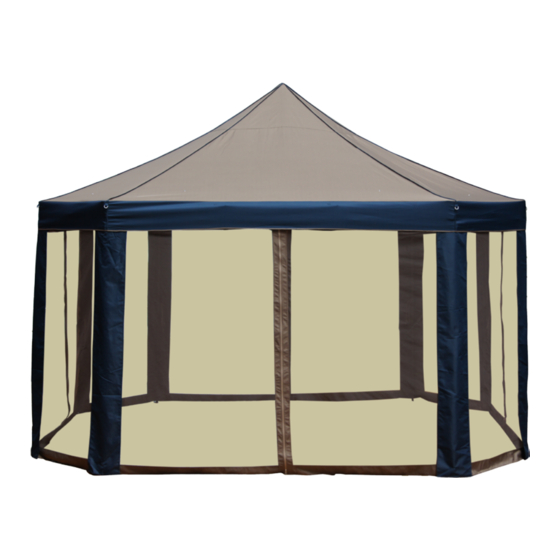
10FT X 13FT POP UP SUN
SHELTER WITH NETTING
Pay attention
Missing a Part?
MODEL:
OV-GZ029
If you need parts,
whether they are missing or damaged.
Warranty Coverage Requirements:
Please email the Customer
service any time
1. Copy of your Original Store Receipt.
2. Pictures of the damaged parts.
3. You must know the name of your product and any corresponding item
numbers as well as the name of the store where you purchased the item.
4. Please gather all of this information BEFORE you contact customer service.
Advertisement

Summary of Contents for Sears OV-GZ029
- Page 1 10FT X 13FT POP UP SUN SHELTER WITH NETTING Pay attention Missing a Part? MODEL: OV-GZ029 If you need parts, whether they are missing or damaged. Warranty Coverage Requirements: Please email the Customer service any time 1. Copy of your Original Store Receipt.
-
Page 2: Special Notice
WARNING: * Keep all flame and heat sources away from this sun shelter fabric. * This sun shelter is made with fabric that meets CPAI-84 specifications for flame resistance. * It is not fire proof.The fabric will burn if left in continuous contact with any flame source. * The application of any foreign substance to the sun shelter fabric may render the flame-resistant properties ineffective. - Page 3 ASSEMBLY INSTRUCTIONS Step 1: Easily open the sun shelter in eight directions until partially extended. Step 2: Put on the big sun shelter B, each leg covers with a leg fabric. MADE IN CHINA...
- Page 4 ASSEMBLY INSTRUCTIONS NOTE: Pls push this red button when you close the sun shelter. Step 3: Hold the black movable spring buckle on the leg.Slide it up until you hear it lock into place.Do the same for the remaining 7 legs. FIGURE 2 FIGURE 1 Step 4:...
- Page 5 ASSEMBLY INSTRUCTIONS Step 5: Hang the netting around the cross bar by velcros.The netting should be hanged between the canopy leg and the leg fabric. MADE IN CHINA...
- Page 6 ASSEMBLY INSTRUCTIONS FIGURE 2 rope FIGURE 1 FIGURE 3 Step 6: 1) Insert one steel stake E into a hole on the leg plastic base,please see FIGURE 1, secure the canopy to the round,do the same on the other 7 bases. 2) Tie rope D to the plastic ring on the corner of the canopy fabric,please see FIGURE 2.Tie the other end to the ground stake,please see FIGURE 3.Adjust the tension on all 8 ropes for additional support.