
Summary of Contents for Dell Precision 7920 Rac
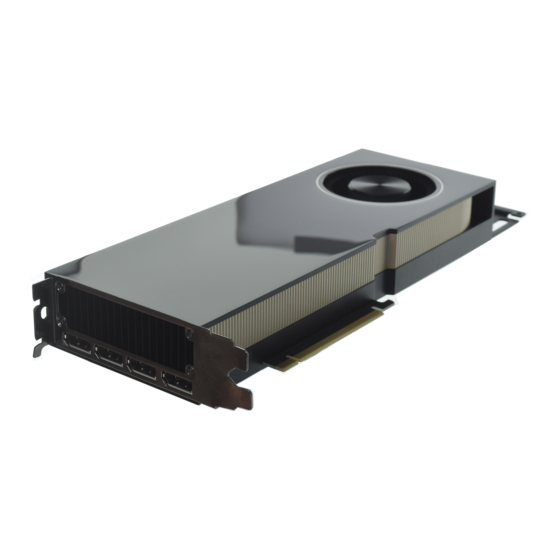
- Page 1 Dell Precision 7920 Rack A6000 graphic card Installation Guide Regulatory Model: E38S Regulatory Type: E38S001 September 2021 Rev. A00...
- Page 2 A WARNING indicates a potential for property damage, personal injury, or death. © 2021 Dell Inc. or its subsidiaries. All rights reserved. Dell, EMC, and other trademarks are trademarks of Dell Inc. or its subsidiaries. Other trademarks may be trademarks of their respective owners.
-
Page 3: Table Of Contents
Operating system.................................4 Chapter 2: Field service information....................5 Safety instructions................................5 Safety precautions................................ 5 Electrostatic discharge—ESD protection....................... 6 ESD field service kit ..............................6 Transporting sensitive components.......................... 7 Recommended tools..............................8 Disassembly and reassembly............................8 Chapter 3: Getting help and contacting Dell.................15 Contents... -
Page 4: Chapter 1: Introduction
Introduction Product overview Dell Precision 7920 Rack is a refresh to Dell Precision Rack 7910 2U Rack featuring the Intel EP Skylake processor update (PurleyPlatform). Supports incremental updates to graphics, manageability updates, security updates, other Dell end-user solutions, and client operating system options. -
Page 5: Chapter 2: Field Service Information
You should only perform troubleshooting and repairs as authorized or directed by the Dell technical assistance team. Damage due to servicing that is not authorized by Dell is not covered by your warranty. See the safety instructions that is shipped with the product or at www.dell.com/regulatory_compliance. -
Page 6: Electrostatic Discharge-Esd Protection
ESD protection is an increasing concern. Due to the increased density of semiconductors used in recent Dell products, the sensitivity to static damage is now higher than in previous Dell products. For this reason, some previously approved methods of handling parts are no longer applicable. -
Page 7: Transporting Sensitive Components
It is recommended that all field service technicians use the traditional wired ESD grounding wrist strap and protective anti-static mat at all times when servicing Dell products. In addition, it is critical that technicians keep sensitive parts separate from all insulator parts while performing service and that they use anti-static bags for transporting sensitive components. -
Page 8: Recommended Tools
Recommended tools Table 1. Recommended tools and optional tools Recommended tools Optional tools ● Key to the system keylock ● Needle-nose pliers to disconnect cables and connectors in hard-to-reach locations ● #1 and #2 Phillips screwdriver ● Small flat-head screwdriver to disconnect small cables ●... - Page 9 Installing the optional front bezel Steps 1. Locate and remove the bezel key. NOTE: The bezel key is attached to the LCD bezel package. 2. Align and insert the right end of the bezel onto the system . 3. Press the release button and fit the left end of the bezel onto the system. 4.
- Page 10 Installing system cover Prerequisites 1. Ensure that all internal cables are routed correctly and connected, and no tools or extra parts are left inside the system. Steps 1. Align the tabs on the system cover with the slots on the system. 2.
- Page 11 2. Connect the other end of the GPU power cable to the GPU. 3. Lift the expansion card latch and remove the filler bracket. NOTE: You must install a filler bracket over an empty expansion card slot to maintain Federal Communications Commission (FCC) certification of the system.
- Page 12 Figure 2. Securing GPU 1 Figure 3. Installing GPU 2 Field service information...
- Page 13 Figure 4. Securing GPU 2 Figure 5. Installing GPU 3 Field service information...
- Page 14 Figure 6. Securing GPU 3 Field service information...
-
Page 15: Chapter 3: Getting Help And Contacting Dell
Getting help and contacting Dell Self-help resources You can get information and help on Dell products and services using these self-help resources: Table 2. Self-help resources Self-help resources Resource location Information about Dell products and services www.dell.com My Dell app...