Table of Contents
Advertisement
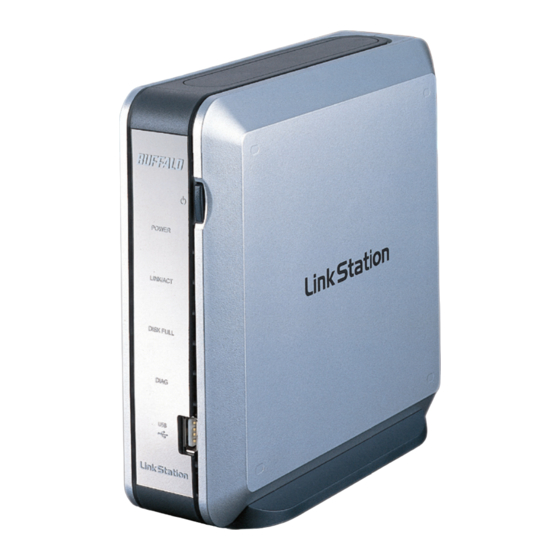
Package Contents:
Main unit (LinkStation)
LinkStation Base Plate
Base Rubber Feet
Ethernet Cable
Power Cord
LinkNavigator Installation CD
Quick Setup Guide (this user's guide)
Warranty card
LinkStation's face is protected during shipping by a plastic fi lm covering. The fi lm
may be removed by peeling it away from any corner of the front face.
Quick Setup Guide
LinkStation MultiMedia Home Server
www.buffalotech.com
HS-DGL Series
1
1
4
1
1
1
1
1
v1.2
Advertisement
Table of Contents

Related Manuals for Buffalo LINKSTATION HS-DGL


Summary of Contents for Buffalo LINKSTATION HS-DGL
-
Page 1: Package Contents
Package Contents: Main unit (LinkStation) LinkStation Base Plate Base Rubber Feet Ethernet Cable Power Cord LinkNavigator Installation CD Quick Setup Guide (this user’s guide) Warranty card LinkStation’s face is protected during shipping by a plastic fi lm covering. The fi lm may be removed by peeling it away from any corner of the front face. -
Page 2: Step 1: Connect Your Cables
Step 1: Connect your Cables Plug LinkStation’s power cord into a power outlet. Then, plug the included Ethernet Cable into the Ethernet port on the back of LinkStation. Connect the other end of the Ethernet Cable into a hub, switch, or router on the network, or connect it directly to a PC. -
Page 3: Step 2: Check Your Connection
Step 2: Check your Connection Check the LINK/ACT light on the front of the LinkStation. If it is lit, then LinkStation is connected properly; please turn to Page 4 to continue setup. If it is not lit, continue to the next step. If the LINK/ACT light is still not lit, please verify the following: Both LinkStation and the hub, switch, or PC are powered on. - Page 4 Step 3: Link Navigator Software Insert the LinkNavigator CD into the PC’s CD-ROM drive. Depending on the PC’s confi guration, the EasySetup program may launch. If it does not automatically launch, manually launch it by pressing the ‘Start’ menu and selecting the ‘Run...’ option.
-
Page 5: Step 4: Using The Confi Guration Utility
Step 4: Using the Confi guration Utility This part of the program changes LinkStation’s IP Address. Check the box that states ‘Acquire IP Address Automatically’. This will give LinkStation an IP Address from the network’s router/DHCP server. A static IP Address and gateway can also be set if preferred. - Page 6 LinkStation, or simply name it LinkStation. Enter a short description of LinkStation in the ‘LinkStation press the ‘Apply’ button. By default there are two shares on LinkStation. If you would like to create additional shares for specifi c users or specifi c types of data, then click on the ‘Security’...
-
Page 7: Step 5: Accessing Linkstation Data From A Pc
Step 5: Accessing LinkStation Data from a PC Accessing LinkStation data is performed using the following steps: Press the ‘Start’ menu, select the ‘Run...’ option. When the ‘Run’ dialog appears, please type \\LinkStation_Name (where LinkStation_Name is the ‘LinkStation Name’ set on Page 6). -
Page 8: Technical Specifications
Technical Specifi cations LAN Standards: Transmission Types: Access Media: Media Interface: USB Standard: USB Connector: Data Transmission Speed: Electric Current: Power Consumption: Dimensions: Weight: Operating Temperature: FCC Warning This device complies with part 15 of the FCC Rules. Operation is subject to the following two conditions: (1) This device may not cause harmful interference, and (2) this device must accept any interference received, including interference that may cause undesired operation. -
Page 9: Technical Support
Technical Support Buffalo Technology customers can obtain technical support using the following information: • Online Help: • User Manual: Available on the Software CD North America Support is available 24 hours a day, 7 days a week Telephone: 866-752-6210 Europe Support is available between 9am-6pm (GMT) Monday- Thursday and 9am-4:30pm on Fridays.