Dell Latitude E5570 Quick Start Manual
Hide thumbs
Also See for Latitude E5570:
- How-to manual (46 pages) ,
- Quick start manual (2 pages) ,
- Owner's manual (61 pages)

Related Manuals for Dell Latitude E5570


Summary of Contents for Dell Latitude E5570
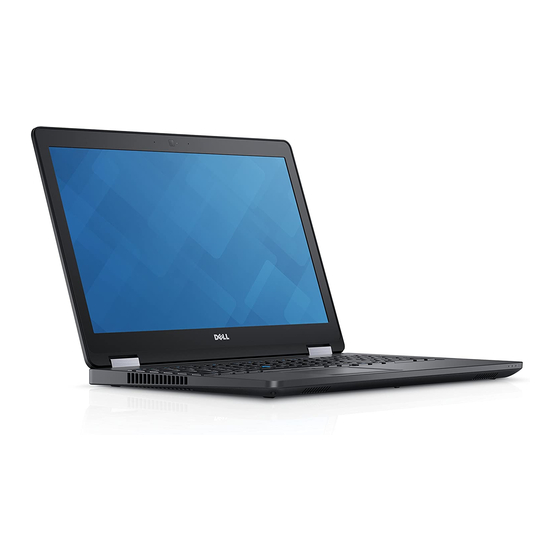
- Page 1 DELL CONFIDENTIAL Dell Latitude E5570 Quick Start Guide Language: ENGLISH Regulatory Model: P48F Regulatory Type: P48F001 This document is for regulatory purpose only.
- Page 2 NOTE: your computer. Copyright © 2015 Dell Inc. All rights reserved. This product is protected by U.S. and international copyright and intellectual property laws. Dell™ and the Dell logo are trademarks of Dell Inc. in the United States and/or other jurisdictions. All other marks and names mentioned herein may be trademarks of their respective companies.
-
Page 3: Before Setting Up Your Computer
Icons, Status Lights and Indicators Icons are used to label all connectors and buttons on Dell computers. Check the following table for a description of those found on your computer. Power/battery status light – Indicates the power state and battery status. - Page 4 Eject the disc Audio out/Headphone connector – Connects one pair of headphones, or sends audio to a powered speaker or sound system. Audio in/Microphone connector – Connects to a microphone or input signal for use with audio programs. Turn up the volume Mute the sound Turn down the volume Play or pause...
- Page 5 HD activity light – lights when the hard drive is writing or reading data. Removing and Replacing a Laptop Computer Battery If your Dell laptop computer is shipped without the battery, install the battery before your proceed. WARNING: Before you begin any of the procedures in this section, follow the safety instructions that shipped with your computer.
-
Page 6: Connecting The Power Supply
Connecting the Power Supply Computers With External AC Adapters (Notebooks and All-in-One Models) Connect the AC adapter to the computer and then plug it into an electrical outlet or surge protector. Be sure to leave your AC adapter connected throughout the setup process to ensure consistent power for your operating system to complete all configurations, and to charge your battery. -
Page 7: Specifications
This section provides information that you may need when setting up, updating drivers for, and upgrading your computer. NOTE: Offerings may vary by region. For more information regarding the configuration of your computer, go to dell.com/support. AC Adapter Type 65 W / 90 W / 130 W... -
Page 8: Information For Nom, Or Official Mexican Standard (Only For Mexico)
The following information is provided in the device(s) described in this document in accordance with the requirements of the Official Mexican Standard (NOM): Importer: Dell México S.A. de C.V. Paseo de la Reforma 2620 – Flat 11° Col. Lomas Altas 11950 México, D.F.