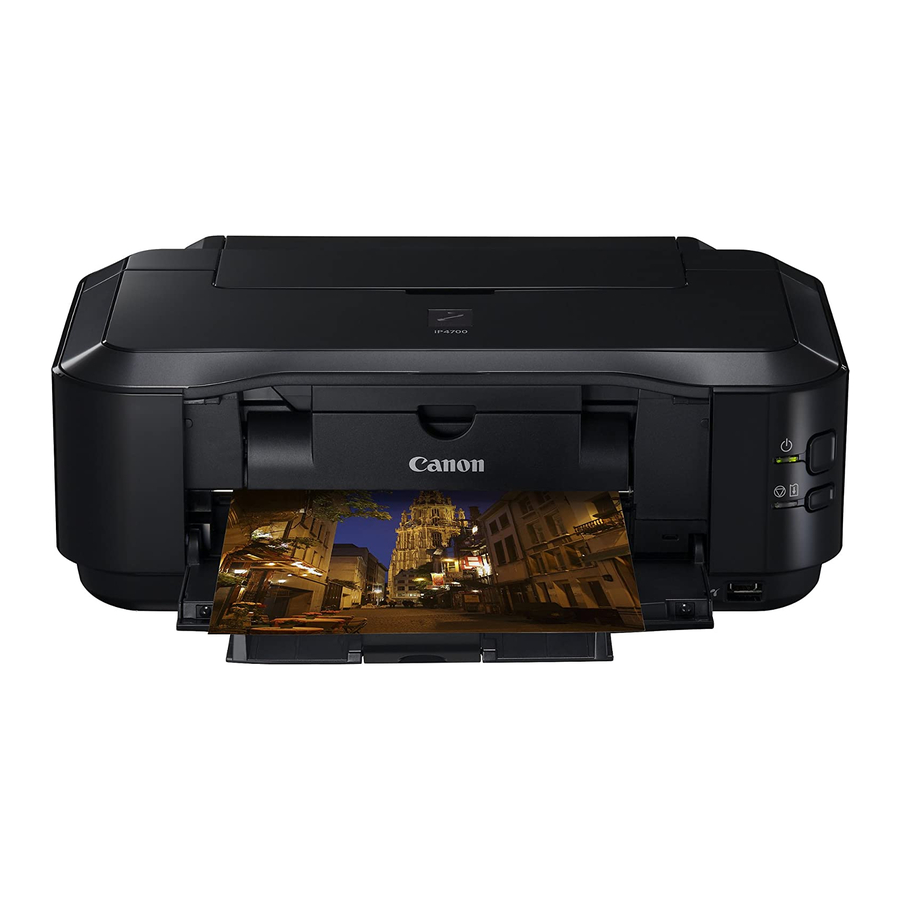
Canon PIXMA iP4700 Series Getting Started
Canon pixma ip4700: quick start
Hide thumbs
Also See for PIXMA iP4700 Series:
- On-screen manual (437 pages) ,
- Getting started (40 pages) ,
- Simplified service manual (25 pages)

Related Manuals for Canon PIXMA iP4700 Series


Summary of Contents for Canon PIXMA iP4700 Series
-
Page 1: Getting Started
Photo Printer series Getting Started Read Me First Make sure to read this manual before using the printer. Please keep it in hand for future reference. - Page 2 ■ Sym bo l s Us ed i n Thi s D oc ument Instructions including important information. Be sure to read these indications. Instructions as notes for operation or additional explanations. Descriptions for operations that take some time to complete. Indicates operations in Windows.
-
Page 3: Table Of Contents
Contents Preparation Turn the Power On Install the Print Head Install the Ink Tanks Install the Software Loading Paper After Installing the Printer... -
Page 4: Preparation
Setup CD-ROM (containing the drivers, applications and on-screen manuals) • Matte Photo Paper MP-101 (for Automatic Print Head Alignment) • Warranty • A USB cable (A-B type) is necessary to connect the printer with your computer. 5 ink tanks power cord □ Choosing a Location •... -
Page 5: Turn The Power On
Turn the Power On Plug the power cord into the left side at the back of the printer, then connect the other end to the wall outlet. • Do NOT connect the USB cable at this stage. Turn on the printer (A). -
Page 6: Install The Print Head
The Print Head Holder makes a noise as it moves. This is normal operation. • If the Print Head Holder does not move, make sure that the printer is turned on. Make sure that the Print Head Holder (C) moves... - Page 7 Remove the Print Head from the silver package. • Do not touch the inside (F) or metal parts (G) of the Print Head. The printer may not print properly if you touch them. • There may be some transparent or light blue ink on the inside of the bag the Print Head comes in, or the inside of the protective cap - this has no effect on print quality.
- Page 8 Tilt the Print Head forward and set it in place as shown. • Do not knock the Print Head against the sides of the holder. Lower the Print Head Lock Lever completely. • Hold the Print Head Lock Lever firmly and lower it gently. •...
-
Page 9: Install The Ink Tanks
• Do not touch the electrical contacts (B) or open ink port (C) on the ink tank. The printer may not print properly if you touch them. • Do not hold the sides of the ink tank; ink may splash. - Page 10 Tilt the ink tank, then insert it under the label and against the back end of the slot. Make sure that the color of the label matches the ink tank. Press the PUSH mark on the ink tank firmly until it clicks.
- Page 11 Wait for about 5 minutes until the POWER lamp (green) (F) stops flashing and stays lit then operating noise stops, and go to the next step. • The printer may make some operating noises when preparing to print. This is normal operation. •...
-
Page 12: Install The Software
Install the Software To use the printer by connecting it to a computer, software including the drivers needs to be copied (installed) to the computer's hard disk. The installation process takes about 20 minutes. (The installation time varies depending on the computer environment or the number of applications to be installed.) - Page 13 Computer or My Computer. printer turns off. When the CD-ROM contents appear, double-click MSETUP4.EXE. The USB Port is located on the right side at the back of the printer. Turn on the computer, then insert the Setup CD-ROM into the CD- ROM drive.
- Page 14 Windows Vista Windows XP/2000 Click Run Msetup4.exe on the AutoPlay screen, then click Continue on the User Account Control dialog box. If the User Account Control dialog box reappears in following steps, click Continue. Double-click the Setup icon of the CD-ROM folder to proceed to the following screen.
- Page 15 Click Easy Install. The drivers, application software, and on-screen manuals are installed all together. • If you want to select particular items to install, click Custom Install. Click Install. Follow any on-screen instructions to proceed with the installation. For Windows Vista/XP •...
- Page 16 • If the Alarm lamp (orange) (F) flashes, press the RESUME/CANCEL button (G) on the printer to clear the error, then click Next. After the installation is complete, perform Print Head Alignment by referring to “When Printing Becomes Faint or Colors Are Incorrect”...
- Page 17 Necessary Information for the User Registration The product serial number is required when registering the product. The serial number is located inside the printer (as shown in the illustration). • When opening the Top Cover, the Print Head Holder moves automatically.
-
Page 18: Loading Paper
Loading Paper This section explains how to load paper in the Cassette (A) and the Rear Tray (B). The Cassette supports plain paper (C) only. To print photo paper/Hagaki (D), be sure to load it in the Rear Tray. Pull out the Cassette and remove Pull the Tab (F) in the direction of the Cover (E). - Page 19 Paper Guide and the paper stack. Slide the Paper Guide against left edge of the paper. Make sure that the paper stack does not exceed the line (I). Attach the Cover and insert the Cassette into the printer until it clicks into place.
- Page 20 Make sure that the paper stack does not exceed the line (L). • For details on media sizes and types you can use, refer to "Loading Paper" in the on- screen manual: Basic Guide. Printer installation is now complete!
-
Page 21: After Installing The Printer
G et t ing St art ed (t his m anual) Describes how to set up and use your printer. Introduces the printer and its functions, the included manuals and application software. o n- s c re en ma n u a l s... - Page 22 S ol uti o n M enu is a gat ew ay t o f u nct io n s a n d in fo r m a tio n th a t al l ow y ou to mak...
- Page 23 Try U s in g the Pr in te r ! Var i o u s appl ic at i on s of t w ar e ar e inst al le d o n t he comp uter along wi t h t h e dr ive rs. Yo u can print c reat i v e i t ems b y corre ctin g / enh an ci ng pho t os us ing t he ap plica t io n s.
-
Page 24: Print Photos From A Computer
Print Photos from a Computer Easy-PhotoPrint EX allows you to print photos easily. This section explains how to print borderless photos using 4" x 6" size Photo Paper Plus Glossy II. The screens are based on Windows Vista. In Solution Menu, click One- Select the image you want to print, Click to Photo Print. -
Page 25: Specifications
Windows: Operation can only be guaranteed on a PC with Windows Vista, XP or 2000 pre-installed. • To upgrade from Windows XP to Windows Vista, first uninstall software bundled with the Canon inkjet printer. • Macintosh: Hard Disk must be formatted as Mac OS Extended (Journaled) or Mac OS Extended. -
Page 28: Getting Help From Canon
2948B001 CLI-221 C 2947B001 PGI-220 BK 2945B001 CLI-221 Y 2949B001 Call 1-800-OK-CANON to locate a dealer near you, or visit the Canon eStore at www.canonestore.com CANON U.S.A. INC. One Canon Plaza, Lake Success, NY 11042 U.S.A. www.usa.canon.com QT5-2721-V01 XXXXXXXX ©CANON INC.2009...