
Related Manuals for Siemens HR676GB.6B


Summary of Contents for Siemens HR676GB.6B
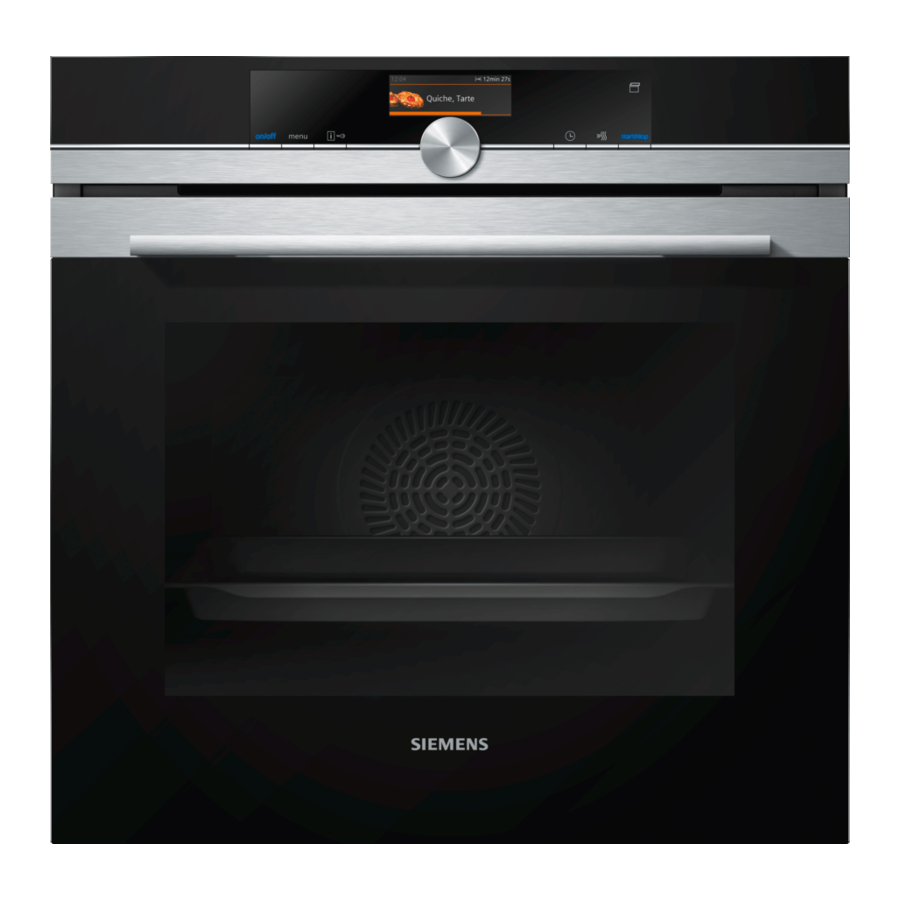
- Page 1 Oven HR676GB.6B User manual and installation instructions Register your product on My Siemens and discover exclusive ser- vices and offers. siemens-home.bsh-group.com/welcome The future moving in. Siemens Home Appliances...
-
Page 2: Table Of Contents
en Safety Table of contents 1 Safety Observe the following safety instructions. 1.1 General information USER MANUAL ¡ Read this instruction manual carefully. Safety .............. 2 ¡ Keep the instruction manual and the Preventing material damage ....... 5 product information safe for future refer- ence or for the next owner. - Page 3 Safety en ▶ If smoke is emitted, the appliance must be WARNING ‒ Risk of injury! switched off or the plug must be pulled out Scratched glass in the appliance door may and the door must be held closed in order develop into a crack. to stifle any flames.
-
Page 4: Safety
en Safety electronic implants, e.g. heart pacemakers or 1.6 Cleaning function insulin pumps. WARNING ‒ Risk of fire! ▶ Wearers of electronic implants must stay at Loose food remnants, fat and meat juices least 10 cm away from the control panel. may catch fire when the cleaning function is in progress. -
Page 5: Preventing Material Damage
Preventing material damage en ▶ Keep children at a safe distance. 2 Preventing material damage If the seal is very dirty, the appliance door will no 2.1 General longer close properly during operation. This may dam- ATTENTION! age the front of adjacent kitchen units. Objects on the cooking compartment floor at over Keep the seal clean at all times. - Page 6 en Environmental protection and saving energy Use dark-coloured, black-coated or enamelled baking tins. ¡ These types of baking tin absorb the heat particu- larly well. Open the appliance door as little as possible during operation. ¡ This will maintain the temperature in the cooking compartment and eliminate the need for the appli- ance to reheat.
-
Page 7: Familiarising Yourself With Your Appliance
Familiarising yourself with your appliance en 4 Familiarising yourself with your appliance 4.1 Control panel Buttons The buttons on the left- and right-hand side of You can use the control panel to configure all functions the control panel have a pressure point. Press of your appliance and to obtain information about the a button to execute its function. - Page 8 en Operating modes Countdown Lighting You can view the countdown time or the cooking time One or more oven lights illuminate the cooking com- for the previous operation in the top right in the status partment. bar. When you open the appliance door, the light in the If you have set a cooking time and the cooking time is cooking compartment switches on.
-
Page 9: Operating Modes
Operating modes en Operating Operating mode mode Types of Select finely tuned types of heating for Basic set- Adjust the basic settings. Basic settings heating the optimal preparation of your food. tings → Page 22 → "Types of heating", Page 9 Home Con- Connect the oven to a mobile end Meals Use programmed, recommended set- nect... -
Page 10: Accessories
en Accessories Symbol Type of heating Temperature What it's used for and how it works range Possible additional options Bottom heating 30–250 °C Final baking or cooking food in a bain marie. Heat is emitted from below. Keeping food warm 60–100 °C Keep cooked food warm. Plate warming 30–70 °C Plate warming. -
Page 11: 7.1 Before Using For The First Time
You will find a comprehensive range of products for your appliance in our brochures and online: www.siemens-home.bsh-group.com Accessories vary from one appliance to another. When Push the accessory all the way in, making sure that purchasing accessories, always quote the exact it does not touch the appliance door. -
Page 12: Basic Operation
▶ button lights up blue. ‒ 8.3 Starting operation a The Siemens logo appears in the display. A type of heating and a temperature are then displayed. You must start each cooking operation. ATTENTION! 8.2 Switching off the appliance... -
Page 13: Rapid Heating
Rapid heating en 8.4 Pausing or cancelling operation a The set type of heating, temperature and cooking time/appliance run time are shown in the display. You can briefly pause the operation and then continue. When the food is ready, press to switch the If you cancel the operation completely, the settings are appliance off. - Page 14 en Time-setting options 10 Time-setting options Your appliance has different time-setting options, with 10.3 Setting the cooking time which you can control its operation. You can set a cooking time for operation of up to 23 hours 59 minutes. 10.1 Overview of the time-setting options Requirement: The type of heating and a temperature You can set a cooking time and an operation end time or setting have been set.
- Page 15 Steam en To set a later end time, turn the rotary selector. Cancelling the end time Press to start the operation. The set end time can only be changed when the oven a The status bar shows a notification when the opera- is in standby mode.
-
Page 16: Steam
en Steam Slide the full water tank back into the recess Empty the water tank and dry the cooking compart- When doing so, make sure that the water tank clicks ment. into place in the retainers . → "After every steam operation", Page 17 Changing the type of heating When you change the type of heating, the other set- tings are also reset. - Page 17 Steam en Note: If the water tank runs dry during operation, a Empty the water tank, clean it with detergent and notification appears in the display. The appliance then rinse it thoroughly with clean water. continues to operate without steam injection. Dry all parts with a soft cloth. → "Filling the water tank", Page 15 Rub the seal on the lid until dry.
-
Page 18: Dishes
en Dishes Leave the appliance door open for 1-2 minutes so that the cooking compartment dries completely. 12 Dishes The "Dishes" operating mode helps you to use your ap- 12.3 Overview of the dishes pliance to prepare different meals by selecting the op- You can find out which individual dishes are available timum settings automatically. -
Page 19: Childproof Lock
Childproof lock en Adjust the settings if required. Adding extra cooking time For some dishes, you can change the temperat- ‒ For some dishes, the appliance allows you to extend ure, the cooking time or the end time by pressing the cooking time once the set cooking time has "Adjust". -
Page 20: Home Connect
en Home Connect 15 Home Connect This appliance is network-capable. Connecting your ap- 15.1 Setting up Home Connect pliance to a mobile device lets you control its functions Requirements via the Home Connect app, adjust its basic settings ¡ The appliance is connected to the power supply and and monitor its operating status. - Page 21 A detailed RED Declaration of Conformity can be found start the software update via the app. Once the update online at www.siemens-home.bsh-group.com among has been successfully downloaded, you can start in- the additional documents on the product page for your stalling it via the Home Connect app if you are in your...
-
Page 22: Basic Settings
en Basic settings 16 Basic settings You can configure the appliance to meet your needs. Basic setting Selection Night-time dimming Switched off 16.1 Overview of the basic settings Switched on Brand logo Display Here you can find an overview of the basic settings Do not display and factory settings. -
Page 23: Cleaning And Servicing
Cleaning and servicing en Remove all food remnants from the cooking com- New sponge cloths contain residues from production. ▶ partment and the appliance door before you next Wash new sponge cloths thoroughly before use. ▶ heat up the appliance. Suitable cleaning agents Only use cleaning agents that are suitable for the differ- ent surfaces on your appliance. - Page 24 en Self-cleaning Area Suitable cleaning agents Information Rails ¡ Hot soapy water Soak any heavily soiled areas and use a brush or steel wool. Note: To clean thoroughly, detach the rails. → "Rails", Page 29 Accessories ¡ Hot soapy water Soak any heavily soiled areas and use a brush or steel wool. Enamelled accessories are dishwasher-safe.
- Page 25 Cleaning assistance en Select a higher cleaning setting for heavier or older 18.2 Setting the self-cleaning function soiling. Ventilate the kitchen while the cleaning function is run- The duration cannot be changed. ning. Press . a A notification stating that you should carry out the WARNING ‒ Risk of harm to health! necessary preparatory work for the cleaning func- The cleaning function heats up the cooking compart-...
-
Page 26: Descaling
en Descaling Clean the smooth surfaces in the cooking compart- 19.2 Wiping down the cooking compartment ment with a dish cloth or a soft brush. Remove stub- ATTENTION! born food remnants using a stainless steel scouring The prolonged presence of moisture in the cooking pad. - Page 27 Appliance door en In order to use the drying function, set the drying The duration is set to 10:00 min. and cannot be ‒ function. changed. → "Setting the drying process", Page 27 Press to start the drying function. a The appliance starts to dry and the duration counts Setting the drying process down.
- Page 28 en Appliance door Components inside the appliance door may have sharp Note: Ensure that the appliance door slides onto the edges. hinges without any resistance. If you feel any resist- Wear protective gloves. ance, check whether you are sliding it in at the cor- ▶...
- Page 29 Rails en Attach the front pane downwards into the left- and WARNING ‒ Risk of injury! right-hand retainers . Scratched glass in the appliance door may develop Push the front pane to the appliance until the left- into a crack. and right-hand hook is opposite the support ...
-
Page 30: Troubleshooting
en Troubleshooting Push the rail into the front socket until the rail 23.2 Attaching the rails also rests against the cooking compartment wall, Notes and then press this downwards . ¡ The rails only fit on the right or left. ¡ For both rails, ensure that the curved rods are at the front. - Page 31 Troubleshooting en Fault Cause and troubleshooting The appliance does The cooking compartment is too hot for the selected dish or type of heating. not start and "Cook- Allow the cooking compartment to cool down and start again. ▶ ing compartment too hot"...
-
Page 32: Disposal
Next time, set lower or higher values. ▶ Tip: A lot of information about the food preparation and corresponding setting values can be found on our website www.siemens-home.bsh-group.com . 25 Disposal Find out here how to dispose of old appliances cor- This appliance is labelled in accord- rectly. -
Page 33: Customer Service
Customer Service en 26 Customer Service If you have any queries on use, are unable to rectify 26.1 Product number (E-Nr.) and production faults on the appliance yourself or if your appliance number (FD) needs to be repaired, contact Customer Service. You can find the product number (E-Nr.) and the pro- Function-relevant genuine spare parts according to the duction number (FD) on the appliance's rating plate. - Page 34 en How it works General information about roasting in cookware Baking on two or more levels Shelf position ¡ Use heat-resistant, ovenproof cookware. 3 levels ¡ Place the cookware on the wire rack. ¡ Baking tray ¡ Glass cookware is best. ¡ Universal pan ¡...
- Page 35 How it works en 27.5 List of foods Recommended settings for a variety of foods, sorted into food categories. Recommended settings for various types of food Food Accessories/cook- Shelf pos- Heating Temperature in Steam in- Cooking time ware ition function °C tensity in mins → Page 8 Victoria sponge cake...
- Page 36 en How it works Food Accessories/cook- Shelf pos- Heating Temperature in Steam in- Cooking time ware ition function °C tensity in mins → Page 8 Belly Wire rack 170 - 180 30 + 25 Chicken, whole Wire rack 170 - 180 25 + 15 Chicken, whole, 1.5 kg Wire rack 180 - 190...
- Page 37 How it works en Sear the meat on all sides on the hob at a very high Issue heat. You want to slow ¡ Place the cold duck breast Immediately place the meat into the pre-warmed cook a duck breast. into a pan. cookware in the cooking compartment.
- Page 38 en How it works Defrosting Reheating You can defrost frozen food in your appliance. You can use steam-assisted reheating to gently warm up food. The food tastes and looks as though it has Tips for defrosting food been freshly cooked. You can even warm and crisp up ¡...
-
Page 39: 28.1 General Installation Instructions
Installation instructions en Recommended settings for baking Food Accessories/cook- Shelf pos- Heating Temperature in Steam intens- Cooking ware ition function °C time in → Page 8 mins Viennese whirls Baking tray 140 - 150 25 - 40 Viennese whirls Baking tray 140 - 150 25 - 40 Viennese whirls, on Universal pan... - Page 40 en Installation instructions ▶ Only use extension cables that are certified, ¡ Do not use the door handle for the trans- have a minimum cross section of 1.5 mm² port or installation. and comply with the applicable national ¡ Check the appliance for damage after un- safety requirements.
- Page 41 Installation instructions en 28.4 Installation underneath a hob If the appliance is installed under a hob, the following minimum dimensions must be adhered to (including substructure, if applicable). The minimum worktop thickness a is based on the required minimum clearance . Hob type a raised in mm a flush in mm...
- Page 42 en Installation instructions ¡ The appliance must only be connected using the Screw the appliance into place. power cable provided. ¡ The power cable must be plugged in at the rear of the appliance until you hear a clicking sound. A 3 m power cable can be obtained from the after-sales service.
- Page 44 Valid within Great Britain: Imported to Great Britain by BSH Home Appliances Ltd. Grand Union House Old Wolverton Road Wolverton, Milton Keynes MK12 5PT United Kingdom Manufactured by BSH Hausgeräte GmbH under the trademark licence of Siemens AG *9001617103* 9001617103 (010623)