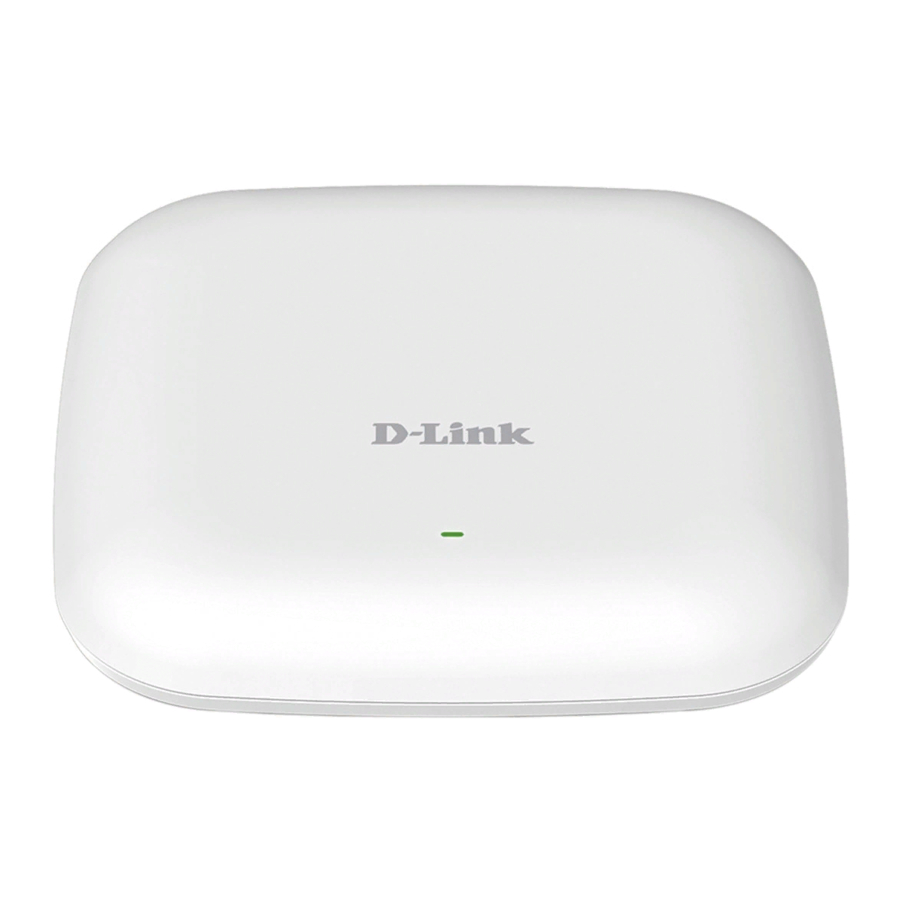
D-Link DAP-2230 Manual To Install The Firmware
Hide thumbs
Also See for DAP-2230:
- User manual (139 pages) ,
- Quick installation manual (32 pages) ,
- Quick installation manual (25 pages)
Advertisement
Quick Links
Manual to install the firmware
For DAP-2230 Rev.A, DAP-2310 Rev.B, DAP-2360 Rev.B, DAP-2610 Rev.A,
DAP-2660 Rev.A, DAP-2680 Rev.A, DAP-2695 Rev.A and DAP-3662 Rev.A
Important:
After the firmware upgrade the DAP can't be used in a Central Wi-Fi Manager (CWM)
System or in an AP-Array System.
You would need to install the „not-NC-firmware" into your DAP again.
See the attached manual
"Manual for Downgrade from Nuclias Connect Firmware.pdf"
Recommendation:
Connect the DAP and the PC, with it you make the firmware upgrade, with a LAN cable
with your network, there is also the DHCP server available.
For the installation of the firmware please follow this.
1. Get access to the setup of your DAP via web browser.
The default address is
http://192.168.0.50
or when you already implemented the DAP
into your network please call the IP-address this you configured into you DAP or this the
DAP got from the DHCP server in you network.
2. By default the setup has no password.
At User name enter admin and then click onto Login.
Note:
Did you set an Admin-Password please enter this.
Do you don't know the Admin-Password anymore you must reset the DAP to factory
defaults (Factory Reset).
For this press the Reset button of the running DAP for example with a paperclip or pencil
for 5-10 seconds.
- 1 -
Advertisement

Summary of Contents for D-Link DAP-2230
- Page 1 Manual to install the firmware For DAP-2230 Rev.A, DAP-2310 Rev.B, DAP-2360 Rev.B, DAP-2610 Rev.A, DAP-2660 Rev.A, DAP-2680 Rev.A, DAP-2695 Rev.A and DAP-3662 Rev.A Important: After the firmware upgrade the DAP can’t be used in a Central Wi-Fi Manager (CWM) System or in an AP-Array System.
- Page 2 3. At the top choose the menu Maintenance and then in the open menu Firmware and SSL Certification Upload. 4. At Upload Firmware From File click onto Choose File. Pick the previously un-zipped firmware file DAP-2610_RevA_Firmware_200r063.bin and click onto Upload. 5.
- Page 3 If your DAP is build-in and you cant’t press the Reset button easily you can reset it over the setup instead. 7. Log-in into the setup again. At User name enter admin and then click onto Login. Did you set an Admin-Password please enter it. 8.
- Page 4 9. Please wait 2 minutes. 10. Log-in into the setup again. At User name enter admin. At Password please enter also admin. From now this is the default Admin password until you configure the DAP new. Click onto Login. 11. At the top choose the menu System. Click onto Restore.
- Page 5 12. Click onto OK. 13. Please wait two minutes. After the DAP is restarted it is ready to integrate into a Nuclias Connect environment. To check the detailed version number of the installed version please log-in into the setup of your DAP. In the address line of your web browser enter http://<ip-adresse>/version.txt The <ip-adresse>...


