Advertisement
Quick Links
J1-7
D
B
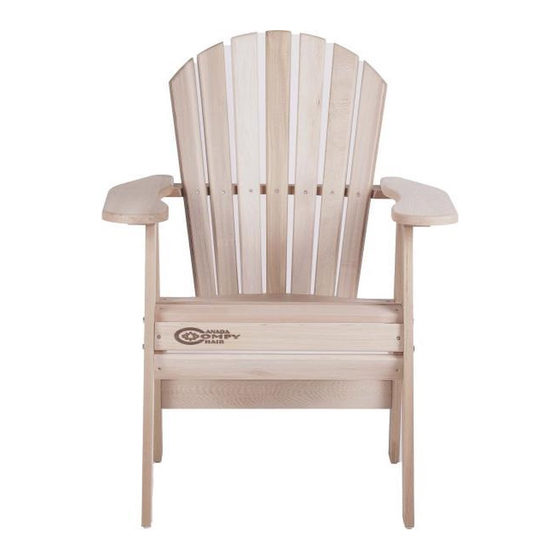
Parts List
C1-7
A
B
C
D
E
F
G
A
H
I
J
F
I
G
H
2
1
7
2
2
1
2
2
1
7
INSTRUCTION SHEET CDC800
42 x 4 x40mm screws
8 x bolts and 8 x nuts
10 x 4x30mm screws
16 x washers
ELEVEN STEPS TO THAT COMFY CHAIR FEELING
To gain maximum enjoyment from your Comfy Chair, assemble the
chair according to the instructions in this sheet. For more strength and
stability, we advise glueing the joints with the water resistant wood
adhesive supplied.
Advertisement

Related Manuals for Canada Comfy Chair CDC800


Summary of Contents for Canada Comfy Chair CDC800
- Page 1 INSTRUCTION SHEET CDC800 42 x 4 x40mm screws J1-7 8 x bolts and 8 x nuts 10 x 4x30mm screws 16 x washers Parts List C1-7 ELEVEN STEPS TO THAT COMFY CHAIR FEELING To gain maximum enjoyment from your Comfy Chair, assemble the chair according to the instructions in this sheet.
- Page 2 STEP1 Lay the sidepieces (A) with the curved sides uppermost on a flat surface. Place slat C1-7 (B) for the seat in the last notches at the back and on the top of parts (A). Keep the curved side with the notches facing the back and the countersunk edges of the pre-drilled holes facing upwards.
- Page 3 STEP 4 Put two nuts in the large pre-drilled holes at the front of sidepiece (A). Attach Flush legs (E) with two bolts to sidepiece (A). Repeat on the other side of the chair. Now balance the chair. Move it forwards and backwards until it is standing steady and the top and bottom of the front and back legs are flush.
- Page 4 STEP 7 Now attach plank (I) on either side using only one 4x30 mm screw. Use only the first hole! Do not attach the other two screws yet. This gives you the opportunity to align the armrests with the upper back support (I). Turn the armrest to the right 4x30mm and to the left until the edges of the armrests of plank (I) form a nice, even curve.
- Page 5 STEP 10 Now take all seven back slats (J).Lay the slats in the correct order, starting with the longest one in the middle. Place three slats to the left and three to the right of the longest, middle slat so that the top forms a curved line. Secure the middle slat with a 4x40 mm screw on the outside at the top to the upper back support (B) and with a 4x40 mm screw from the inside to the bottom back support (I).Make sure that the underside fits exactly in the...