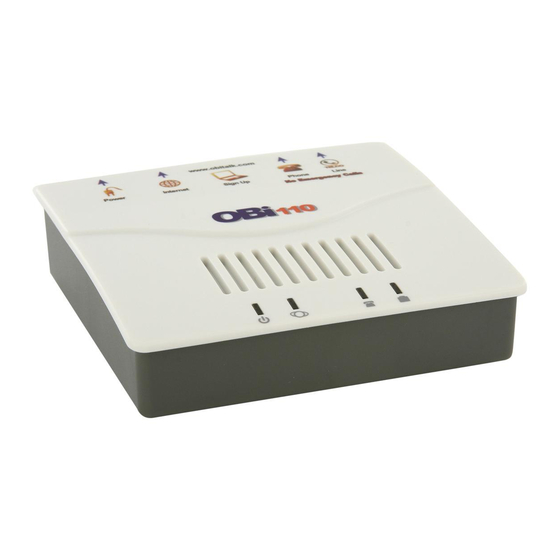
Obihai OBi100 Quick Start Manual
Hide thumbs
Also See for OBi100:
- Administration manual (220 pages) ,
- Technical specifications (7 pages) ,
- Quick start manual (2 pages)
Advertisement
Quick Links
Configuration:
Start by dialing * * * from the connected phone, then press 1 to confirm your choice, this will return the
IP address of your device being a number similar to 192.168.xxx.xxx.
Once you get the IP address, enter it in the URL address bar "http://" of your Internet Browser to get
access to the Graphic User Interface of the OBi100.
OBi Configuration
OBi1 Series – OBi100, OBi110
OBi2 Series – OBi200, OBi202
OBi3 Series – OBi300, OBi302
Advertisement

Summary of Contents for Obihai OBi100
- Page 1 IP address of your device being a number similar to 192.168.xxx.xxx. Once you get the IP address, enter it in the URL address bar "http://" of your Internet Browser to get access to the Graphic User Interface of the OBi100.
- Page 2 Configuring the Service Providers -> ITSP Profile General In this section you will set the name you will use in the profile you configure. By default you will configure the ITSP Profile A, unless you use the same device with another provider. Name: (enter your ATA device username, from your SETUP PDF, in this field)
- Page 3 Next select SIP In this section you can set the server and the port that you wish to register to. Please note that in order to change the settings, you need to uncheck the Default box on the right hand side. Enter the following details: ProxyServer: (enter the SIP Address, from your SETUP PDF, in this field)
- Page 4 Under Voice Services, select SP1 Service (or another SPx entry, id you use the same device with another provider). In this section, enter your VoIP Much ATA device account details (as provided in your SETUP PDF). AuthUserName: (enter the ATA Device Username, from your SETUP PDF, in this field) AuthPassword: (enter the ATA Device Password, from your SETUP PDF, in this field) X_InboundCallRoute*: {>('XXXXXXXXX'):ph}...


