Advertisement
Quick Links
11 March 2020
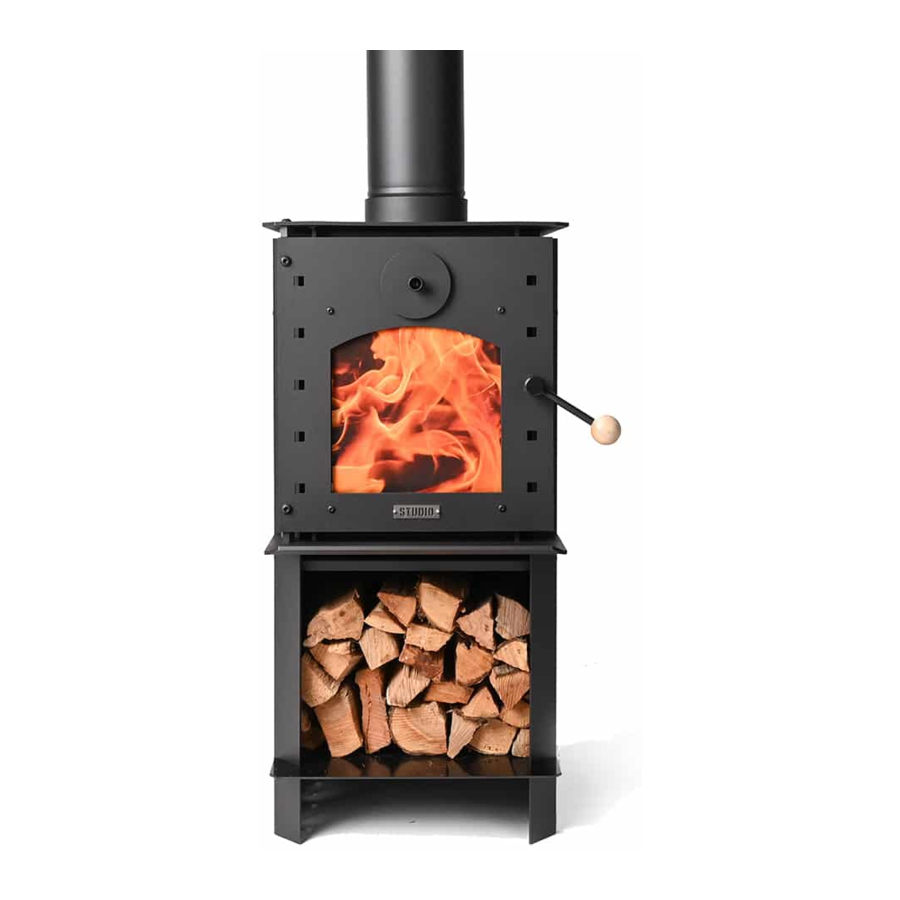
Studio Stove, Studio Oven and Ooh-Ah
Maintenance and
Operating Instructions
Visit
www.warmington.co.nz
for specs, DWG's and PDF uploads of fires
Fire, flue system and instructions to comply with AS/NZS 2918:2001
Keep these Instructions for future reference. Ensure that you have the correct and current installation details for the Warmington fire
1
Advertisement

Related Manuals for Warmington Studio Stove


Summary of Contents for Warmington Studio Stove
- Page 1 Visit www.warmington.co.nz for specs, DWG’s and PDF uploads of fires Fire, flue system and instructions to comply with AS/NZS 2918:2001 Keep these Instructions for future reference. Ensure that you have the correct and current installation details for the Warmington fire...
- Page 2 Warmington wood-burning fires work best when a small amount of ash is left (approximately 25mm deep) in the firebox after cleaning as this aids with stable burning.
- Page 3 If you see signs of rust on your firebox, clean down with a green scotchbrite pad, wipe with damp rag and when completely dry, spray with Stovebright Matt black paint. Colours to match the Studio Stoves can be purchased from Warmington.
- Page 4 11 March 2020 FITMENT OF VERMICULITE BACK AND SIDES PANELS & BAFFLE ASSEMBLY (Clean air 2014 model) STEP : 1 STEP : 2 Put the steel baffle in on an angle through the door frame. Lift it up holding it horizontally resting on the one side bricks. Place one vermiculite board side brick into the Firebox as shown above.
- Page 5 11 March 2020 FITMENT AND REMOVAL OF BAFFLE - (Clean Air Model from 2005-2014) STEP : 1 STEP : 2 Tilt Studio baffle on an angle & slide in through door frame Remove ash & Studio bricks STEP : 4 STEP : 3 Rotate Bbffle 90 degrees Push baffle right to the back of firebox...
-
Page 6: Important Note
11 March 2020 WETBACK POSITION (Clean Air from 2014 Model) Studio “Airback” Important note: Remove “Airback” before fitting Studio wetback. Studio Wetback Description Height from bottom of unit U 750 Distance between outlets V 220 Power out Wetback WETBACK POSITION (Clean Air from 2005—2014 Model) Note: Wetback can NOT be fitted to fires that are... - Page 7 11 March 2020 STUDIO GLASS FITMENT No. 1 No. 2 The Studio door glass is a special heat resistance glass The glass can be replaced with the door still fitted to the fire. Loosen the 4 designed for use in fires. cap-screws on the front of the door that retains the glass (using a 3mm allen key), and remove the bottom glass retainer.
- Page 8 11 March 2020 No. 5 No. 6 With a 3mm allen key, hook under the air dam and lever the top door Place the new glass into the door at the bottom retainer up, at the same time slide the glass up and under the top door retainer.
- Page 9 11 March 2020 STUDIO DOOR ADJUSTMENT No. 1 No. 3 No. 2 The Studio door and hinge has Have all the screws and the nuts just Close the door and nip the handle closed. been designed to give a wide loose so the door can move with a Ensure that the handle is only just nipped.
- Page 10 11 March 2020 No. 6 No. 7 Ensure that the door is hard back on the hinge side and Ensure that the door is parallel to the top of the fire. tighten the top and bottom nuts while holding the button head cap screw with the 5mm allen key and spanner.
-
Page 11: Maintenance Record
11 March 2020 MAINTENANCE RECORD Date Maintenance work carried out:...