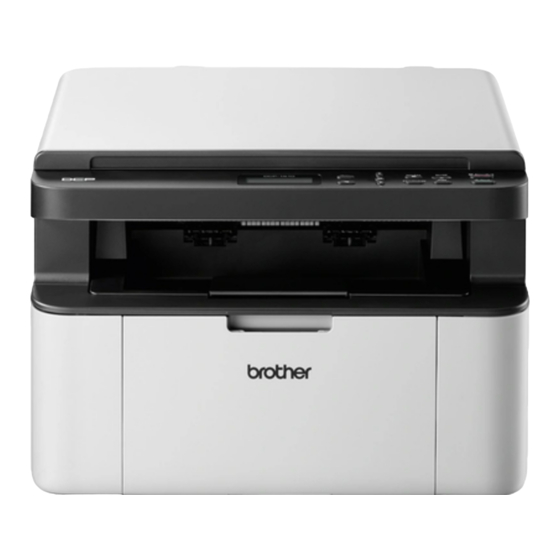
Brother DCP-1510 Instructions Manual
Hide thumbs
Also See for DCP-1510:
- Service manual (200 pages) ,
- User manual (96 pages) ,
- Faq & troubleshooting (3 pages)
Advertisement
Quick Links
INSTRUCTIONS FOR REFILLING BROTHER TN 1050 (EUROPE)
Brother DCP-1510/1511/1512/1512E/1515/1518, DCP 1610W/ 1612W.
MFC-1810/1811/1812/1813/1815/1818.
HL-1110/1111/1112/112A/1118/1210/1210W/1212/1212W
When to refill?
The printer asks for the toner cartridge to be changed before all of the toner has been used. This is a
waste of toner and your money. Put the printer into "Continue Mode" – this will force the printer to use up
all of the remaining toner in cartridge ! (This method is detailed in the printer manual)
Printer DCP / MFC Series:
The Replace Toner message is displayed on the LCD or in the Status Monitor when Brother thinks you should
change the toner cartridge.
To enable Continue Mode, please follow the steps below:
1. Press MENU and choose General Setup => Replace Toner.
2. Use the UP OR DOWN ARROW key to choose Continue and then press OK.
3. Press STOP/EXIT.
Print until the print quality is no longer acceptable or you get the error message toner life end and
you cannot print. Then follow the instructions below.
Printer HL SERIES
Your Brother printer will let you know when you are low on toner using a series of LED lights on the printer
LED showing Toner low – ignore keep printing.
LED showing Replace toner – now override this warning and keep printing..
To force the machine to
(power) button seven times to enter Continue mode.
All the LEDs blink twice, and then the Ready LED () turns on)
Power button
Now print until the print quality is no longer acceptable or you get the
error message toner life end and you cannot print.
1 – this is the power button
2 – This is the error LED
3 – This is the ready LED
continue printing
© Zinetic.co.uk. All Rights Reserved
Please read instructions from start to finish
before you start your refill.
after the LEDs indicate Replace Toner, press
Advertisement

Summary of Contents for Brother DCP-1510
- Page 1 Then follow the instructions below. Printer HL SERIES Your Brother printer will let you know when you are low on toner using a series of LED lights on the printer 1 – this is the power button 2 –...
- Page 2 Please read instructions from start to finish before you start your refill. Refilling your cartridge Remove cartridge and drum from printer. Separate the cartridge from the drum unit. Replace drum unit into printer. Switch printer off. Place printer cartridge on several sheets of newspaper.
- Page 3 Please read instructions from start to finish before you start your refill. Empty in an area that can tolerate a WARNING: You must ensure all toner is toner spill i.e. your dumped from your cartridge before refilling with garage. the new toner. You must do this every refill. Toner can be very Important - mixing new and old toner will cause messy - empty the...
- Page 4 We think the first option is the best but have provided the details for the gear reset below Brother has introduced a small plastic gear in its cartridges that tells the printer a new cartridge is installed. You will need to reset the plastic gear into the correct position or the cartridge will be rejected by the printer.
- Page 5 Please read instructions from start to finish before you start your refill. Before we can remove the plastic cover we need to release the locking clips with a small screwdriver Release the 2 clip Very carefully remove the end cover plate to reveal the reset gear and various cogs.
- Page 6 Please read instructions from start to finish before you start your refill. Remove only the white plastic cog. Install or reset the plastic reset gear as shown below. The gear can move it is not locked into the groove. © Zinetic.co.uk. All Rights Reserved...
- Page 7 Please read instructions from start to finish before you start your refill. Reinstall the cog we removed earlier. With the gear set in the correct position, re-install the gear cover plate (or the new cover plate if you bought the reset gear) and replace the two screws as shown opposite.


