Advertisement
Quick Links
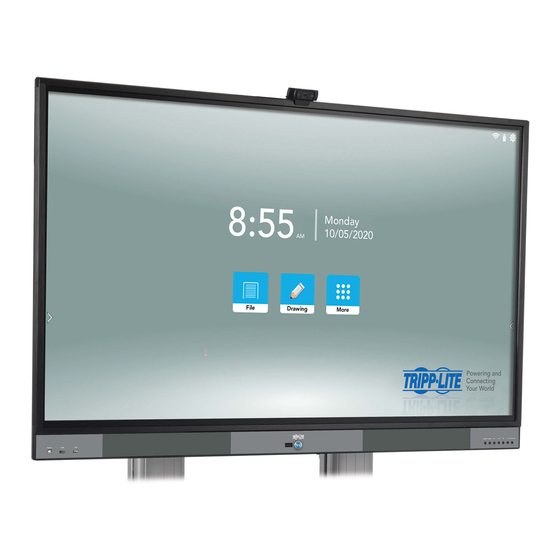
Quick Start Guide
Interactive 55"
Touchscreen Display
WARRANTY REGISTRATION
Register your product today and be
automatically entered to win an ISOBAR
surge protector in our monthly drawing!
tripplite.com/warranty
1111 W. 35th Street, Chicago, IL 60609 USA • tripplite.com/support
© 2020 Tripp Lite. All rights reserved.
®
1
Advertisement

Summary of Contents for Tripp Lite DMTP55NO
- Page 1 Touchscreen Display WARRANTY REGISTRATION Register your product today and be automatically entered to win an ISOBAR ® surge protector in our monthly drawing! tripplite.com/warranty 1111 W. 35th Street, Chicago, IL 60609 USA • tripplite.com/support © 2020 Tripp Lite. All rights reserved.
- Page 2 Features Front Panel USB Touch Port Note: If you decide to use a front or rear USB touch port, use the included USB cable or a user-supplied USB 2.0 A-B cable that is 3 m or shorter to ensure signal integrity. HDMI Port USB 2.0 Port IR Receiver for Included Remote Control...
- Page 3 Features Rear Panel AC Inlet USB Touch Port (For HDMI) 3.5 mm Audio Output (C14, 100-240V, 50/60 Hz) (Headphone) HDMI Input (3) Master On/Off Switch 3.5 mm Audio Input (Microphone) DisplayPort Input (O: Off; —: On) 3.5 mm Audio Input (VGA) USB Touch Port (For DP/VGA) Camera Input (Common USB) VGA Video Input (HD15)
- Page 4 Features Remote Control Layout You can control the touchscreen display in several ways: 1. Using the remote control. 2. Using the physical buttons on the display. 3. Using the on-screen display menus and touch input. Button Description Power (On/Standby) Mute Input Selection Menu Freeze Screen Image FREEZE...
-
Page 5: Initial Setup
Initial Setup Wi-Fi Antenna Connection After mounting the unit securely to the included mobile stand or a wall mount, connect the included Wi-Fi antennas to the rear of the unit. Camera Connection Clip the included HD webcam to the top of the display. You can reposition it as needed. Using the included USB cable, connect the webcam to the camera input at the rear of the unit. -
Page 6: Warranty And Product Registration
Product Registration Visit tripplite.com/warranty today to register your new Tripp Lite product. You’ll be automatically entered into a drawing for a chance to win a FREE Tripp Lite product!* * No purchase necessary. Void where prohibited. Some restrictions apply. See website for details. -
Page 7: Regulatory Compliance
The user must use shielded cables and connectors with this equipment. Any changes or modifications to this equipment not expressly approved by Tripp Lite could void the user’s authority to operate this equipment. Tripp Lite has a policy of continuous improvement. Specifications are subject to change without notice. Photos and illustrations may differ slightly from actual products. - Page 8 1111 W. 35th Street, Chicago, IL 60609 USA • tripplite.com/support 20-08-038 93-3CCC_RevA...