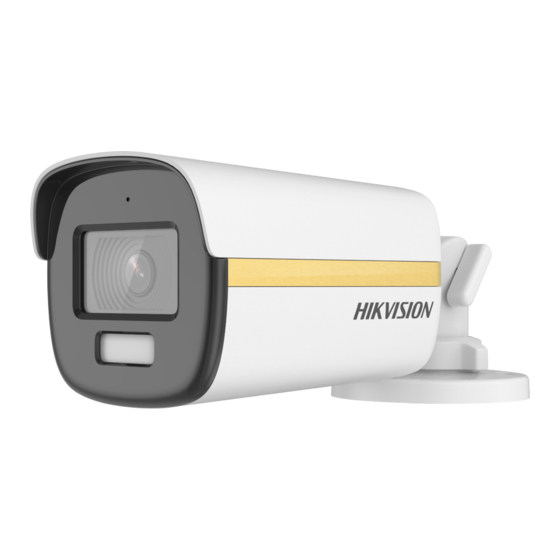
Advertisement
2 MP Full Time Color Camera
User Manual
Thank you for purchasing our product. If there are any
questions, or requests, do not hesitate to contact the
dealer.
This manual applies to the models below:
Type I Camera
Type II Camera
Type III Camera
Type IV Camera
Type V Camera
This manual may contain several technical mistakes or
printing errors, and the content is subject to change
without notice. The updates will be added to the new
version of this manual. We will readily improve or
update the products or procedures described in the
manual.
Type
User Manual
Model
DS-2CE12DF3T-FS
DS-2CE12DF8T-FSLN
DS-2CE10DF3T-FS
DS-2CE10DF8T-FSLN
DS-2CE10DF3T-PFS
DS-2CE10DF8T-PFSLN
DS-2CE72DF3T-FS
DS-2CE72DF8T-FSLN
DS-2CE70DF3T-MFS
DS-2CE70DF8T-MFSLN
DS-2CE70DF3T-PFS
DS-2CE70DF8T-PFSLN
01000020200519
Advertisement
Table of Contents

Summary of Contents for HIKVISION DS-2CE12DF3T-FS
- Page 1 Thank you for purchasing our product. If there are any questions, or requests, do not hesitate to contact the dealer. This manual applies to the models below: Type Model DS-2CE12DF3T-FS Type I Camera DS-2CE12DF8T-FSLN DS-2CE10DF3T-FS DS-2CE10DF8T-FSLN Type II Camera DS-2CE10DF3T-PFS...
-
Page 2: Regulatory Information
Regulatory Information FCC Information Please take attention that changes or modification not expressly approved by the party responsible for compliance could void the user’s authority to operate the equipment. FCC compliance: This equipment has been tested and found to comply with the limits for a Class A digital device, pursuant to part 15 of the FCC Rules. - Page 3 The precaution measure is divided into “Warnings” and “Cautions”. Warnings: Serious injury or death may occur if any of the warnings are neglected. Cautions: Injury or equipment damage may occur if any of the cautions are neglected. Warnings Follow Cautions Follow these these safeguards to precautions to prevent prevent serious injury...
- Page 4 The power of pick-up should be under 12 V, 50 mA. DO NOT discard line-in conversion interface when insert pickups, and pay attention to the connection sequence, so as not to damage the pick-up. Line-in interface should assort with the conversion ...
- Page 5 Switch Button Line-in Microphone Video Cable Bracket Power Cord Lens Main Body Figure 1-4 Overview of Type II Camera (DF8T series) Notes: Line-in is for external pick-up. The cable is only available for DF8T series. Press and hold the switch button for 5 seconds to ...
-
Page 6: Installation
Press and hold the switch button for 5 seconds to switch the video output. Four kinds of video outputs are available: TVI, AHD, CVI, and CVBS 1.2.5 Overview of Type V Camera Installation Plate Base Enclosure Switch Button Power Cord Main Body Video Cable Microphone... - Page 7 2. (Optional) For cement ceiling, drill the screw holes with a 5.5 mm drill and insert the supplied wall plugs. 3. (Optional) Drill the cable hole, when the cables are routed through the ceiling. 4. Secure the camera to ceiling with three PA4 × 25 screws (supplied).
- Page 8 Figure 2-4 Secure the Junction Box on the Wall 7. Route the cables through the bottom cable hole or side cable hole of the junction box and connect the cables. 8. Fix the junction box cover on its body with three PM3 ×...
- Page 9 Figure 2-7 Dissemble the Camera iii. Secure the base to the ceiling with three PA4 × 25 screws (supplied). iv. Align the screw hole with the triangle mark to install the camera back to the base and secure it. Triangle Mark Figure 2-8 Install the Camera to Ceiling 4.
- Page 10 Junction Box Cover Installation Plate PA4 × 10 Figure 2-10 Fix the Camera to the Junction Box For Type IV and Type V camera: PM3 × 13 Junction Box Cover M4 × 10 Installation Plate/Base Figure 2-11 Fix the Camera to the Junction Box 7.
-
Page 11: Menu Description
Figure 2-13 Fix the Installation Plate For Type IV camera: i. Refer to Step 3 of Section 2.2.1 to dissemble the camera ii. Use M4 × 10 screws to fix the base onto the wall mount. Figure 2-14 Fix the Base 4. -
Page 12: Video Format
VIDEO FORMAT EXPOSURE MODE SLOW SHUTTER EXPOSURE ANTI - BANDING BACK EXIT SAVE & EXIT IMAGE MODE WHITE BALANCE BRIGHTNESS CONTRAST VIDEO SHARPNESS SETTINGS SATURATION 3DNR MIRROR BACK EXIT SAVE & EXIT MAIN MENU AUDIO AUDIO MODE AUDIO VOLUME SETTINGS BACK EXIT SAVE &... -
Page 13: Slow Shutter
3.2 EXPOSURE EXPOSURE MODE You can set the EXPOSURE MODE to GLOBAL, BLC, HLC, WDR, or HLS. GLOBAL GLOBAL refers to the normal exposure mode which adjusts lighting distribution, variations, and non-standard processing. BLC (Backlight Compensation) BLC (Backlight Compensation) compensates light to the object in the front to make it clear, but this may cause over-exposure of the background where the light is strong. -
Page 14: Image Mode
IMAGE MODE IMAGE MODE is used to adjust the image saturation, and you can set it to STD (Standard), HIGH-SAT (High Saturation), or HIGHLIGHT (better indoor facial details). WHITE BALANCE White balance, the white rendition function of the camera, is to adjust the color temperature according to the environment. -
Page 15: Factory Default
AUDIO You can turn on or off the function under this sub-menu. AUDIO MODE Note: The function is only supported by DF8T series. You can set the mode as AUTO, BUILT-IN, LINE IN. AUTO: The device automatically choose the way to pick up the sound.
