Advertisement
Quick Links
INSTALLATION INSTRUCTIONS
2017-2018 FORD
RAPTOR
®
®
FOG MOUNT
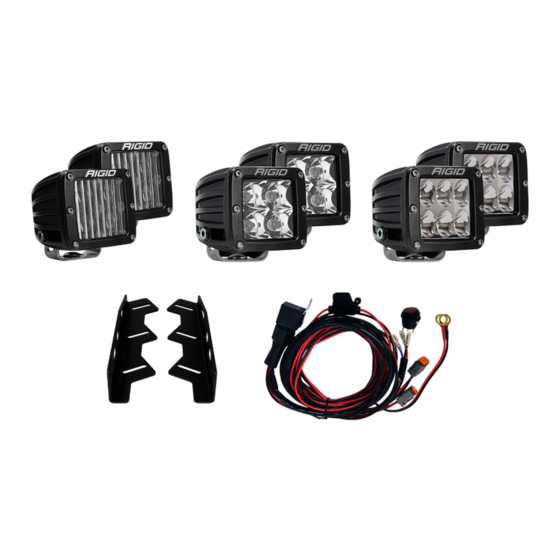
PRODUCT INCLUDES:
(2) Raptor Fog Mount
* LIGHTS SOLD SEPARATELY
*THIS MOUNT FITS THE FOLLOWING LIGHTS:
(6) D-Series
®
IMPORTANT
THANK YOU FOR PURCHASING RIGID INDUSTRIES' PRODUCTS FOR YOUR VEHICLE.
Please read through all of these Instructions and tips before proceeding with the installation.
We do our best to provide a simple installation process for all applications however
a professional installation is always recommended.
Always disconnect any power sources connected to your vehicle
before servicing fuses or electrical systems.
Advertisement

Summary of Contents for RIDGID D Series
- Page 1 INSTALLATION INSTRUCTIONS 2017-2018 FORD RAPTOR ® ® FOG MOUNT PRODUCT INCLUDES: (2) Raptor Fog Mount * LIGHTS SOLD SEPARATELY *THIS MOUNT FITS THE FOLLOWING LIGHTS: (6) D-Series ® IMPORTANT THANK YOU FOR PURCHASING RIGID INDUSTRIES’ PRODUCTS FOR YOUR VEHICLE. Please read through all of these Instructions and tips before proceeding with the installation. We do our best to provide a simple installation process for all applications however a professional installation is always recommended.
- Page 2 STEP 1 FIGURE 1 Remove the 8mm head bolt on the bumper brace and on the bumper side, while simply loosening the bolt on the other end of the brace to allow it to dangle. Remove Bolt See Figures 1 & 1.1 FIGURE 1.1 Loosen Bolt STEP 2...
- Page 3 STEP 3 FIGURE 3 Install the provided M6 carriage bolt and M6 flange head nut as shown. Do not fully tighten the bolts yet as further adjustment is required. See Figures 3 & 3.1 FIGURE 3.1 STEP 4 FIGURE 4 Install (6) extended drop mount brackets as shown, making sure to pre-install carriage bolts.
- Page 4 STEP 5 FIGURE 5 Once the bracket is on, install the lights. Adjust the bracket and lights for proper fitment then fully tighten all bolts. See Figures 5 Wiring: Wire your lights according to the instructions included with the light. Take care to avoid any heat sources and sharp or abrasive surfaces.