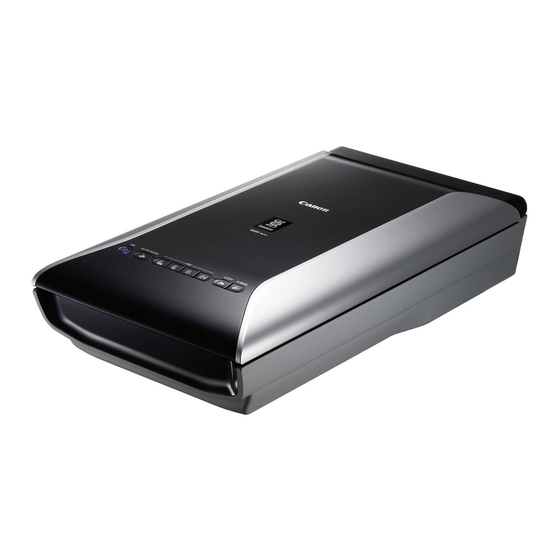
Canon CanoScan 9000F Mark II Quick Start Manual
Hide thumbs
Also See for CanoScan 9000F Mark II:
- Quick start manual (8 pages) ,
- Quick start manual (136 pages)
Advertisement
Quick Links
Scan film with the Canon
CanoScan 9000F Mark II
N
If you encounter an error message when attempting a scan using any uCreate
ote:
scanner, please consult the Troubleshooting section on page 5.
For the care of your film and the scanner glass, it is important that your hands
are clean before commencing and that you avoid touching the scanner glass.
It is also important to avoid touching the image area of your film, as any
small dirt specks or fingerprints will become magnified when the images are
scanned at high resolution.
1
When using the Canon scanner to scan film or slides, make sure the cover which fits under the
scanner lid is removed.
The cover's securing mechanism is fragile so remove it very carefully by gently pressing the clip
at the top of the cover down and towards you.
Please replace the inner cover when you are finished scanning by slotting the tabs at the bottom
of the inner cover into the lower part of the scanner lid then pressing gently on the clip at the top to
secure it.
August 2018
The clip at the top of the inner
Replacing the cover after use:
the cover into the slot in the lid
before securing the clip at the top
www.ed.ac.uk/is/ucreate
1
IS.Helpline@ed.ac.uk
cover which secures it to the
underside of the scanner lid
slide the tabs at the bottom of
Advertisement

Summary of Contents for Canon CanoScan 9000F Mark II
- Page 1 When using the Canon scanner to scan film or slides, make sure the cover which fits under the scanner lid is removed. The cover’s securing mechanism is fragile so remove it very carefully by gently pressing the clip at the top of the cover down and towards you.
- Page 2 Scan film with the Canon CanoScan 9000F Mark II Film and slides must be placed in the special holders provided in order to scan accurately. There are three holders available for a variety of film formats with the Canon scanner. Use the appropriate holder for your film format.
- Page 3 To change the save location, close the ScanGear panel (any customised scan settings you have entered will be saved) and select the Settings button on the Canon Scan Utility panel. Canon Scan Utility panel Settings button www.ed.ac.uk/is/ucreate...
- Page 4 You can then open and edit the images in Photohop if you wish. If you close Scangear and then decide you need to scan more film items, your settings will have been retained when you relaunch ScanGear from the Canon Scan Utilities panel. See “Troubleshoot scanning” on page 5 for further support.
- Page 5 Troubleshoot scanning The majority of scanning problems are caused by a lack of space in your home ote: drive (M:) to store the scanned image. Your home drive is the default save location if you haven’t set another prior to scanning. See the first solution on this page to find out more about file storage.


