Table of Contents
Advertisement
Advertisement
Table of Contents

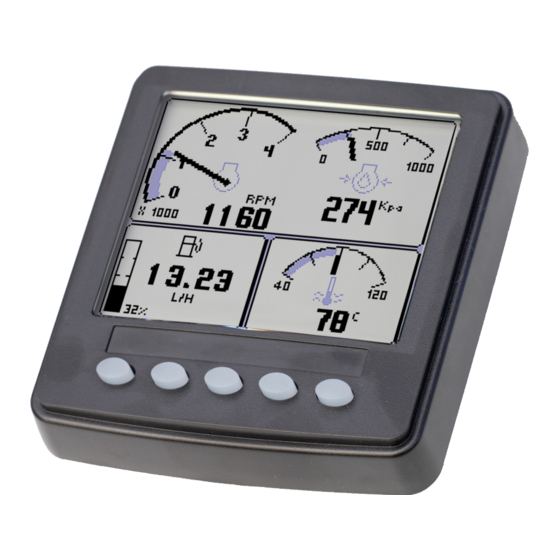
Summary of Contents for Veethree CANvu Series
- Page 1 CANvu Display Installation Instructions...
-
Page 2: Table Of Contents
CONTENTS 1. CANvu Display Mounting 2. Connecting the CANvu Display 2.1 CANvu 230 2.2 CANvu 260/261 2.3 CANvu 355 & 355 LP 2.4 CANvu 355 Lite & 355 Lite LP 2.5 CANvu 700 3. Connecting to the Network 4. Maintenance and Troubleshooting 5. -
Page 3: Canvu Display Mounting
1. CANvu Display Mounting Units are designed to be mounted onto a bulkhead, dashboard, or panel. The method is described below. The only required components are the mounting bracket and hardware. Instructions: Allow adequate clearance behind the display for cable connection (to ensure that the cables are not unduly stressed), and for ventilation. - Page 4 Mounting templates can be downloaded from our website at www.cantronik.com/templates Typical mounting method...
-
Page 5: Connecting The Canvu Display
2. Connecting the CANvu Display The CANvu range of displays should be installed and setup in accordance to this manual by a competent individual who is used to working with electrical systems. Failure to follow these instructions may result in malfunction and in-validate any warranty. IMPORTANT NOTE Safety Warning: Please note analogue input voltages should not exceed the supply voltage or damage may occur. -
Page 6: Canvu 230
2.1 CANvu 230 CONNECTOR 1 Ground 2 Power 3 CAN-H 4 CAN-L 5 Relay/Digital Out 6 Analogue In... -
Page 7: Canvu 260/261
2.2 CANvu 260/261... -
Page 8: Canvu 355 & 355 Lp
2.3 CANvu 355 & 355 LP... - Page 9 2.3 CANvu 355 & 355 LP (continued)
- Page 10 2.3 CANvu 355 & 355 LP (continued)
-
Page 11: Canvu 355 Lite & 355 Lite Lp
2.4 CANvu 355 Lite & 355 Lite LP... -
Page 12: Canvu 700
2.5 CANvu 700... - Page 13 2.5 CANvu 700 (continued)
- Page 14 2.5 CANvu 700 (continued)
- Page 15 2.5 CANvu 700 (continued)
-
Page 16: Connecting To The Network
3. Connecting to the Network The range of CANvu displays will operate with a number of CAN network protocols. If you are unsure of which CAN networks are supported, please contact CANtronk for advice. Please consult relevant network protocol standards to ensure that the unit is connected correctly. -
Page 17: Maintenance And Troubleshooting
4. Maintenance and Troubleshooting No regular maintenance should be required, except for cleaning the CANvu lens as needed, using a soft, damp cloth. Do not use abrasive materials or solvents. If you are experiencing operating problems with CANvu Display refer to the following diagnostics: ... -
Page 18: Important Safety And Legal Information
5. Important Safety and Legal Information Under no circumstances shall CANtronik or any of its subsidiary companies accept liability for any loss of data, income, incidental damage or consequential losses incurred as a result of the use of the product, howsoever caused. CANtronik operates a policy of continuous improvement. - Page 19 CANvu is a Registered Trademark of CANtronik Electronics and Marine LLC ™ CANtronik Ltd Unit 4a, Upton Industrial Estate, Factory Road, Upton, Poole, Dorset, UK. www.cantronik.com sales@cantronik.com T: +44 (0) 01202 973023 70617 Rev. 1...
