Advertisement
Quick Links
Advertisement

Related Manuals for Philips CoralCare


Summary of Contents for Philips CoralCare
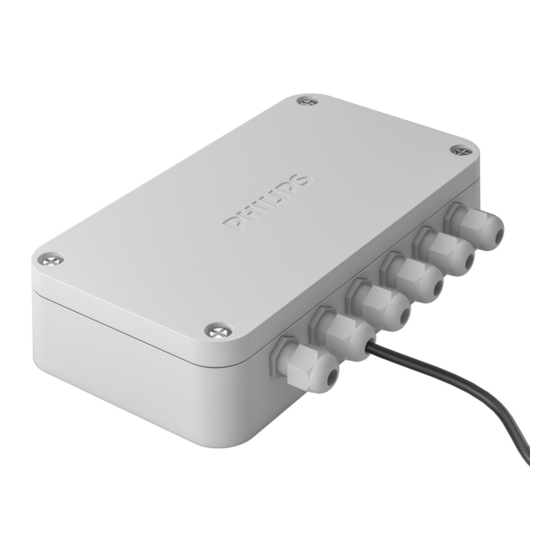
- Page 1 CoralCare Controller Gen2 Software manual desktop application...
- Page 2 • Connect the USB cable of the controller to your PC if you want to access and program the CoralCare Controller via the desktop application. If you want to access your device via wifi, make sure the controller is powered via the USB adapter.
- Page 3 After connection to the controller is made, the software will check the firmware of the controller. If a new version is available, the software will show the following message: Please note that a firmware update might take some time before it is successfully uploaded to the controller. After the firmware check, the software will start loading the settings from the controller and will check if the time is programmed correctly.
- Page 4 • By default the controller is programmed to output 5% light intensity for both channels (programmed in Cus- tom1 and Custom2). If you want to use a 3rd party aquarium computer to control the CoralCare fixtures you need to click “0-10V Mode” and press “Save to controller”. All other schedule options become unavailable in this mode.
- Page 5 • You can make use of the “Basic Scheduler” tab to modify start and end time as well as intensity factor of the existing schedules. Make your adjustments and press “Apply” to alter the schedule. Do not forget to press “Save to controller”...
- Page 6 Explanation about data point settings: Time: This is the time (in hours and minutes) at which the chosen light settings (color point and intensity) are active. Light intensity: This determines the total intensity of the light. This is independent of the selected color- point.
- Page 7 If you want to start a schedule from scratch: • First define at what time you want the fixture(s) to switch on, and at what color point you want it to start. Set the intensity at 0% for the first point. •...
- Page 8 • Keep adding points until a complete day schedule has been defined. For example: • Once you are satisfied with the defined schedule, you can first press “Save schedule” to save it to one of the two custom schedules. This file can be shared with other reefers to show how you have set up your 24-hour schedule. The settings have not yet been saved in the controller! •...
- Page 9 • With live mode enabled, the controller sends all data directly to the fixtures (for every entry). This starts when a time entry is selected. When a time entry is selected, the corresponding row (time, color and intensity) is high- lighted and content is transmitted to the lamp.
- Page 10 • When you finished the setup of the schedule and saved it to the controller, you can disconnect the USB cable from the computer. • Connect the USB cable to the USB power supply. • Insert the power supply into the plug (the controller will automatically be enabled and operational). Battery Backup The controller holds a battery backup that will save the data and the time on the controller.
- Page 11 11/12...
- Page 12 Signify I.B.R.S. / C.C.R.I. Numéro 10461 www.philips.com/coralcare 5600 VB Eindhoven, the Netherlands Europe +800 7445 4775 1-800-555-0050 Last update: 21/04/20 © 2020 Signify Holding All rights reserved...