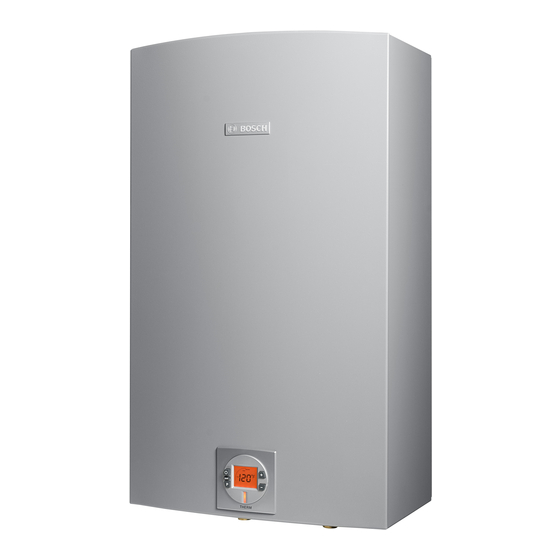
Bosch Therm C1050ES Technical Service Bulletin
Replacing the control unit
Hide thumbs
Also See for Therm C1050ES:
- Installation instructions (4 pages) ,
- Applications manual (107 pages) ,
- Installation and operation instruction manual (88 pages)
Advertisement
Quick Links
Technical Service Bulletin:
Replacing The Control Unit
Models: C1050ES, C950ES, 940ES, 940ESO, 830ES
Introduction
Tools needed:
Phillips head screw driver
Small flat head screw driver
Needle-nosed pliers
Note: Avoid touching printed circuit board (PCB) as static discharge
may damage circuitry.
Preparation
Push power button to "OFF" and unplug power cord.
Loosen two Phillips head screws on bottom rear of front cover.
Pull cover bottom outwards then lift cover upwards to remove.
Removing control unit
Remove three Phillips screws on front of control unit. (Fig. 2,
pos. 1)
Turn control unit to expose the rear. (Fig. 2, pos. 2).
Locate and remove 6 Phillips head screws on back of control
unit (Fig. 2, pos. 3).
control unit front
control unit front
3
3
Remove rear cover from control unit to expose circuit board
electrical connections. Slide wire restraints out of control unit.
(Fig. 3, pos. 1).
Remove two large electrical strip connectors by pulling them
away from board. (Fig. 3, pos. 2).
Remove medium sized electrical strip connector by pulling it
outwards. (Fig. 3, pos. 3).
Remove small electrical strip connector by pulling it outwards.
(Fig. 3, pos. 4).
Remove two large ignition wires by pulling them outwards. (Fig.
3, pos. 5).
Remove yellow/green striped ground wire spade connection by
depressing tab on connector and pulling it gently off the board.
(Fig. 3, pos. 6).
Loosen two small flat head screws on terminal block for power
cord. Pull black and white wires free from terminal block and
control unit. (Fig. 3, pos. 7).
Loosen Phillips head screw and remove green ground wire con-
nection for power cord. (Fig. 3, pos. 8).
Figure 2
2
1
Remove control unit from the water heater.
Appliance evaluation for PCB jumper location
3
3
Please evaluate the following prior to installation of the replacement
PCB:
3
2
4
6
8
1
Figure 3
7
5
1
Advertisement

Related Manuals for Bosch Therm C1050ES


Summary of Contents for Bosch Therm C1050ES
- Page 1 Technical Service Bulletin: Replacing The Control Unit Models: C1050ES, C950ES, 940ES, 940ESO, 830ES Remove rear cover from control unit to expose circuit board Introduction electrical connections. Slide wire restraints out of control unit. (Fig. 3, pos. 1). Tools needed: Remove two large electrical strip connectors by pulling them ...
- Page 2 C 950 ES or 830 ES with immersed outlet temperature sensor Surface mount outlet Immersed outlet temperature sensor temperature sensor Figure 6 Natural Liquid Propane JUMPER NEEDED Data subject to change without notice | Printed in the USA | BTC 740002317 C | 06.2012 Bosch Thermotechnology Corp.
- Page 3 (Fig. 3, pos. 6). Reattach large ignition wires to replacement control board (no polarity). (Fig. 3, pos. 5). Bosch Thermotechnology Corp. Reconnect small electrical strip connector to replacement 50 Wentworth Avenue Londonderry, NH 03053 control board.