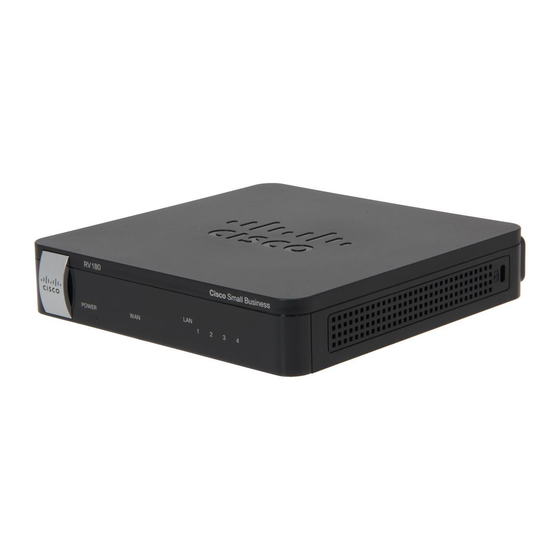
Cisco RV180 Manual
Wan configuration
Hide thumbs
Also See for RV180:
- Administration manual (187 pages) ,
- Administrator's manual (183 pages) ,
- Datasheet (5 pages)
Advertisement
Quick Links
WAN Configuration on RV180 AND RV180W
Objectives
This document explains how to configure the IPv4 WAN(Internet) for use with a Static IP on
the RV180 and RV180W.
Static IP is for use with internet providers who assign the user a permanent IP address.
Using a static IP is less secure because the IP address is always the same, however it is
more dependable for some services. Such as Voice over Internet Protocol(VOIP) or if you
using the computer for a server.
Applicable Devices
• RV180
• RV180W
Steps of Procedure
Step 1. Use the router configuration utility to choose Networking > WAN(Internet) > IPv4
WAN (internet). The IPv4 WAN (internet) page opens.
Step 2. Choose the Static IP option from the Internet Connection Type drop-down menu.
Advertisement

Summary of Contents for Cisco RV180
- Page 1 WAN Configuration on RV180 AND RV180W Objectives This document explains how to configure the IPv4 WAN(Internet) for use with a Static IP on the RV180 and RV180W. Static IP is for use with internet providers who assign the user a permanent IP address.
- Page 2 Step 3. Enter the information in the corresponding fields. • IP Address— The IP address used by the WAN port. • Subnet Mask— The sub-net mask used by the WAN port. • Default Gateway • Primary DNS Server • Secondary DNS Server— (Optional) For use if you have a secondary DNS server in place.
-
Page 3: Pppoe Configuration
Step 4. Choose the MAC Address Source from the drop-down list. • Use Default Address— Uses the defaults MAC address. • Use This Computer's Address— Uses the MAC address your computer currently has. • Use this MAC— Allows you to enter a specific MAC Address. •... - Page 4 Step 2. Choose the PPPoE option from the Internet Connection Type drop-down menu. Step 3. Choose PPPoE Profile name to be used from the drop down menu. Step 4. Choose the MTU Type. • Default— Default value is 1500 Bytes. •...
-
Page 5: Pptp Configuration
Step 5. Choose the MAC Address Source from the drop-down list. • Use Default Address— Uses the defaults MAC address. • Use This Computer's Address— Uses the MAC address your computer currently has. • Use this MAC— Allows you to enter a specific MAC Address. Step 6. - Page 6 Step 2. Choose the PPTP option from the Internet Connection Type drop-down menu. Step 3. Enter the Username and password in the User name and Password fields respectively provided by the ISP.
- Page 7 Step 3. (Optional) Check Enable for MPPE Encryption. Step 4. (Optional) Click Connection Type to idle Time and enter idle time in minutes. Note: WAN (internet) Idle Time out will not work if Bonjour is enabled in Discover-Bonjour Page.
- Page 8 Step 5. Enter the My IP Address provided by ISP. • Server IP Address — Enter the PPTP server ip address. Step 6. Choose the MTU Type. • Default— Default value is 1500 Bytes. • Custom— Custom enable you to enter a custom MTU size(bytes) value in the MTU Size field.
-
Page 9: L2Tp Configuration
Step 7. Choose the MAC Address Source from the drop-down list. • Use Default Address— Uses the defaults MAC address. • Use This Computer's Address— Uses the MAC address your computer currently has. • Use this MAC— Allows you to enter a specific MAC Address. Step 8. - Page 10 Step 2. Choose L2TP from Internet Connection Type drop-down menu. Step 3. Enter Username and Password in the User name and Password fields respectively provided by the ISP.
- Page 11 Step 4. (Optional) Enter the Secret phrase to log into server. Step 5. (Optional) Click Connection Type to idle Time and enter idle time in minutes.
- Page 12 Note: Idle Time out will not work if Bonjour is enabled in Discover-Bonjour Page. Step 6. Enter the My IP Address provided by ISP. • Server IP Address — Enter the PPTP server ip address.
- Page 13 Step 7. Choose the MTU Type. • Default— Default value is 1500 Bytes. • Custom— Custom enable you to enter a custom MTU size(bytes) value in the MTU Size field.
- Page 14 Step 8. Choose the MAC Address Source from the drop-down list. • Use Default Address— Uses the defaults MAC address. • Use This Computer's Address— Uses the MAC address your computer currently has. • Use this MAC— Allows you to enter a specific MAC Address. Step 9.


