
Related Manuals for Philips Urbanspark BDP301 LED 4M 7043


Summary of Contents for Philips Urbanspark BDP301 LED 4M 7043
- Page 1 Urbanspark Mounting Instructions (V1.0) Philips (China) Investment Co., Ltd Address:No. 1602-1605, No. 218 Tianmu W Rd, Shanghai Post code: 200070...
-
Page 2: Important Safety Notice
1. The misuse of this equipment could result in human injury and/or equipment damage. In no event will Philips be responsible or liable for either indirect or consequential damage or injury that may have resulted from the misuse of this equipment. - Page 3 Avoid Locations in the shade of the trees or buildings, if you can not avoid the shade, you must ensure the shade below the 2m of the pole. If you do want to install the system at a shade area, please consult to Philips professional people. Pole foundation and anchor bolts Note: 1.
-
Page 4: Part List
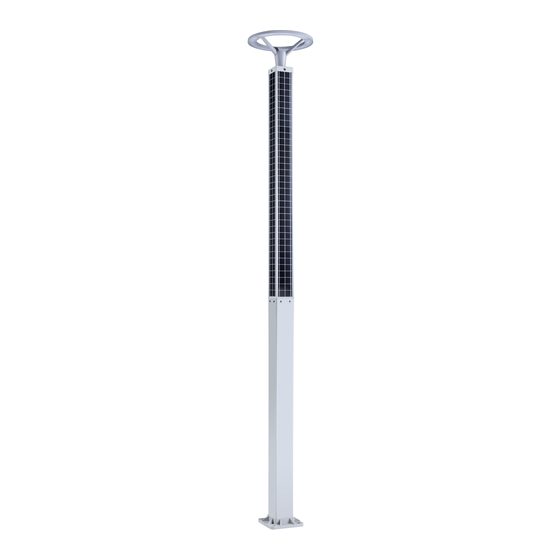
Spanner (Max Cross screwdriver Socket screw wrench Steel rope Multimeter open size >30mm ) (Philips provided it) (optional) (Φ1.5mm length=8m) Note: The tools listed do not include items needed for pole installation and other construction work. Part list Note: Luminaire may be different according to different requirements. - Page 5 Mount Luminaire 1. Open the package 2. Open the service hatch with attached tool in the package. 3.Lift the top of the pole out of the package and put it on one edge of the package. 4. Pull the Luminaire cable through the pole by steel rope. torque 5.
- Page 6 Erect the Pole Solution 2:By crane for 4m and 6m pole Lift by crane Warning: Be careful not to let luminaire hit the crane arm. Solution 1:By man-Power for 4m pole Pull For reference only Affix the pole Affix the pole by M20 Nuts, spring washers and flat washers Note:...
- Page 7 System Connection Notice: Must strictly follow the below sequence, or it will introduce difficulty on installation. 2. Affix controller on 1. Put battery into the pole. the beam of the pole with four screws. 3. FIRSTLY, connect luminaire to the controller 4.
-
Page 8: Check List For Installation
Check List for Installation (This checklist MUST be signed by the installer before system installation handover) Project Name Project Location Scope of check Site Consrtuctor No. Item Description Result Remark Installation If the installation location avoid the shade of □ yes □... - Page 9 Troubleshooting Firstly,Check if you were followed the connection sequence we mention prior.if not, please disconnect one of the battery cable, and reconnect it, wait for 2-5 minutes, if still no light, please check follow below steps Check if the the connection of luminaire disconnect luminaire is loosing Replace a luminaire which suit for...
-
Page 10: Maintenance
If you have ANY question concerning safety when working with the battery system, contact your local Philips sales/service representative to clarify any of the noted safety precautions, or, call the corporate office number listed on the back of this manual and ask for professional service. -
Page 11: Battery Replacement
Battery replacement 2. Disconnect 3. take the old 4. Affix controller 1. Open the all cables and battery out serve hatch; take out the and replace a controller; new one; 5. FIRSTLY, connect luminaire to the controller 6. SECONDLY, connect NTC to the controller 7.