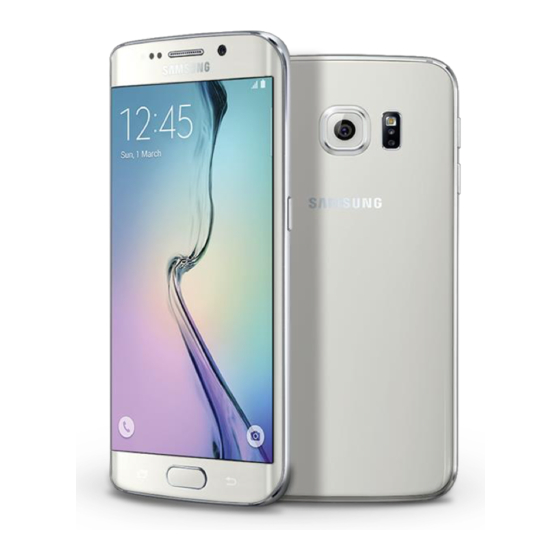
Samsung GALAXY S6 Edge Replacement Manual
Lcd replacement
Hide thumbs
Also See for GALAXY S6 Edge:
- Instruction manual (535 pages) ,
- User manual (423 pages) ,
- Important information manual (60 pages)
Advertisement
Quick Links
Advertisement

Summary of Contents for Samsung GALAXY S6 Edge
- Page 1 Easy2Fix – Replacement Guide LCD REPLACEMENT GUIDE FOR SAMSUNG GALAXY S6 Edge...
-
Page 2: What's In The Box
Easy2Fix – Replacement Guide What’s in the box: LCD & Digitizer Assembly Repair Tool kit Screen Protector Official store www.krnetshop.com CS Contact info@krnetshop.com C o p y r i g h t © 2 0 1 5 b y K r - n e t L i m i t e d... - Page 3 Easy2Fix – Replacement Guide Step 1 Place the phone down Step 2 Need to use a blow dryer/hair dryer to reheat the adhesive glued at the back of rear panel of the phone. So once that is done, the adhesive should be melted and unstruck with the phone Once the above action is taken,...
- Page 4 Easy2Fix – Replacement Guide Step 4 After went around the top, left and bottom side of the edge of the panel by using the pick, you will be able to see the adhesive left-over Step 5 After some cleaning, the adhered panel should be separates successfully from the rest of the phone assembly...
- Page 5 Easy2Fix – Replacement Guide Step 7 Need to use the screwdriver to unscrew the Phillips #00 Screw at the top from the phone Step 8 Use the plastic opening tool to carefully slip in between the edge of the mid-frame and the LCD, then you should be able to remove the LCD easily...
- Page 6 Easy2Fix – Replacement Guide Step 9 Now the mid-frame and the LCD with motherboard assembly are separated with each other Step 10 Carefully disconnect all the connector from the motherboard by using the Spudger Step 11 Disconnect the ear speaker flex...
- Page 7 Easy2Fix – Replacement Guide Step 12 Unplug the LCD flex connector, also disconnect the home button connector (The little black flip door at the middle) Step 13 Disconnect the two button connection wires from the motherboard Step 14 Need to remove the microphone at the top from the display assembly...
- Page 8 Easy2Fix – Replacement Guide Step 15 Hold the motherboard up and remove it from the phone, also we need to remove the bottom wired connector from the bottom of the motherboard Step 16 Take out the battery by using the plastic pick and go around from battery edge, remember to be real gentle to slip it in between the...
- Page 9 Easy2Fix – Replacement Guide Step 17 To remove the bottom motherboard, use the screwdriver to unscrew the two Philip #00 from the board (The red circle ones) Step 18 Use the tweezer to detect the bottom motherboard from the phone assembly Step 19 Use your finger to carefully take out the board entirely...
- Page 10 Easy2Fix – Replacement Guide Step 20 Need to re-heat the LCD by using a blow dryer/hair dryer, this is to unstruck the adhesive at the bottom of the LCD with the digitizer, then carefully slip the plastic pick in between the LCD and the digitizer, and move around the edges until the LCD come off Step 21...
- Page 11 Easy2Fix – Replacement Guide Notice/Warning: KR-NET DOES NOT ACCEPT ANY LIABILITY FOR DAMAGE, OR INJURY CAUSED, WHILE YOU ARE FOLLOWING OUR REPLACEMENT GUIDES. WE MAKE NO REPRESENTATIONS, WARRANTIES, OR CONDITIONS OF ANY KIND, EXPRESS OR IMPLIED. UTILIZING THESE GUIDES TO HELP ASSIST YOU IN REPAIRING YOUR MOBILE DEVICES WILL VOID YOUR WARRANTY.


