Table of Contents

Related Manuals for Target Leaning bookcase TGLNBKCSES


Summary of Contents for Target Leaning bookcase TGLNBKCSES
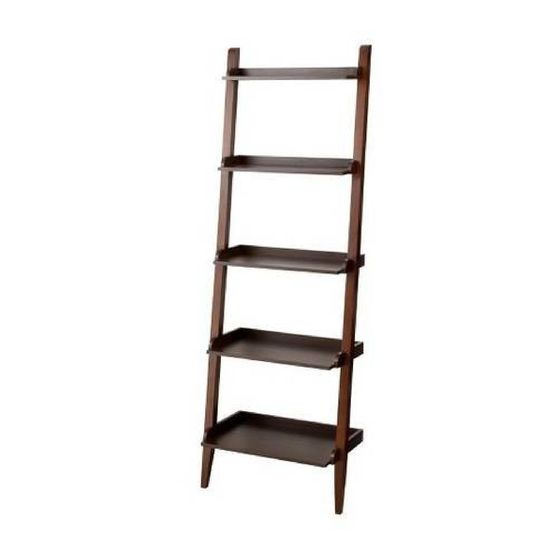
- Page 1 leaning bookcase espresso style # TGLNBKCSES dpci # 249-14-0037 ebony style # TGLNBKCSEB dpci # 249-14-0349 white style # TGLNBKCSWH dpci # 249-14-0351 midtone / cherry style # TGLNBKCSMT dpci # 249-14-0350 >> assembly instructions...
- Page 2 Congratulations on your latest Target purchase. Now what? Don’t start sweating over this box of parts. This will be easy. We did the hard work for you. All you need to do is follow our simple instructions and you’ll be on your way to transforming your room in no time.
- Page 3 table of contents introduction hardware parts list assembly 6-11 QUESTIONS? Just call 1-855-MYTGTHOME (855-698-4846) for parts and service. For faster service, have the style number and dpci number ready when calling.
- Page 4 hardware (H1) x 4 (H2) x 12 (H3) x 2 (H4) x 2 (H5) x 2 wooden dowel bolt binding screw allen wrench 38mm flat head screw (H6 x 2 (H7) x 6 (H8) x 2 (H9) x 2 wall anchor 16mm flat head screw metal bracket mending plate...
- Page 5 ITEM DESCRIPTION QUANTITY upper right leg lower right leg upper left leg lower left leg top shelf second shelf third shelf fourth shelf bottom shelf...
- Page 6 step 1. WARNING Serious or fatal crushing injuries can occur from furniture tip-over. To help prevent tip-over the brackets must be installed accordingly. (H7) x 2 (H8) x 2 16mm flat head screw metal bracket 1. Align screws with pre-drilled holes. 2.
- Page 7 step 2. (H1) x 4 wooden dowel 1. Carefully tap small wooden dowels into place. Leave 1/2” of the dowels sticking out.
- Page 8 step 3. (H4) x 2 (H2) x 6 (H3) x 1 allen wrench bolt binding screw 1. Fasten Middle Shelf [G] to the Right Leg Assembly [AB] using bolts and a binding screw. 2. Each remaining shelf is attached using a bolt.
- Page 9 step 4. (H4) x 2 (H2) x 6 (H3) x 1 allen wrench bolt binding screw 1. Fasten Left Leg assembly [CD] to Third Shelf [G] using bolts and a binding screw. 2. Use the bolts to fasten the right leg assembly to the remaining shelves.
- Page 10 step 5. If multiple units have been purchased, use the provided mending plates to connect the units together. (H9) x 2 (H7) x 4 mending plate 16mm flat head screw 1. Align screws with pre-drilled holes. 2. Do not over tighten screws.
- Page 11 step 6. WARNING Serious or fatal crushing injuries can occur Position against wall from furniture tip-over. To help prevent tip-over the brackets must be installed accordingly. Mark position of metal bracket holes on wall (H6) Drill 1/4’’ holes Tap in wall anchors Seriou from over:...
- Page 12 WARNING Serious or fatal crushing injuries can occur from furniture tip-over. To help prevent tip- over: - Install tip-over restraint provided. - Place heavy items on lower shelves and as far back as possible. - Place heaviest items in the lowest drawers. - Unless specifically designed to accommodate, do not set TVs or other heavy objects on top of this product.
- Page 13 © 2014 Target. The Bullseye Design is a trademark of Target Brands, Inc. All rights reserved.