Advertisement
Quick Links
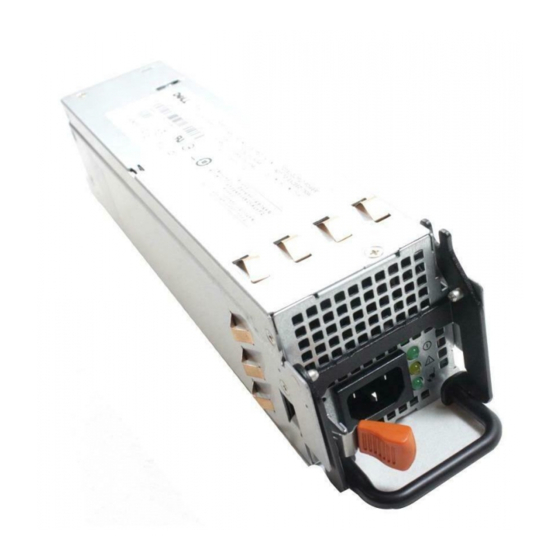
Dell 750 Watt Power Supply Model 7001072-Y000 / DELL NPS-750BB
To convert a Dell 750 Watt computer power supply to be used in a 24 Volt charger.
I used the dell 700 watt from this site for reference on the output pins. The 750 does not have a pot
to adjust for the voltage.
Here are the steps I did to convert a dell 750 watt power supply.
1.
Remove the copper grounding clips around the outside of the case (I found a couple ended up inside the case so it's good
to do this step first)
2.
Remove the Handel from the power supply (just used a screw driver and pry the case open and slide the Handle out)
3.
I removed the locking tab (orange handle) from my case as well. To do drill out the rivet holding the handle on (see
picture 1)
4.
Remove the Philips screws holding the 2 halves together.
5.
Be careful opening the 2 halves. The fan is mounted on the top half and its connect to the lower circuit board so open the
case like a clam shell. (picture 2)
6.
Remove the fan connector.
7.
Remove the screws holding the bottom circuit board down.
8.
Remove the ground connector on the plug end.
9.
Remove screw holding the 3 led in to the case on the plug end of the power supply.
10. Remove the circuit board from the bottom case by sliding it to the rear (connector side)
11. Solder up the auto start / voltage reference pins (picture 3)
1.
I soldered the pins together on the bottom of the board to make it cleaner you could also solder the pins together on the
back side connector.(picture 6)
2.
Pin B1 to A1 to B6. B1 to A1 can be joined together and soldered but a short jumper is required to go from this junction
to B6.
3.
Jumper pin A2 to positive will raise the voltage to approximately 12.5V.
12. Isolation of the positive side power supply from ground
1.
There are 2 screws that need to be isolated from the chassis ground
2.
On the connector side of the case bottom I used a cutoff wheel to grind down the standoff to make space for the nylon
washer (.020)
3.
I used a 4 40 nylon washer and screw to isolate the circuit board from the chassis. (see picture 6)
13. Re-install the circuit board by sliding it towards the front of the case (see picture 4)
14. Make sure to install the screw for the LEDs and the chassis ground
15. Re-connect the fan on the upper case.
16. Close the top half and re-install the screws.
17. Plug in the cord and the power supply should turn on and the fan will spin up full speed (loud) (see picture 8)
Note: There is a fan mod that to vary the fan speed with the load on the power supply. I will update
these directions once I have it working.
Advertisement

Related Manuals for Dell 7001072-Y000


Summary of Contents for Dell 7001072-Y000
- Page 1 To convert a Dell 750 Watt computer power supply to be used in a 24 Volt charger. I used the dell 700 watt from this site for reference on the output pins. The 750 does not have a pot to adjust for the voltage.
- Page 2 7001072-Y000...
- Page 5 For the DPS-700EB mod, I just shorted the corner non-inverting input of the LM339 to ground. The DPS-750EB has a similar setup. Just look for the same smd diode. It will connect to the same pin. Shorting this pin to ground with a 1k resistor should allow you to increase the voltage to around 14.8v.