Advertisement
Quick Links
Advertisement

Related Manuals for Rangemaster HI-LITE HLTHDS90


Summary of Contents for Rangemaster HI-LITE HLTHDS90
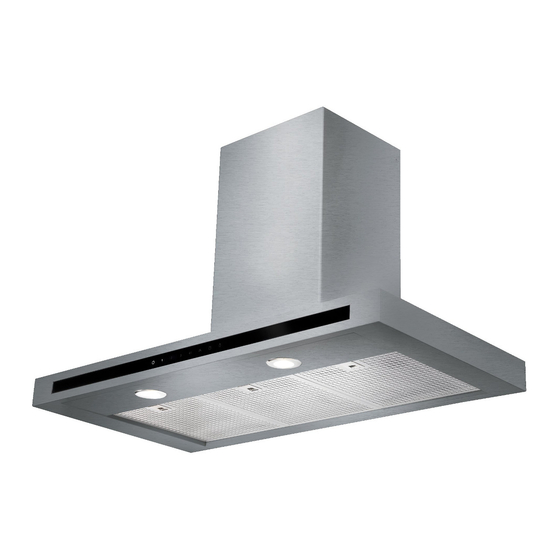
- Page 1 HI-LITE HOOD HLTHDS90 HLTHDS100 HLTHDS110 Instructions Manual...
-
Page 2: Table Of Contents
INDEX SAFETY INFORMATION................................. 3 CHARACTERISTICS ................................6 INSTALLATION..................................7 USE ...................................... 10 CARE AND CLEANING................................. 11... -
Page 3: Safety Information
SAFETY INFORMATION For your safety and correct operation of the appliance, read this manual carefully before installation and use. Always keep these instructions with the appliance even if you move or sell it. Users must fully know the operation and safety features of the appliance. The wire connection has to be done by specialized technician. - Page 4 If the extractor is used in conjunction with non-electrical appliances (e.g. gas burning appliances), a sufficient degree of aeration must be guaranteed in the room in order to prevent the backflow of exhaust gas. When the cooker hood is used in conjunction with appliances supplied with energy other than electric, the negative pressure in the room must not exceed 0,04 mbar to prevent fumes being drawn back into the room by the cooker hood.
- Page 5 The appliance is not to be used by persons (including children) with re- duced physical, sensory or mental capabilities, or lack of experience and knowledge, unless they have been given supervision or instruction. Accessible parts may become hot when used with cooking appliances. ...
-
Page 6: Characteristics
CHARACTERISTICS Dimensions Min. Min. 500mm 650mm 898 - 998 - 1098 Components Ref. Q.ty Product Components Hood Body, complete with: Controls, Light, Blower, Filters Telescopic Chimney comprising: Upper Section Lower Section Reducer Flange ø 150-120 mm Air Outlet Connection Ref. Q.ty Installation Components Hood Body Fixing Brackets 7.2.1... -
Page 7: Installation
INSTALLATION Wall drilling and bracket fixing Wall marking: • Draw a vertical line on the supporting wall up to the ceiling, or as high as practical, at the centre of the area in which the hood will be installed. • Draw a horizontal line at 650 mm above the hob. •... - Page 8 Mounting the hood body Installation with Bracket • Hook the hood body onto the bracket 7.1 installed. • Fix definitively the Hood body onto the bracket by 2 Screws 12t. Connections DUCTED VERSION AIR EXHAUST SYSTEM When installing the ducted version, connect the hood to the chimney using either a flexible or rigid pipe ø...
- Page 9 AIR OUTLET – RECIRCULATION VERSION • Unfasten the 2 screws fixing the upper bracket 7.2.1. • Fasten the air outlet connector 15 in its place, using the 2 screws removed as above. • Join the Connector 15 to the Hood canopy outlet using a rigid or flexible pipe ø150 mm, selection of which is at the discretion of the installation technician.
-
Page 10: Use
Control panel Button Function Turns the Motor off. Turns the motor on at speed one Buttons T1+T2 are on. Turns the Motor on at speed two Buttons T1+T3 are on. Press and hold for 2 seconds to enable The respective buttons T1+ (T2 shutdown with a 30 minute delay (Mo- or T3 or T4) will flash. -
Page 11: Care And Cleaning
CARE AND CLEANING Grease filters CLEANING METAL SELF- SUPPORTING GREASE FILTERS • The filters must be cleaned every 2 months of operation, or more frequently for particularly heavy usage, and can be washed in a dishwasher. • Remove the filters one at a time by pushing them towards the back of the group and pulling down at the same time. - Page 16 AGA RANGEMASTER GROUP PLC 991.0388.012_ver5 - 190514 - D00001441_04...