
Related Manuals for Philips MCM138D/98


Summary of Contents for Philips MCM138D/98
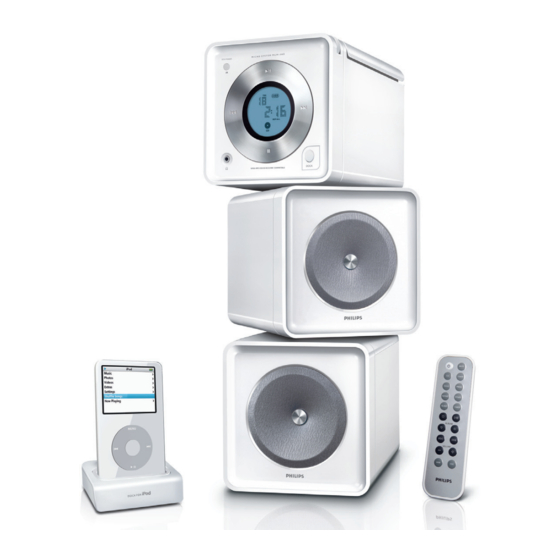
- Page 1 MCM138D Docking Entertainment System Register your product and get support at www.philips.com/welcome User manual...
-
Page 4: Hearing Safety
Hearing Safety Listen at a moderate volume. ● Using headphones at a high volume can impair your hearing. This product can produce sounds in decibel ranges that may cause hearing loss for a normal person, even for exposure less than a minute. The higher decibel ranges are offered for those that may have already experienced some hearing loss. - Page 5 Index English ------------------------------------------------ 6 ------------------------------------------------- 21 CAUTION Use of controls or adjustments or performance of procedures other than herein may result in hazardous radiation exposure or other unsafe operation.
-
Page 6: Table Of Contents
Contents General Information Environmental information ... 7 Supplied accessories ... 7 Safety information ... 7 Preparation Rear connections ... 8–9 Before using the remote control ... 9 Replacing battery (lithium CR2032) into the remote control ... 9 Controls Controls on the system and remote control ... -
Page 7: General Information
Congratulations on your purchase and welcome to Philips! To fully benifit from the support that Philips offers, register your product at www.philips.com/welcome. IMPORTANT! The voltage selector located at the back panel of this system is preset at 220V- 240V from the factory. For countries that... -
Page 8: Rear Connections
Preparations Speaker (right) Rear connections The type plate is located at the rear of the system. Power – Before connecting the AC power cord to the wall outlet, ensure that all other connections have been made. – If your system is equipped with a Voltage Selector, set the VOLTAGE SELECTOR to the local power line voltage. -
Page 9: Before Using The Remote Control
Speakers Connection Front Speakers Connect the speaker wires to the SPEAKERS terminals, right speaker to "RIGHT" and left speaker to "LEFT", the wire (marked red) to "+" and the wire (marked black) to "-". ● Fully insert the stripped portion of the speaker wire into the terminal as shown. -
Page 10: Control
Controls (illustrations on page 3) Controls on the system and remote control BAND – for Tuner... (on the set only) selects waveband. SOURCE (CD/ TUNER/DOCK) – switches on the system. – selects the respective sound source for CD/ FM/ MW/ DOCK. STANDBY-ON / y –... -
Page 11: Basic Functions
SOURCE BAND PROG/CLOCK STANDBY-ON IMPORTANT: Before you operate the system, complete the preparation procedures. Switching the system on ● In standby, press STANDBY-ON (y on the remote control). ➜ The system will switch to the last selected source. ● Press SOURCE (CD, TUNER or DOCK on the remote control). -
Page 12: Cd/Mp3/Wma Operation
CD/MP3/WMA Operation M I C R O S Y S T E M M C M 1 3 8 D PROG IMPORTANT: The lens of the CD player should never be touched. Loading a disc This CD player plays Audio Discs including CD- Recordables, CD-Rewritables, MP3 CD and WMA CD. -
Page 13: Different Play Modes: Shuffle And Repeat
Press ¡1 2™ to select a desired track. ➜ The album number will change accordingly as you reach the first track of an album by pressing ¡1 or the last track of an album by pressing 2™ . Press 2; to start playback. ●... -
Page 14: Radio Reception
Radio Reception STANDBY-ON SOURCE BAND PROG/CLOCK Tuning to radio stations Select TUNER source. ➜ is displayed. TUNER Press BAND (TUNER on the remote control) once or more to select your waveband. Turn TUNING 0 to tune to a station. ➜ Display shows: the frequency of the tuned station. -
Page 15: Clock/Timer
M I C R O S Y S T E M M C M 1 3 8 D Setting the clock In Standby mode, press PROG/CLOCK button. ➜ The clock digits for the hours flash. Press ¡1 / 2™ to set the hours. Press PROG/CLOCK again. -
Page 16: Dock
Dock Speaker (right) Playing iPod using the dock By connecting the supplied dock to your Hi-Fi system, you can listen to the sound of the docked player through the powerful speakers of the Hi-Fi system. Compatible portable player ● Apple iPod models with 30-pin dock connector as follows: Nano 1st /2nd/3rd generation, iPod 5th generation (video), iPod touch and iPod classic. -
Page 17: Removing The Dock Adaptor
Playing iPod Select the dock adaptor of the correct type, and snap it into the dock (See “ Dock adaptor ” ). Correctly place your iPod in the dock. Connect the cables of the dock to DOCKING IN jacks on the main set correspondingly. -
Page 18: Troubleshooting
Troubleshooting WARNING Under no circumstances should you try to repair the system yourself, as this will invalidate the warranty. Do not open the system as there is a risk of electric shock. If a fault occurs, first check the points listed below before taking the system for repair. If you are unable to remedy a problem by following these hints, consult your dealer or service centre. -
Page 19: Troubleshooting
Problem The timer is not working. The Clock/Timer setting is erased. The menu navigation or photo playback of the docked player cannot be carried out through the buttons on MCM138D or its remote control. The STOP 9 and some buttons on MCM138D and its remote control have no function. -
Page 20: Specifications
Cleaning the disc lens ● After prolonged use, dirt or dust may accumulate at the disc lens. To ensure good playback quality, clean the disc lens with Philips CD Lens Cleaner or any commercially available cleaner. Follow the instructions supplied with cleaner. - Page 21 規格更改恕不另行通知。 商標為荷蘭皇家飛利浦電子股份有限公司或 其各自所有者的專有財產。 荷蘭皇家飛利浦電子股份有限公司。版權所有。 2008 © 中國印刷 PDCC-ZYL/JH-0820...