Advertisement
Quick Links
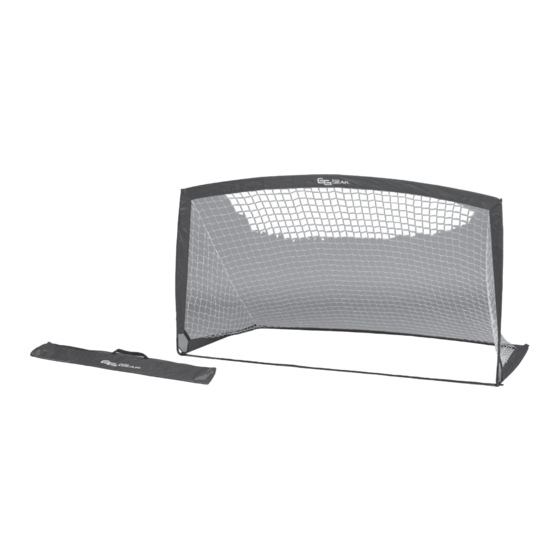
EQUATOR
EASY SETUP GOAL
Assembly Instructions
Model 1-1-51711
CONTACT INFO
Hours
Monday to Friday
(9am to 5pm EST)
Technical Support
Email us at:
Visit us at:
Call:
www.eastpointsports.com
Watch a Video on
How To Set Me Up!
consumerservice@eastpointsports.com
www.eastpointsports.com
973-585-4747
www.eastpointsports.com/51711
Advertisement

Summary of Contents for EastPoint Sports Go Time Gear Equator 1-1-51711
- Page 1 Watch a Video on How To Set Me Up! www.eastpointsports.com/51711 EQUATOR EASY SETUP GOAL Assembly Instructions Model 1-1-51711 CONTACT INFO Hours Technical Support Monday to Friday Email us at: consumerservice@eastpointsports.com (9am to 5pm EST) Visit us at: www.eastpointsports.com Call: 973-585-4747 www.eastpointsports.com...
-
Page 2: Helpful Hint
How to use the PARTS IDENTIFIER Instructions Parts ID # Before you begin assembly, please make sure that Part Name you have all the parts listed and in the correct quantities. This will ensure the quickest and most Part Name Part Image organized assembly. - Page 3 STEP 1 COMPONENTS QTY. NOTE: Lay the Net on the ground making sure the logo faces up. STEP 2 COMPONENTS QTY. Pole with Cord NOTE: Connect the Poles into the joints. Feed one end of the Pole into the top sleeve of the Net.
- Page 4 STEP 3 COMPONENTS QTY. Step 2 Assembly Pole with Cord Step 2 Assembly NOTE: Connect the Poles into the joints. Feed one end of the Pole into the bottom sleeve of the Net. STEP 4 COMPONENTS QTY. Step 3 Assembly Connector with Strap Step 3 Assembly NOTE:...
- Page 5 STEP 5 COMPONENTS QTY. Step 4 Assembly Connector with Strap Step 4 Assembly NOTE: Make sure the plate side of the Connector attaches to the Pole in the bottom sleeve. STEP 6 COMPONENTS QTY. Step 5 Assembly Step 5 Assembly Ground Stake NOTE: Insert the Ground Stakes.
-
Page 6: Storage Instructions
STORAGE INSTRUCTIONS STEP 7 NOTE: STEP 8 NOTE: Flip the Goal over. Remove the Connector. - Page 7 STEP 9 NOTE: Remove the Poles and fold up the Net. STEP 10 NOTE: COMPONENTS QTY. Place all parts into the Storage Bag. Storage Bag HAVE FUN! Play. Post. Follow.
-
Page 8: Limited Warranty
Limited Warranty As described in and as limited by this Limited Warranty, EastPoint Sports Ltd., LLC (the “Company”) warrants this Product to be free from defects in workmanship and materials for a period of 90 days from the date of original purchase. The term defects shall mean any imperfections that impair the use of the product. The Company reserves the right to request con rmation of Proof of Purchase when requesting parts or service in order to con rm that this Product is within its warranty period and terms.