Table of Contents
Advertisement
Available languages
Available languages
Quick Links
Please Read and Save this Use and Care Book
Por favor lea este instructivo antes de usar el producto
Toast-R-Oven
Countertop Oven/Broiler
Horno-asador de mostrador
Register your product online at www.prodprotect.com/applica,
Registre su producto en la Internet en el sitio Web www.prodprotect.com/applica
US /Canada
www.prodprotect.com/applica
ccessories/Parts
(US /Canada)
ccesorios/Partes
(EE.UU/Canadá)
1-800-738-0245
for a chance to WIN $100,000!
For US residents only
y tendrá la oportunidad de G N R $100,000!
solamente para los residentes de EE.UU
1-800-231-9786
™
Model
Modelo
❑ TRO420
Advertisement
Table of Contents

Related Manuals for Black & Decker Toast-R-Oven TRO420


Summary of Contents for Black & Decker Toast-R-Oven TRO420
- Page 1 G N R $100,000! solamente para los residentes de EE.UU US /Canada www.prodprotect.com/applica ccessories/Parts (US /Canada) ccesorios/Partes (EE.UU/Canadá) 1-800-738-0245 ™ for a chance to WIN $100,000! For US residents only 1-800-231-9786 Model Modelo ❑ TRO420...
-
Page 2: Import Nt S Fegu Rds
❑ Do not place any of the following materials in the oven: paper, cardboard, plastic wrap, and the like. ❑ Do not cover crumb tray or any parts of the oven with metal foil. This will cause overheating of the oven. -
Page 3: How To Use
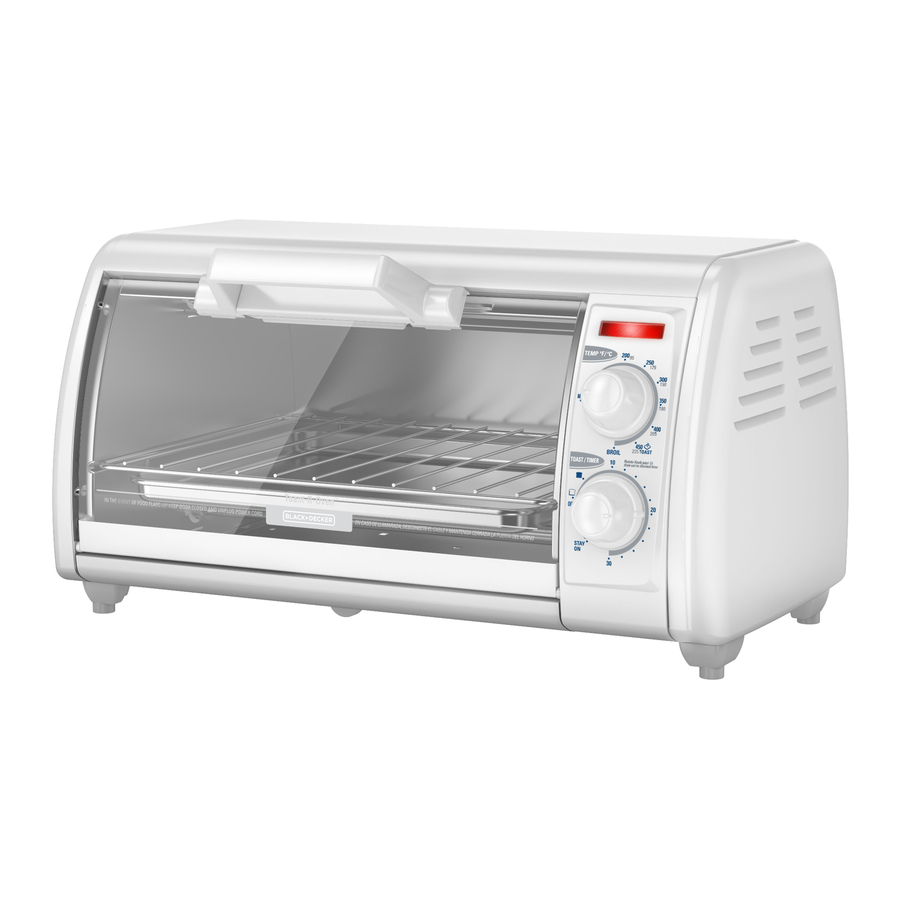
1. Power on indicator light † 2. Temperature selector (Part #TRO420-01) † 3. TO ST/TIMER selector with Stay On setting (Part #TRO420-02) 4. Swing-down crumb tray (under unit) † 5. Bake pan/drip tray (Part #TRO420-03) † 6. Slide rack (Part #TRO420-04) 7. - Page 4 7. Once cooking cycle is finished, the signal bell sounds. Turn the TO ST/TIMER selector to the Off position. The On indicator light goes off. 8. Open oven door and using oven mitt or pot holder, slide out rack to remove food. B KING GUIDE...
-
Page 5: Broil Function
7. When finished broiling, the signal bell sounds. Turn the TO ST/TIMER selector to the Off position. The power indicator light goes off. 8. Using an oven mitt or pot holder, slide out broiling rack together with bake pan to remove food. -
Page 6: Care And Cleaning
This product contains no user serviceable parts. Refer service to qualified service personnel. CLE NING YOUR OVEN IMPORT NT: Before cleaning any part, be sure the oven is off, unplugged, and cool. lways dry parts thoroughly before using oven after cleaning. -
Page 7: Instrucciones Import Ntes De Segurid D
INSTRUCCIONES IMPORT NTES DE SEGURID D Cuando se utilizan aparatos eléctricos, se debe respetar ciertas reglas de seguridad, incluyendo las siguientes: ❑ Por favor lea todas las instrucciones. ❑ No toque las superficies calientes. Utilice las asas o las perillas. fin de protegerse contra un choque eléctrico, no sumerja el ❑... - Page 8 (Stay On) (No. de pieza TRO420-02) 4. Bandeja de residuos oscilante (debajo de la unidad) † 5. Bandeja para hornear/bandeja de goteo (No. de pieza TRO420-03) † 6. Parrilla corrediza (No. de pieza TRO420-04) 7. Carriles de soporte †...
- Page 9 Como usar Este producto es solamente para uso doméstico. PREC UCIÓN THIS OVEN GETS HOT. WHEN ESTE HORNO SE C LIENT CU NDO IN USE, ALWAYS USE OVEN ESTÁ EN USO. SIEMPRE USE G RR DER S O GU NTES DE COCIN...
- Page 10 Nota: segúrese de que haya un espacio mínimo de 1½” (3.81 cm) entre los alimentos o el borde superior del recipiente y los elementos calefactores. 5. Cierre la puerta del horno. 6. Cocine según la receta o las instrucciones del paquete y supervise los alimentos al cumplirse el tiempo mínimo de cocción.
- Page 11 1. Consulte el tiempo de cocción recomendado en la guía de asar. 2. Gire el control selector de temperatura a la posición de asar (BROIL). No se requiere precalentar el horno para asar. 3. bra la puerta del horno y utilice la bandeja de hornear como bandeja de goteo, instalándola debajo de la parrilla corrediza, sobre los carriles de soporte (E).
-
Page 12: Cuidado Y Limpieza
Cuidado y limpieza Este producto no contiene piezas reparables por el consumidor. Para servicio, acuda a personal calificado. LIMPIEZ DEL HORNO Importante: pague el aparato, desconecte de la toma de corriente y permita que se enfríe antes de limpiar cualquier pieza. Después de lavadas, siempre seque bien todas las piezas antes de instalarlas para utilizar el horno nuevamente. - Page 13 NOTES/NOT S NOTES/NOT S...
-
Page 14: Need Help
NEED HELP? For service, repair or any questions regarding your appliance, call the appropriate "800" number on the cover of this book. Do not return the product to the place of purchase. Do not mail the product back to the manufacturer nor bring it to a service center. - Page 15 is a trademark of The Black & Decker Corporation, Towson, Maryland, US Marca registrada de The Black & Decker Corporation, Towson, Maryland, E.U. Copyright © 2007 - 2008 pplica Consumer Products, Inc. R12007/1-8-22E/S/F Made in People’s Republic of China Printed in People’s Republic of China Printed on recycled paper.