D-Link MyDlink DCS-8515LH Quick Start Manual
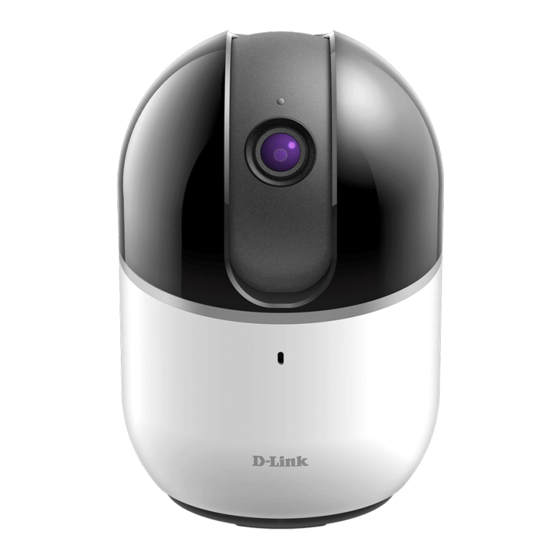
Hd pan & tilt wi-fi camera
Hide thumbs
Also See for MyDlink DCS-8515LH:
- Quick start manual (184 pages) ,
- User manual (42 pages) ,
- Manual (12 pages)
Table of Contents
Advertisement
Advertisement
Table of Contents

Related Manuals for D-Link MyDlink DCS-8515LH


Summary of Contents for D-Link MyDlink DCS-8515LH
- Page 2 Plug the included USB power adapter into the power port on the bottom of the camera, making sure to route the cable appropriately.
- Page 3 Once the camera has powered up, it will rotate left and right , up and down to calibrate itself. Wait until the LED at the front changes from red to blinking orange.
- Page 4 To download and install the mydlink app on your mobile device, scan the QR code above for your Android or iOS device. Note: This product is NOT COMPATIBLE with mydlink Lite or mydlink+ apps. If you are an existing mydlink Lite user, sign in to the new app with the same username and password and your existing cameras will appear in the new app.
- Page 5 New Users: Tap Sign Up to register for a mydlink account, then tap Add a Device to install your camera. Continue to follow the onscreen inscructions. Existing Users: Sign in using your mydlink account and tap the icon at the top-left, then tap Add a Device to start the setup wizard.
- Page 6 DCS-8515LH Product name: Full HD Outdoor Wi-Fi Camera P/N:BCS8515LHLNANA1 S/N:QXN71YMXXXXXX MAC ID:XXXXXXXXXXXX mydlink No.:XXXXXXXX Endpoint: DCS-8515LH-XXXX PIN Code:XXXXXX H/W Ver.:A1 F/W Ver.:XXXX When prompted, select "Yes" to scan the QR code on the bottom of the camera, then continue to follow the onscreen instructions to complete the setup process.
- Page 7 Where a microSD card can be inserted in order to save video recordings. Note: Please use the mydlink app to tilt the camera up to reveal the slot.
- Page 8 Minimum Requirements To install this product, you will need: • An 802.11 g/n wireless router • An Internet connection • The latest version of the mydlink app from the App Store or Google Play. Please refer to the app's store page to check whether your device is compatible.
- Page 9 Camera Mounting Instructions Step 1: Place the mount at the desired location, assuring that location of the power cord thread is also at the desired location. Use a pencil to mark the holes. Step 2: Using a 6 mm drill bit, drill two 25 mm deep holes over the pencil marks.
- Page 10 Camera LED Information DCS-8515LH Status LED System booting / Factory resetting Firmware updating Bluetooth enabled BLE pairing / Ready for setup Wireless connected Data is being transferred...
- Page 11 Version 1.01(CA_EN)_90x130 April 10 2019 Copyright ©2019 All rights reserved. D-Link and the D-Link logo are registered trademarks of D-Link Corporation or its subsidiaries. Product specifications, size and shape are subject to change without notice, and actual product appearance may...
- Page 12 HD Pan & Tilt Wi-Fi Camera Quick Start Guide DCS-8515LH...