Table of Contents
Advertisement
Available languages
Available languages
useful tips for your drum washing machine
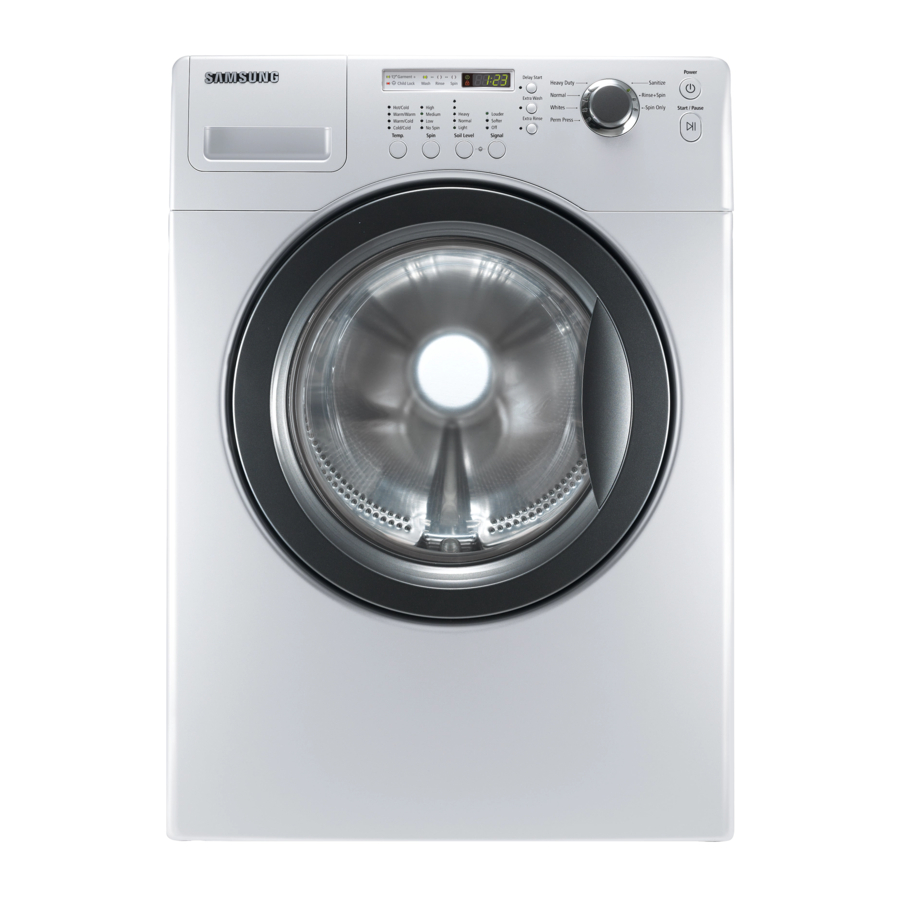
✔ The descriptions and images in this document may differ from your actual
purchased product. For more information, refer to the user manual.
INSTALLING YOUR WASHING MACHINE
• Installing your washing machine in the location which is slippery
or uneven, will result in vibrations and noise.
• If there is too much noise or vibration, check whether the four
levelling adjustment legs are evenly and firmly on the floor.
• If the washing machine is not level, lift the washing machine
slightly and adjust the lowest of the four levelling adjustment legs.
✔ Before using your washing machine, you must remove the
shipping bolts from the back of the unit.
For more information on removing the safety devices, refer to the user manual.
LEVELLING YOUR WASHING MACHINE WITH THE LEVELLING FEET
✔ Refer to the descriptions appropriate to your washing machine.
Locking nut
Adjustable nut
Spanner
1. Level your washer by turning the
(-) Driver
adjustable nut in and out, as shown
in the figure.
Nut
Adjustable feet
1. Unfasten the locking
Spanner
nut by turning it to the
left using a spanner.
CLEANING THE FILTER
Cleaning the water supply filter
✔ If the filter net is not installed, it may cause a water leakage and operating error. Make sure to install it.
1. Pull and remove the filter net.
2. Clean the filter.
Make sure that the leveling feet
legs are level with the floor.
2. When your washing machine is
level, tighten the locking nut using
the (-) driver.
2. Level your washing
3. Fasten the locking
machine by turning
nut by turning it to the
the adjustable feet in
right using a spanner.
and out as necessary
by hand.
3. Insert the filter net and fasten
its connector firmly.
Cleaning the debris filter
✔ When water does not drain well or '5E' blinks on the display, clean the debris filter. The product appearance
may differ from your washing machine. (However, the cleaning descriptions are the same.)
1. Open the filter
cover using a coin
or a key.
2. Unscrew the
emergency drain
cap and pull out the
emergency drain
tube to drain off the
remaining water.
3. Hold the cap on
the end of the
emergency drain
tube and allow all
the water to flow
into a bowl.
✔ If you open the debris filter when water remains inside the tub, water may flow out.
✔ If the debris filter is assembled incorrectly or not installed, it may cause a water leakage or operating error.
Therefore make sure to assemble it correctly.
MAKE SURE YOU KNOW...
• Adding laundry
Adding the
laundry
➲ Press the Add laundry(Stop&Add) button and add the laundry when the Add
laundry lamp turns on.
• If you add the laundry during a spin cycle, it starts again with the initial set time
regardless of the remaining time.
• Wash bedding using only the Bedding course.
Washing
bedding
➲ You can wash acrylic, mixed spinning and woolen bedding.
➲ When washing general clothes, the washing machine may
not operate in the optimal status.
• Wash only one bedding item at a time regardless of size.
➲ Insert bedding rolled up into a ball.
The center of gravity is distributed evenly causing less
vibrations and noise.
✔ Do not wash electric blankets or carpets.
✔ When spinning blankets, cotton bedding, and woolen bedding,
too much noise and vibrations may occur and the wash cannot
be completed as spinning is not performed.
4. Unscrew the
emergency drain
cap by turning it
counter clockwise.
5. Clean the debris
filter and the inside
of the drain hose.
Inside
Debris
filter
6. Replace the
debris filter, the
emergency drain
cap and tube and
then close the filter
cover.
Wash
individually.
Advertisement
Table of Contents

Related Manuals for Samsung Drum Washing Machine


Summary of Contents for Samsung Drum Washing Machine
- Page 1 ✔ The descriptions and images in this document may differ from your actual purchased product. For more information, refer to the user manual. INSTALLING YOUR WASHING MACHINE • Installing your washing machine in the location which is slippery or uneven, will result in vibrations and noise.
- Page 2 TRY THE FOLLOWING... When the door does The door does not open when the temperature inside your washing machine is not open high or when the tub is filled with water. • When the internal air temperature after a wash is higher than 70 °C or the water temperature is more than 55 °C.
- Page 3 Nützliche Tipps zu Ihrer Trommelwaschmaschine ✔ Die Beschreibungen und Bilder in diesem Dokument können von denen für das von Ihnen tatsächlich gekaufte Gerät abweichen. Weitere Informationen entnehmen Sie bitte dem Benutzerhandbuch. AUFSTELLEN DER WASCHMASCHINE • Wenn Sie Ihre Waschmaschine an einem rutschigen oder unebenen Ort aufstellen, kann dies zur Vibrationen und Lärmentwicklung führen.
- Page 4 PROBIEREN SIE FOLGENDES... Die Tür öffnet sich Die Tür der Waschmaschine öffnet sich nicht, wenn die Temperatur im Innern zu nicht hoch oder wenn die Trommel noch mit Wasser gefüllt ist. • Wenn die Temperatur der Luft im Innern der Waschmaschine noch höher als 70 °C oder die Wassertemperatur noch über 55 °C liegt.
-
Page 5: Installation Du Lave-Linge
Conseils utiles pour l’utilisation de votre lave-linge à tambour ✔ Le modèle illustré dans ce document peut être différent du vôtre. Pour plus d’informations, consultez votre manuel d’utilisation. INSTALLATION DU LAVE-LINGE • Evitez d’installer votre lave-linge sur un sol glissant ou irrégulier, cela entraînerait du bruit et des vibrations. -
Page 6: Auto-Diagnostic
ESSAYEZ LA SOLUTION SUIVANTE... Le hublot ne Le hublot ne peut être ouvert lorsque la température à l’intérieur de la machine est s’ouvre pas élevée ou lorsque le tambour est rempli d’eau. • Lorsque la température de l’air à l’intérieur de la machine, après un cycle, est supérieure à... -
Page 7: Instalación De La Lavadora
consejos útiles para la lavadora de tambor ✔ Las instrucciones y las ilustraciones de este documento puede diferir de las del producto que haya adquirido. Si desea obtener más información, consulte el manual del usuario. INSTALACIÓN DE LA LAVADORA • Si instala la lavadora en una superficie resbaladiza o desnivelada se pueden producir vibraciones y ruido. - Page 8 INTENTE LO SIGUIENTE... La puerta no se abre La puerta no se abre cuando la temperatura interior de la lavadora es alta o cuando el tambor está lleno de agua. • Cuando la temperatura interna del aire tras el lavado supera los 70 °C o la temperatura del agua supera los 55 °C.
-
Page 9: Installazione Della Lavabiancheria
suggerimenti utili per il cestello della lavabiancheria ✔ Le descrizioni e le immagini contenute in questo documento possono differire dal prodotto acquistato. Per informazioni dettagliate, consultare il manuale dell’utente. INSTALLAZIONE DELLA LAVABIANCHERIA • L’installazione della lavabiancheria su una superficie non scivolosa e piana riduce vibrazioni e rumore. -
Page 10: Test Automatico
PROVARE LE SEGUENTI... Se lo sportello non Lo sportello non si apre quando la temperatura all’interno della lavabiancheria è si apre elevata o il cestello è pieno d’acqua. • Quando la temperatura interna dell’aria dopo un lavaggio è superiore a 70 °C, o la temperatura dell’acqua è... -
Page 11: Limpeza Do Filtro
sugestões úteis para a sua máquina de lavar roupa com tambor ✔ As instruções e imagens neste documento podem ser diferentes do produto que adquiriu. Para mais informações, consulte o manual de utilizador. INSTALAR A MÁQUINA DE LAVAR ROUPA • Instalar a sua máquina de lavar roupa num local escorregadio ou irregular irá... - Page 12 TENTE O SEGUINTE... A porta não abre Aporta não abre quando a temperatura dentro da máquina de lavar roupa é elevada ou quando o tambor está cheio de água. • A temperatura interna do ar depois de uma lavagem é superior a 70 °C ou a temperatura da água é...
-
Page 13: Установка Стиральной Машины
полезные советы при использовании стиральной машины с барабаном ✔ Описания и изображения, приведенные в данном документе, могут отличаться от реального приобретаемого продукта. Для получения дополнительной информации см. руководство пользователя. УСТАНОВКА СТИРАЛЬНОЙ МАШИНЫ • Установка стиральной машины на скользкой или неровной поверхности... - Page 14 ПОПЫТАЙТЕСЬ ВЫПОЛНИТЬ СЛЕДУЮЩЕЕ... Дверца не Дверца не открывается, когда температура внутри машины высокая или бак открывается. наполнен водой. • Когда температура внутри машины после стирки выше 70 °C или температура воды более 55 °C. Подождите, пока температура внутри машины не понизится. •...