Advertisement
Quick Links
QUICK START
Note: The assumed starting point is the instrument state after
completion of a previous run and following routine maintenance and
shutdown. (The alternate state would be the interim between two
successive runs of the instrument). The wash buffer and deionized
water tubes will be on a clean surface following completion of the
drain function and the power will be off.
Prepare Serum Samples
1.
Centrifuge all serum samples.
2.
Transfer each serum sample into an appropriately labeled clean
plastic storage tube with lid.
Load Sample / Reagent Rack
3.
Load the required number of empty Sample Cups into the
Sample / Reagent Rack. Start at position #1 and do not leave
any empty positions.
4.
Transfer the correct volume of each prepared sample into the
sample cups:
600µl serum for a 36-allergen panel
490µl serum for a 20-allergen panel
Note: The red Sample Fill Line on the Sample / Reagent Rack can be
used as a guide to check that there is a fill volume of approximately
600µl in the Sample Cups.
5.
Load the Antibody Reservoir (BLUE line) onto the Sample /
Reagent Rack.
6.
Remove the Antibody Reagent bottle from the kit and gently
invert prior to use.
7.
Fill the Antibody Reservoir with the required amount of reagent
as listed in the Instruction Manual.
8.
Install the Sample / Reagent Rack on the instrument aligning
sample position #1 with the red indicator line and lowering the
rack so that the Center and Positioning Pin locate into the holes
at the bottom of the rack.
www.hcdiagnostics.com
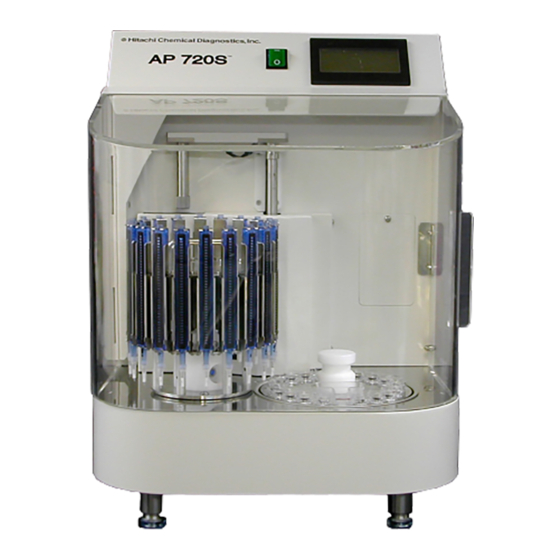
AP 720S
Semi-Automated Instrument
TM
Load Pette Rack
9.
Remove the required number of OPTIGEN Pettes from the kit
box and label with sample identification. (For a given run all
pettes must be of the same panel type, see Step 21 below).
Reseal the plastic bag and return the kit to the refrigerator.
10. Attach a Pette Tip to each Pette Body.
11. Place the Pette Rack on the Pette Stand. (Always use the Pette
Stand when loading or removing Pettes.)
12. Load the Pettes into the Pette Rack. Always start at position
#1 and do not leave any empty positions. Check that each Pette
Body is correctly secured in the Pette Rack. Ensure the number
of Pettes matches the number of samples.
13. Remove the Pette Rack from the Pette Stand.
14. Install the Pette Rack on the instrument by lowering it onto
the center guide bar with pette cartridge #1 positioned front
and center so that the rack is properly aligned with the
positioning pin.
15. Close the door of the instrument.
Load Wash Buffer and Deionized Water,
and Empty Waste
16. Prepare the Wash Buffer according to the instructions in the
OPTIGEN package insert.
17. Fill the Wash Buffer Bottle with the required amount of Wash
Buffer as listed in the Instruction Manual.
Secure the yellow cap on the Wash Buffer Bottle and ensure the
weighted end of the Wash Buffer tube is located at the bottom
of the bottle.
18. Ensure there is sufficient (1L) deionized water in the Deionized
Water Bottle and fill if needed. Secure the white cap on the
Deionized Water Bottle and ensure the weighted end of the
Deionized Water tube is located at the bottom of the bottle.
19. Empty the Waste Bottle by pressing the quick release connectors
to detach the tubes, unscrew the cap, and then empty the waste
liquid. Reconnect the Waste Bottle by screwing the cap back on
and tightening. Attach the quick release connectors to the cap,
matching the color-coded labels.
Doc. No. 0822 - ENG Rev. 00
Advertisement

Related Manuals for Hitachi AP 720S


Summary of Contents for Hitachi AP 720S
- Page 1 QUICK START AP 720S Semi-Automated Instrument Load Pette Rack Note: The assumed starting point is the instrument state after completion of a previous run and following routine maintenance and shutdown. (The alternate state would be the interim between two Remove the required number of OPTIGEN Pettes from the kit successive runs of the instrument).
- Page 2 Completion of Operation 24. At the end of Process #7, the [Change Photo Rgt] will appear, the AP 720S will pause and an alarm will sound. Press “Alarm Off”. [Change Photo Rgt] 39. Remove the Sample / Reagent Rack and discard all used sample Elapsed Time 0:0:15 25.