Advertisement
Quick Links
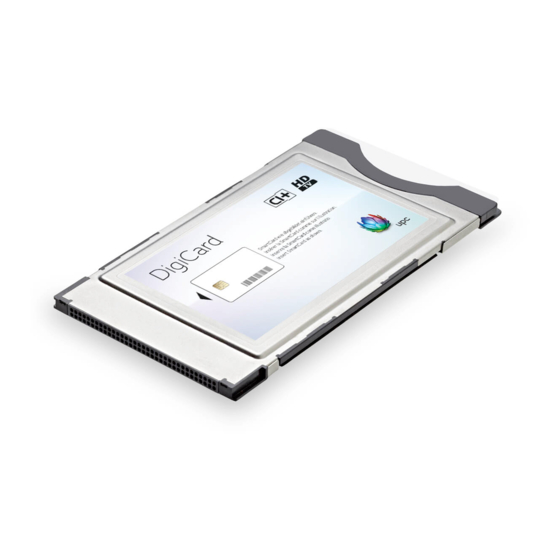
DigiCard Panasonic
Installation TV sets
Follow these instructions to install the DigiCard in a Panaso-
nic TV set. Please ensure that your TV set is connected to the
cable network and plugged in to the mains socket. To carry out
the installation, you need the manual provided in the DigiCard
case and the «Digital TV information letter». This letter contains
all required installation parameters.
All items of information regarding hardware and software can be
found in the operating instructions of your TV set. The software
and each installation stage can vary depending on the model and
year of manufacture. upc cablecom assumes no liability whatso-
ever for any faults on your TV set. Therefore kindly contact the
manufacturer of your device directly.
Advertisement

Related Manuals for Panasonic DigiCard


Summary of Contents for Panasonic DigiCard
- Page 1 DigiCard Panasonic Installation TV sets Follow these instructions to install the DigiCard in a Panaso- nic TV set. Please ensure that your TV set is connected to the cable network and plugged in to the mains socket. To carry out the installation, you need the manual provided in the DigiCard case and the «Digital TV information letter». This letter contains all required installation parameters. All items of information regarding hardware and software can be found in the operating instructions of your TV set. The software and each installation stage can vary depending on the model and year of manufacture. upc cablecom assumes no liability whatso-...
- Page 2 STEP 1 • Do not insert the DigiCard into your TV set yet. Switch on the TV. • Press the «MENU» button on your remote control. The main menu will appear. • Select the menu item «Setup» using your remote control. • Confirm your selection by pressing «OK». STEP 2 • Using your remote control, select the menu item «System Menu» on the second menu page. Confirm your selection by pressing «OK».
- Page 3 STEP 3 • Select the menu item «Factory settings» using your remote control. Confirm your selection by pressing «OK». STEP 4 • Press the «OK» button on your remote control 3 times; the factory set- tings will now be restored on your TV set. Please note that any existing settings will be lost. • Switch the TV set off and on again using the main switch.
- Page 4 STEP 5 • Select the desired language. Confirm your selection by pressing «OK». STEP 6 • Select the desired country. Confirm your selection by pressing «OK».
- Page 5 STEP 7 • Select the option «DVB-C» via the menu item «TV signal selection». • Confirm your selection by pressing «OK». A tick will appear. Please re- move the tick for all other signal sources by pressing the «OK» button. • Confirm your selection by pressing «OK» to start the automatic chan- nel search. • Select the option «Start Auto Setup» and confirm your selection by pressing «OK». STEP 7.1 • Select the menu option «UPC». Confirm your selection by pressing «OK».
- Page 6 STEP 8 • Ensure you have the Digital TV information letter at hand, which was provided with your DigiCard. You will find all required parameters on the Digital TV information card. • Select the various options using the arrow keys your remote control and enter the numerical values using the number pad. • Select «Start Auto Setup» with the arrow key and then press «OK» to start the automatic search process.
- Page 7 STEP 9 • Wait until the channel search process has finished. • Press «OK» to proceed. Please note that this process can take up to 1 minute to complete. Some TV sets will now display some additional settings options, such as «Network Setup». Change these settings as required. Further informa- tion can be found in the operating instructions of your TV set. The «view mode» settings will appear. Select «At Home». Further infor- mation can be found in the operating instructions of your TV set. • Now insert the DigiCard and follow the installation instructions provi- ded in the DigiCard manual. • Switch your TV set off and then back on. • Wait for the automatic authentication process to finish. • The first channel will be configured automatically. You can now start enjoying some great entertainment with Digital TV.
- Page 8 Favourites list instructions STEP 1 • Press the «MENU» button on your remote control. The main menu will appear. • Select the menu item «Setup» using your remote control. • Confirm your selection by pressing «OK». STEP 2 • Select the menu item «DVB-C Tuning Menu» using your remote con- trol. • Confirm your selection by pressing «OK».
- Page 9 STEP 3 • Select the menu item «Edit Favourites» using your remote control. • Confirm your selection by pressing «OK». STEP 4 • Use the arrow buttons on the remote control to move «up» and «down» and select the desired channel which you want to put at the top of your favourites list. • Confirm your selection by pressing «OK».
- Page 10 STEP 4.1 • The selected channel will be displayed in the favourites list on the right. • Select other channels as you wish. STEP 5 • Use the «right» arrow button to get to the favourites list. You can edit the list later on (move or delete channels, etc).
- Page 11 STEP 5.1 • By pressing the «red» button on the remote control you can edit the favorite list. Exit and save your changes by pressing «Return» on the remote. • To save the favourites, select «Exit» and then click «OK» on the remote. STEP 6 • To select the saved favourites list, press the «i» button on the remo- te. Immediately afterwards press the «blue» button on the remote as long as the info banner appears at the bottom of the screen. On the right side a selection of all channel lists will be displayed. Move the arrow keys «up» and «down» on the remote control to select the desired favourites list.