Table of Contents
Advertisement
Quick Links
Advertisement
Table of Contents

Summary of Contents for Omega OCC70TZ
- Page 1 Instruction Manual Model:OCC70TZ .Always serves you well. omegaappliances.com.an...
- Page 2 What's more, they're made to fit perfectly into your home life and your wallet. You are welcoming an Omega appliance into your place and you can be sure it'll always serve you well.
-
Page 3: Product Introduction
Product Introduction The microcomputer ceramic cooker hob can meet different kinds of cuisine demands because of resistance wire heating, micro- computerized control and multi-power selection, really the optimal choice for modern families. The ceramic cooker hob centers on customers and adopts personalized design. -
Page 4: Selection Of Installation Equipment
Installation Selection of installation equipment Drill holes on the table surface according to the sizes shown in the drawing. For the purpose of installation and use, a minimum of 5 cm space shall be preserved around the hole. Be sure the thickness of the table surface is at least 30mm. Please select heat-resistant table material to avoid larger deformation caused by the heat radiation from the hotplate. -
Page 5: Connection To Power Supply
Note: The exhaust fan should be at a minimum height of 650 mm from the cooktop. Fix the hob on the table by screw four brackets on the bottom of hob (see picture) after installation. Adjust the bracket position to suit for different table top thickness. Cautions The ceramic cooker hob must be installed by qualified personnel or technicians. - Page 6 Figure (3) 1. If the cable is damaged or needs replacing, this should be done by an after-sales technician using the proper tools, so as to avoid any accidents. 2. If the appliance is being connected directly to the mains supply, an omnipolar circuit breaker must be installed with a minimum gap of 3mm between the contacts.
-
Page 7: Instructions For Use
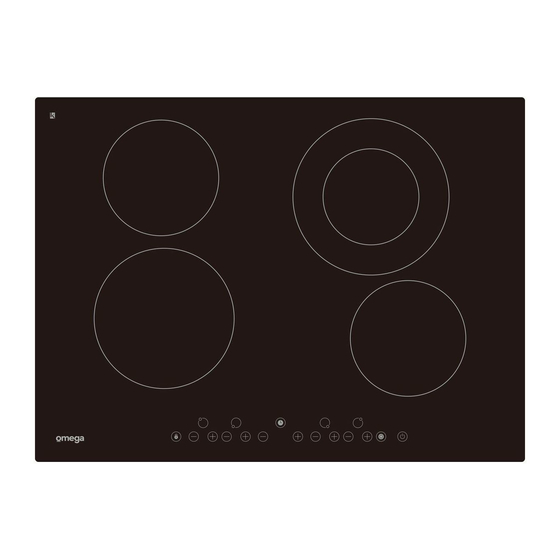
Schematic diagram of the control panel On/Off Lock Timer regulating key Double zone Power regulating key Instructions for Use Preparation before using When the power is switched on, the buzzer will sound once and all the indicators will come on for one second and go out. The hob is now in standby mode. -
Page 8: Lock Function
3. When the heating zone is in double loop working mode,the double loop indicator shows ”P”. 4. You can select the size of the heating zone according to the size of the pot. Timer function Cooking timer First select the cooking zone by press the “-” or “+” of the relevant heating zone; the cooking zone display flashes. - Page 9 Safety Reminding and Maintenance A dedicated power protection Never use the ceramic cooker Do not put any detergents or air swith protection air switch hob in high temperature flammable materials in the must be incorporated in the environments such as near a equipment installed under the fixed wiring in accordance gas stove or kerosene stove.
- Page 10 DISPOSAL: Do not dispose this Indoor use only. Clean the ceramic cooker hob on a regular basis to prevent product as unsorted municipal foreign matters from entering waste. Collection of such waste the fan thus influencing the separately for special treatment normal operation.
-
Page 11: Cleaning And Maintenance
Cleaning and Maintenance You can easily clean the surface of the ceramic cooker hob if following the methods given in the table. Type of Method of cleaning Articles used for cleaning contamination Clean with hot water and Cleaning sponge Light damp sponge Accumulation Clean with hot water and... - Page 12 Our warranty (which is subject to the conditions below) covers rectification free of charge of any fault arising from defective materials or components, or faulty workmanship. The product will be repaired or replaced at the option of Omega, and all costs of installation, removal, cartage, freight travelling and insurance are to be paid by the customer.


