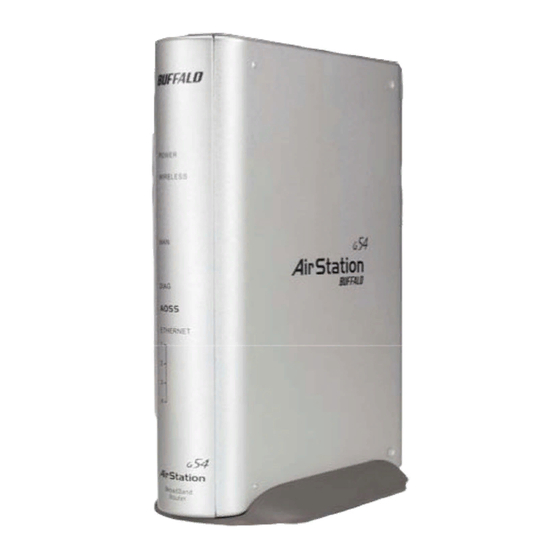
Buffalo AirStation WZR-RS-G54 Setup Manual Addendum
Hide thumbs
Also See for AirStation WZR-RS-G54:
- User manual (107 pages) ,
- Setup manual (15 pages) ,
- Network service list (6 pages)
Advertisement
Quick Links
AirStation™ VPN Setup Guide
WZR-RS-G54
WZR-RS-G54
Introduction
The WZR-RS-G54's VPN services allow users to securely access their home or office
network from anywhere in the world. All services available in your network are only one
click away with the use of the WZR-RS-G54's "Network Service List". You can even
remotely turn on your computer to gain access to your files, printers, and direct desktop
control. The WZR-RS-G54 PPTP (VPN) server can host up to 100 user accounts for
remote access to local resources. Create accounts for all your friends and family.
This guide will help you setup the initial PPTP (VPN) server as well as setup remote
connection compatiblity on any Windows PC (Starts on Page 5). If you plan on accessing
your network remotely, it is recommended that you become familiar with the steps in this
guide or keep this guide nearby.
www.buffalotech.com
PY00-29028-DM20
Advertisement

Summary of Contents for Buffalo AirStation WZR-RS-G54
- Page 1 AirStation™ VPN Setup Guide WZR-RS-G54 WZR-RS-G54 Introduction The WZR-RS-G54’s VPN services allow users to securely access their home or office network from anywhere in the world. All services available in your network are only one click away with the use of the WZR-RS-G54’s “Network Service List”. You can even remotely turn on your computer to gain access to your files, printers, and direct desktop control.
-
Page 2: Initial Router Configuration
Initial Router Configuration Before you begin to setup the PPTP Server and VPN Client(s), you must first setup your network. Please refer to the WZR-RS-G54 Quick Setup Guide and/or Manual to configure the WZR-RS-G54. Once the WZR-RS-G54 is configured, record the WAN Port IP Address, you will need it later. - Page 3 PPTP (VPN) Server Setup The PPTP Server Setup is required if you wish to utilize the features of the “Network Service List”. ◗ To utilize the feature select ‘Enable’. ◗ Select the type of authentication desired. The default setting of “MS-CHAPv2-MPPE-40/128”...
- Page 4 Add VPN Usernames and Passwords to the Database: ◗ Press on the ‘Add New User’ button. A window will appear to add the new user. ◗ Enter a ‘User Name’. It can be up to 16 characters. Alphanumeric characters, double quotation ("), single quotation ('), slash (/) and any symbol other than space may be used.
- Page 5 Allowable Address List: This list is used to register Remote IP Addresses that are authorized to connect to the PPTP Server. These IP Addresses are required if ‘Enforce Address Restriction’ was enabled above. Setting up your Computer as a VPN Client A VPN Client Connection is required to securely communicate with a VPN Server.
- Page 6 Windows 98SE VPN Adapter Installation cont'd ◗ Scroll down and select ‘Microsoft’ in the Manufacturers column. ◗ Select ‘Microsoft Virtual Private Networking Adapter’ and press the ‘OK’ button. You will be prompted to insert your Windows 98SE CD to complete the installation of the adapter.
- Page 7 Windows 98SE / ME Dial-Up Networking Client Installation Configure the Dial-Up Networking client ◗ Double click on the ‘My Computer’ icon. ◗ Double click on the ‘Dial-Up Networking’ icon. (ME users click the ‘Dial-Up Networking’ link.) ◗ Double click the ‘Make New Connection’...
- Page 8 Windows 98SE / ME Dial-Up Networking Client Installation cont'd ◗ Type in the Dynamic DNS Host Name or WAN IP Address of the VPN Server. The WAN IP Address was referred to on Page 2. Press the ‘Next’ button. ◗ Click the ‘Finish’...
- Page 9 ◗ Select ‘Properties’. ◗ Click on the ‘Server Types’ tab. ◗ Press the ‘TCP/IP Settings’ button. ◗ Un-check ‘Use default gateway on remote network’ check box. This means, if you have an active VPN session and you also wish to visit a web site, your web request does not go through the VPN tunnel.
- Page 10 Windows 2000 / XP Microsoft has provided a wizard to easily configure the VPN Client in Windows 2000/XP. Starting the wizard in Windows XP is different from Windows 2000. Once the wizard launches, the setup is very similar; the images on your computer may be slightly different from what you see in this publication.
- Page 11 For both Windows 2000/XP ◗ Click the ‘Next’ button. ◗ Click ‘Connect to a private network through the Internet’. ◗ Press the ‘Next’ button. ◗ If you have to dial out to get an internet connection, then select ‘Automatically dial this initial connection’ and use the drop down selector to select the connection.
- Page 12 ◗ Depending on your computer configuration, select either ‘For all users’ or ‘Only for myself’. Selecting 'For all users' gurantees the connection will work on all profiles on your system. 'Only for myself' specifies that the connection will only be available on your Window's profile.
- Page 13 Windows XP ◗ Double click on the icon shortcut you created on your desktop or browse back to your ‘My Network Connections’ for the VPN Client icon and double click on it. Type in your user name and password (set up on the PPTP Server) and click the 'Connect' button.
-
Page 14: Network Service List
Network Service List Once the VPN session has been established you can take advantage of the “Network Service List” to provide quick access to all of your network resources. You can access this list by opening up an Internet Explorer Web Browser (5.0 or greater), typing the LAN IP Address for your WZR-RS-G54 followed with “/hosts.htm”. - Page 15 (R&TTE). See the user manual for the complete statement. Copyright © 2004 Buffalo Technology, Inc. All Rights Reserved. Buffalo Technology (USA) Inc., is part of MELCO INC., the global manufacturers of IT peripherals, including memory, networking, and multimedia products, inside many of the...


